
Shiny Glass Text Effect with Download
Glass effects are among the popular effects that never go out of style ;). This tutorial will explain how to create a layered, classy, and elegant glass text effect using Photoshop’s Layer Styles only.
A couple of tips will be introduced to help you better modify the effect for other fonts and font sizes as well.
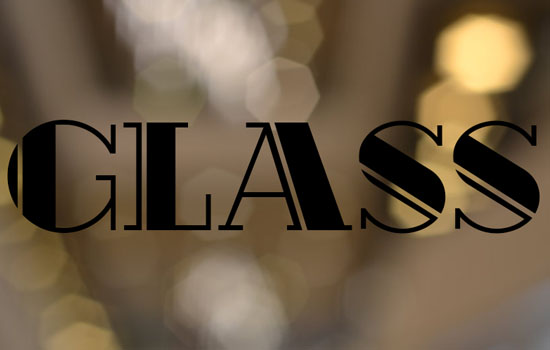
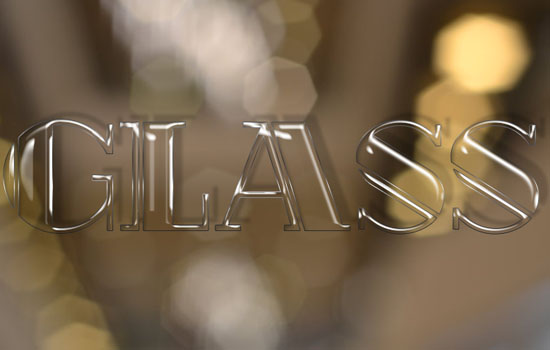
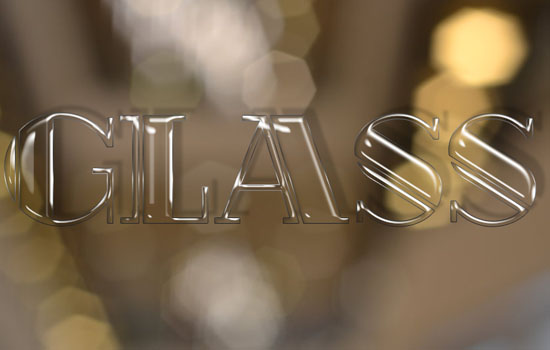
The Final Result

Tutorial Details
- Software Used : Photoshop
- Version : CC 2014
- Time : 0:15 – 0:25
Resources
- Rialto font.
- bokeh texture 5 by regineanastacio.
- gradient-shapes for Photoshop by ilnanny (Load the CHROMES.grd file).
Step 1
Choosing the background image for a glass effect is an important part of making the effect look great. You want to make sure that the background adds to the glass effect, but at the same time it shouldn’t overwhelm it or make it less visible or clear.
Here, a simple bokeh background image is used, but you can use any other image you like, keeping in mind that some settings might need to be tweaked depending on the image you choose.
So start off by creating a 850 x 550 px document, place the bokeh texture 5 on top of the Background layer, resize it as needed, then you can merge it with the Background layer.
Choosing the font is another important part of getting a great final result. A bolder, fancier font will definitely better showcase the effect.
So create the text in All Caps using the font Rialto and the font Size 220 pt.
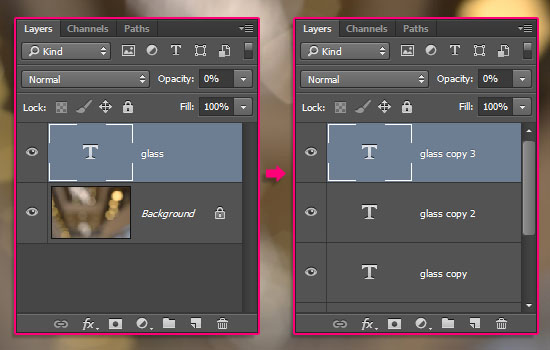
Change the text layer’s Fill value to 0, then create 3 more copies of the text layer so that you have a total of 4 text layers.
Step 2
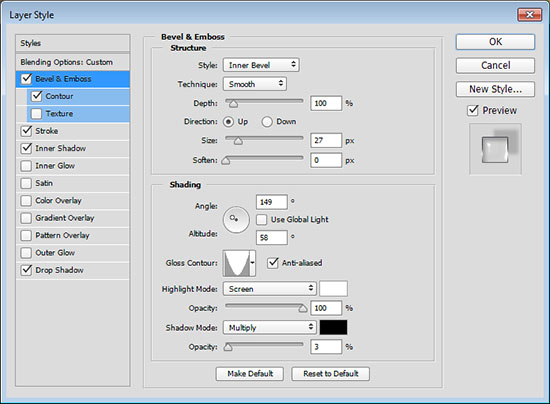
Double click the original text layer to apply the following Layer Style:
– Bevel and Emboss
- Size : 27
- Uncheck the Use Global Light box
- Angle : 149
- Altitude : 58
- Gloss Contour : Cone – Inverted
- Check the Anti-aliased box
- Highlight Mode – Opacity : 100%
- Shadow Mode – Opacity : 3%
You can decrease the Highlight Mode’s Opacity value if you want a more subtle effect.
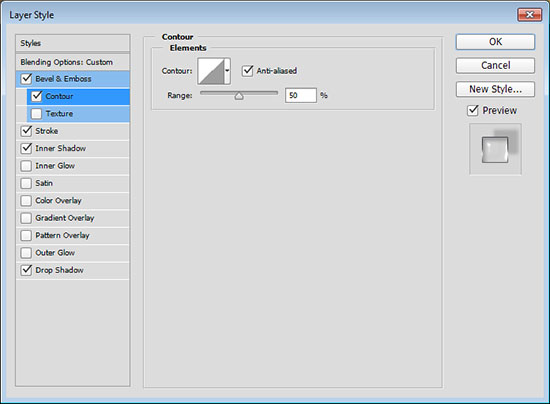
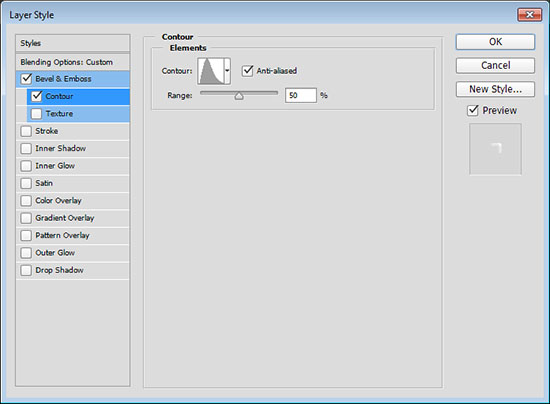
– Contour
- Check the Anti-aliased box.
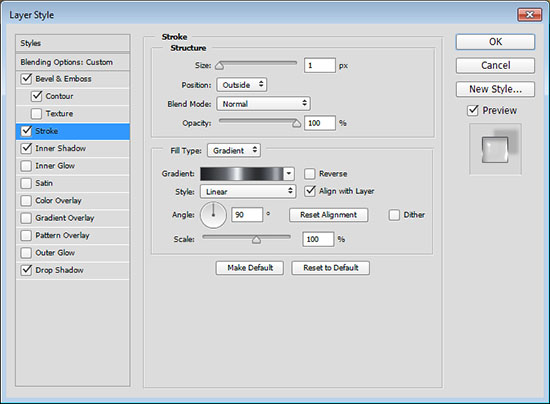
– Stroke
- Size :
- Fill Type : Gradient
- Angle : 90
- Gradient : stainless steel 10x – but you can try the other gradients in the CHROMES.grd file as well.
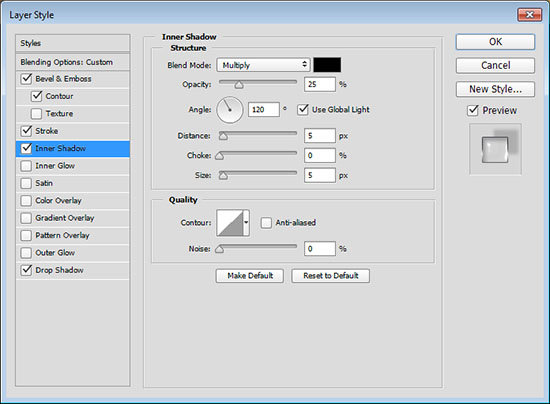
– Inner Shadow
- Opacity : 25%
Increasing the Opacity value will result in a more defined effect.
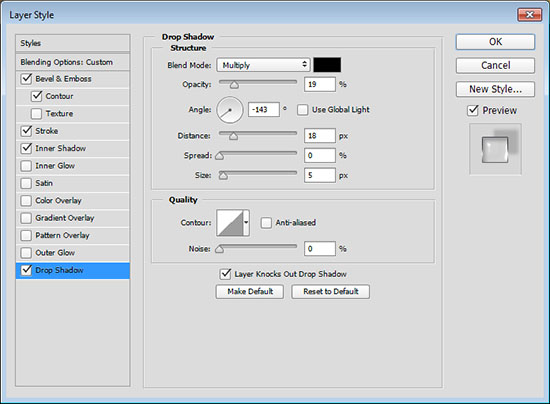
– Drop Shadow
- Opacity : 19%
- Uncheck the Use Global Light box
- Angle : -143
- Distance : 18
Play around with the Angle value to change the shadow’s position. You can also click and drag the shadow before you click OK.
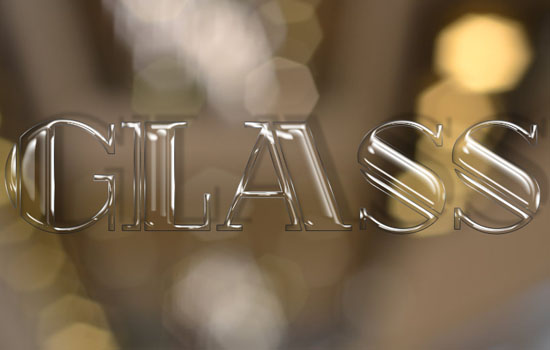
You can see now how this is starting to build up the effect, but is still too simple.

Step 3
Double click the first copy text layer to apply the following Layer Style:
– Bevel and Emboss
- Size : 10
- Uncheck the Use Global Light box
- Angle : 63
- Altitude : 69
- Check the Anti-aliased box
- Highlight Mode – Opacity : 100%
- Shadow Mode – Opacity : 0%
You can drag the small circle around to change the Angle and Altitude values and see the changes that makes. Choose the values you like and click OK.
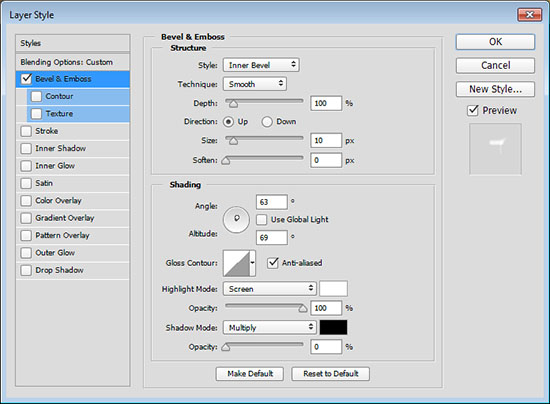
This is a simple step that adds more shine to the top edges of the text.
Step 4
Double click the second copy text layer to apply the following Layer Style:
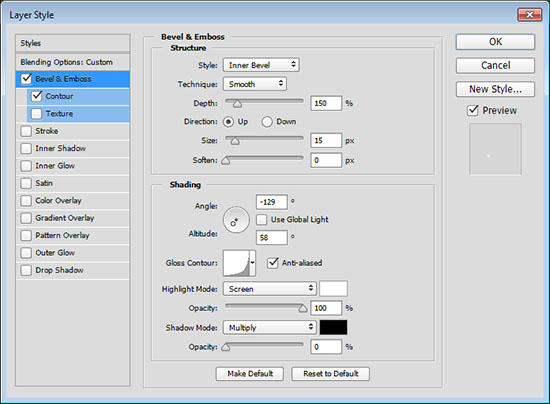
– Bevel and Emboss
- Depth : 150%
- Size : 15
- Uncheck the Use Global Light box
- Angle : -129
- Altitude : 58
- Gloss Contour : Log
- Check the Anti-aliased box
- Highlight Mode – Opacity : 100%
- Shadow Mode – Opacity : 0%
– Contour
- Contour : Half Round
- Check the Anti-aliased box.
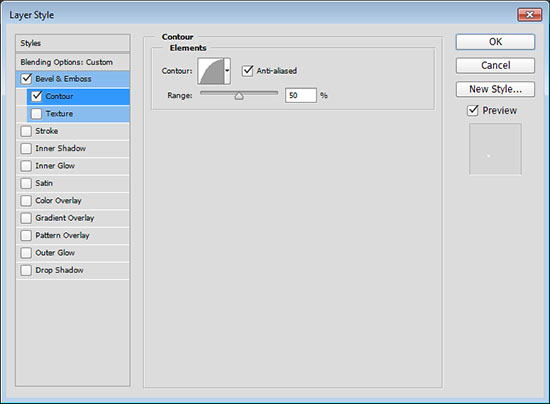
This will add shine and gloss to the bottom edges, as well as give a more 3D feel to the text.
Step 5
Double click the third copy text layer to apply the following Layer Style:
– Bevel and Emboss
- Size : 21
- Uncheck the Use Global Light box
- Angle : -135
- Altitude : 69
- Check the Anti-aliased box
- Highlight Mode – Opacity : 100%
- Shadow Mode – Opacity : 0%

– Contour
- Contour : Cone – Asymmetrical
- Check the Anti-aliased box.
This will add the shine to the text’s center. Playing around with the different Bevel and Emboss Angle and Altitude values makes all the difference.
Step 6
This is optional, but it finishes off the effect.
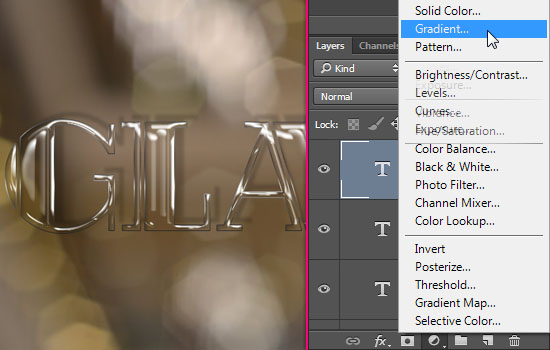
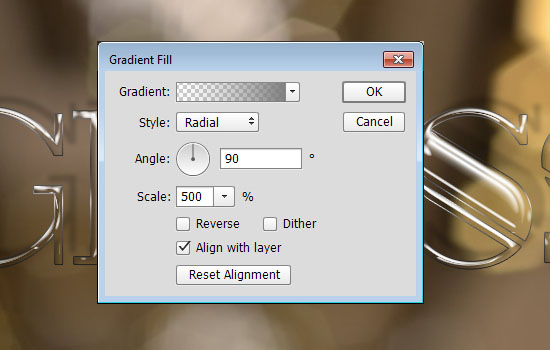
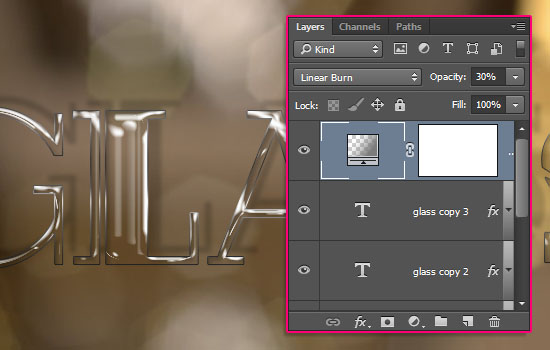
Click the Create new fill or adjustment layer icon down the Layers panel and choose Gradient.
Create a Transparent-to-fill-color gradient using the color #7c7c7c on both sides of the gradient. Change the style to Radial, and the Scale to 500.
Change the Gradient layer’s Blend Mode to Linear Burn and its Opacity to 30%.
Tip
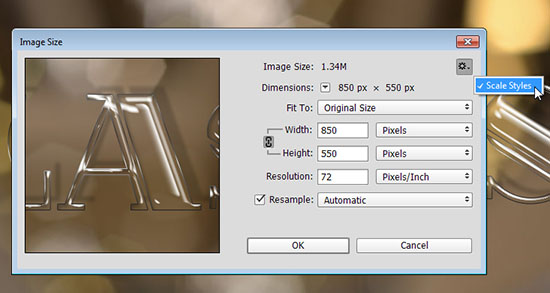
This effect is 100% scalable. So you can go to Image > Image Size, and make sure that the Scale Styles option is checked, then resize the image as big or as small as you like.
For bigger sizes, you can download the full size bokeh texture and re-add the Background to avoid pixelation.
And you’re done!
You can download the PSD source file of this effect, and then you’ll just need to change the text in order to apply the styles to whatever text you like.
Did you enjoy this post? Please consider donating to help us cover our server costs.


A very “Classy” “Glassy” tutorial – another great example of the building up of effects. 🙂
Thank you very much for the kind comment 🙂
Thanks for sharing amazing style…
You’re welcome, and thanks for the comment 🙂
thx for the tutorial, but I do not find the rialto font in Ps cc
The font’s download link is provided in the Resources’ section at the very beginning of the tutorial.
Hope this helps 🙂
Thanks for the comment.
Thanks, got it !
You’re welcome 🙂
What an amazing tutorial! Thank you very much 🙂
Glad you enjoyed it!
Many thanks for the comment 🙂
here is the psd format. created by me ” https://drive.google.com/file/d/0B7iXPIWxqc6JejdydXNrMHB6TnM/view?pli=1 “
Cool outcome! It looks more shiny than glossy, which is a nice variation.
Thanks a lot for the comment and for sharing your work 🙂
Thank you so much for creating this blog, whoever did! You have saved me multiple times lol
That’s awesome to know! Really glad you found it helpful 😀
Thank you very much for the comment 🙂
Thanks a lot..great tutorial 🙂
Glad you like it 🙂
Thank you for the comment.
Great tutorial, although I had to stop several times in order to try and find certain pre-sets to download. There was one I couldn’t find and had to settle with something that was alike and gave it a slightly different effect. Works for what I am using it for, just saying it’d be great if you explained how to get the different contours as well!
Thanks a lot!
Loading the Contours is explained here, and the file is available for download as well 🙂
Glad you liked the tutorial and found a way to work around the issue.
Thanks a lot for the comment 🙂
here a style created by me
Thank you!
Thank you so much for providing this file.
I just could not get the effect like you have.
cheers: Terry