
Type Tool in Photoshop CS6+ – Creating Text in/on Shapes and Paths
One of the interesting things that can be done with text in Photoshop (CS+ versions), is creating it inside or along shapes and paths. This means that you can create different shapes and paths, then either fill them with text, or make the text flow along their work paths. This also means that whenever you edit that work path, the text will be updated accordingly as well. So it’s a pretty cool and really easy thing to achieve.
Creating Text Inside Shapes
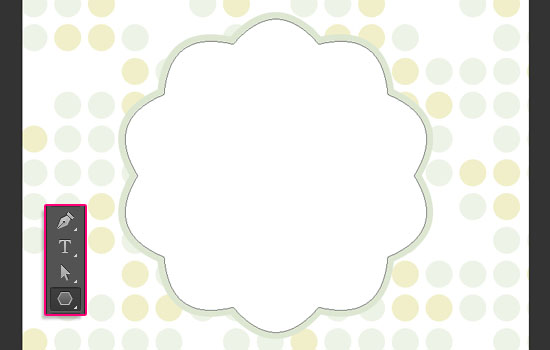
Start by choosing a Shape Tool to create any shape you like. In this example, the Polygon Tool‘s settings are modified to create a simple star shape.
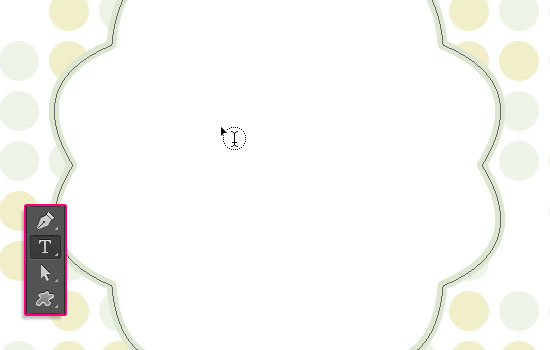
Next, pick the Type Tool, and place the cursor over the shape. You’ll notice that a dotted ellipse appears around the cursor, which means that any text created will be added inside the shape.
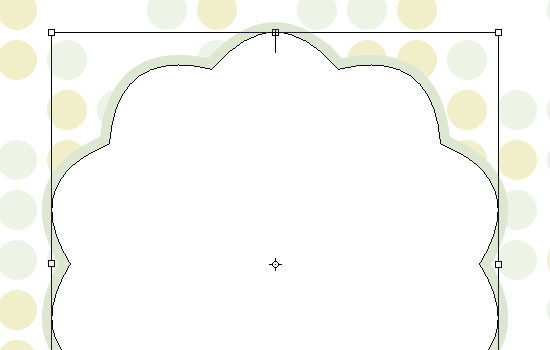
Click inside the shape to start adding the text. You can choose the font, size, color, alignment, and any other text formatting properties now, or after you create the text.
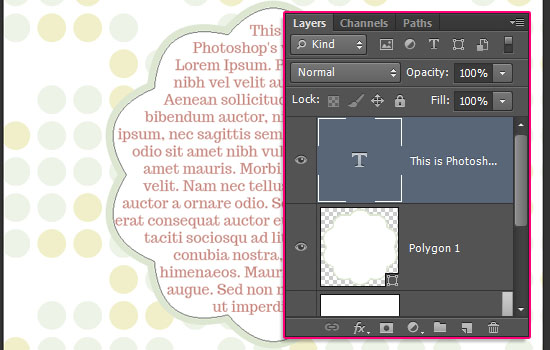
Type in your text, and click the Commit any current edits icon in the Options bar. In this case, the Paste Lorem Ipsum option was used to add the text.
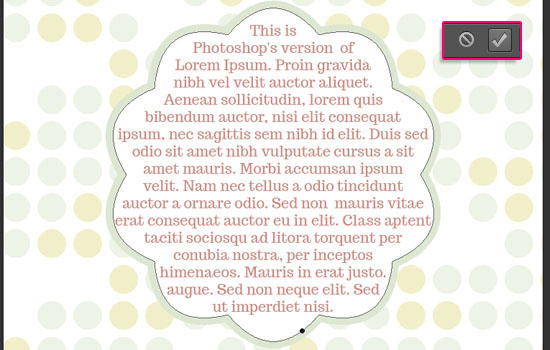
This will create the text in a separate layer, but it will still be inside the shape.
Creating Text Inside Paths
The same thing applies for paths, except for the fact that paths won’t be visible like shapes after the text is created.
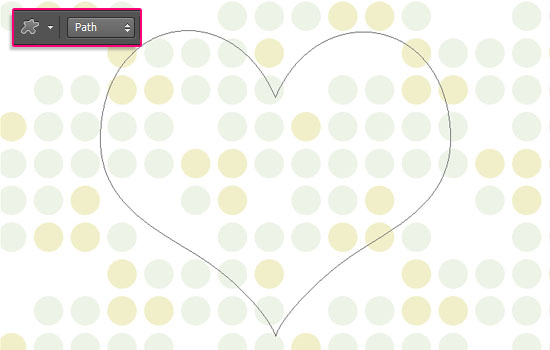
So pick any Shape Tool, and select the Path options in the Options bar. For this example, the Custom Shape Tool is used to create a heart shape.
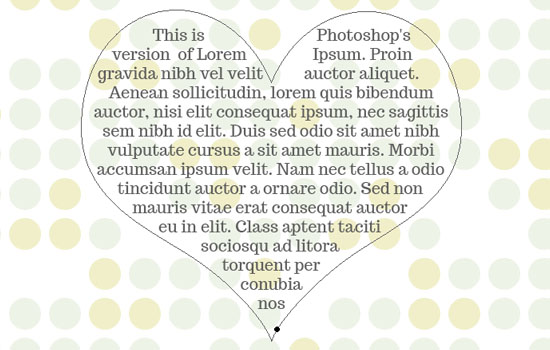
Pick the Type Tool, click inside the path, and type in your text.
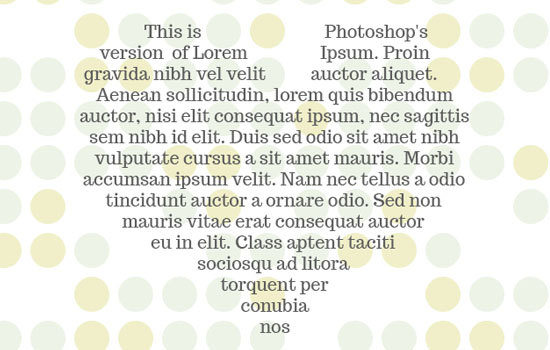
Now, once you select any other layer, the path will disappear, leaving the path-shaped text.
Creating Text Along Paths
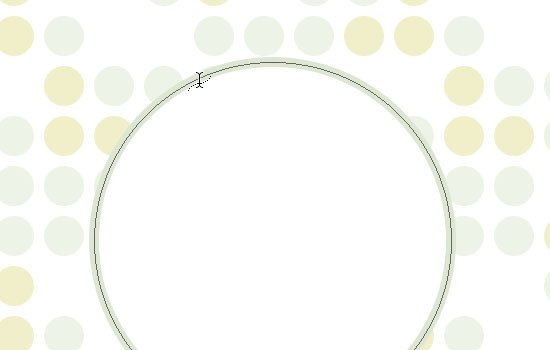
This works for both filled Shapes’ Paths and empty Work Paths. So after you create any of them, pick the Type Tool, and move the cursor over the path. This time, a dotted wavy line will appear through it, indicating that the text will be created along the path, and not inside it.
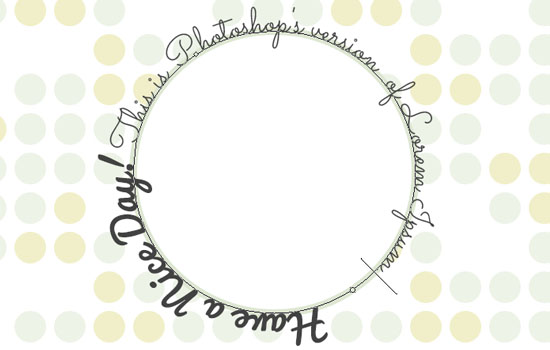
Click and start typing the text. You’ll notice how the text flows following the path’s direction clockwisely.
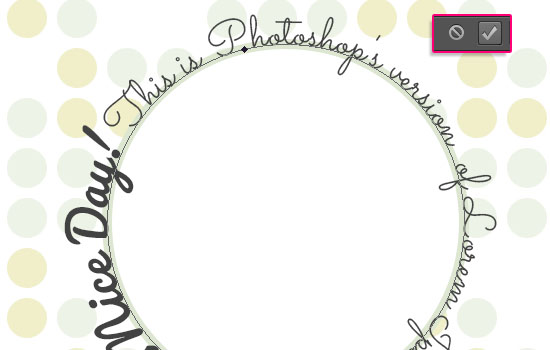
Don’t worry about how the text looks for now, and once you’re done, click the Commit any current edits icon in the Options bar.
Using the Path Selection Tool to Modify the Path Text
If you select the Path Selection Tool, you’ll be able to modify the text created along the work path in a couple of different ways.
1- Moving Text Ends
By moving the mouse cursor near the beginning of the text, you’ll notice a small arrow appearing next to it. You can then click and drag to push the beginning in a clockwise direction.
By moving the mouse cursor near the end of the text, however, the a small arrow will appear to the other side of the cursor. So if you click and drag right now, you’ll push the end in a counter-clockwise direction.
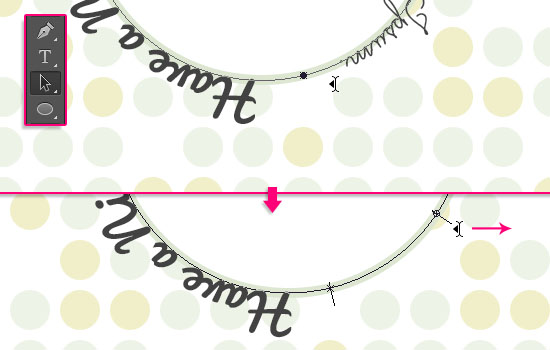
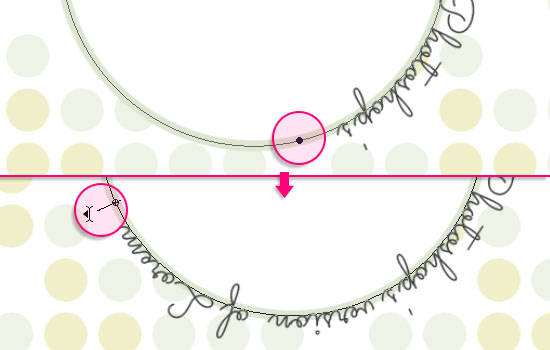
The problem with this, is that if you drag the text too far, it will get cut off at the end. The circle where the text starts disappearing after represents the end of the visible area.
You can click and drag that circle to reveal the text.
2- Moving the Whole Text
An easier way to move the text as a whole though, would be by placing the cursor on the text itself, an arrow will appear on each of the cursor’s sides.
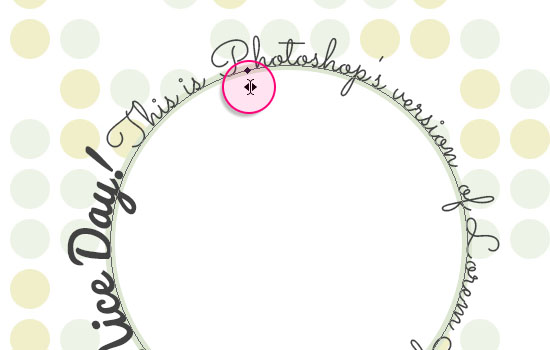
You can then click and drag to move the text along the path

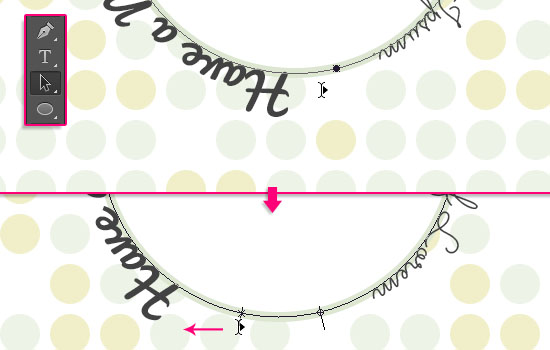
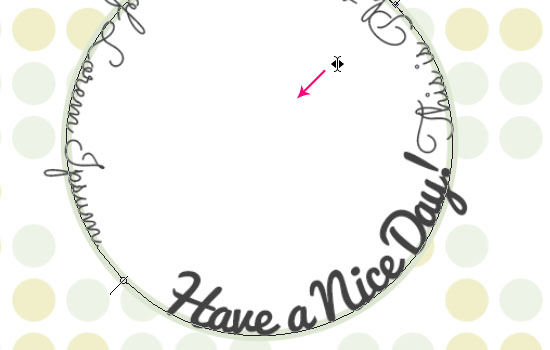
3- Flipping the Text Over the Path
You can also drag inwards or outwards across the path to flip the text over it. Which means switching between the inner and outer text.
Conclusion
Just keep in mind that text created inside or along shapes and paths is still text that can be edited, formatted, and modified. So you can change any formatting settings, indenting values, alignment options, and so on. It all comes down to how you want the text to look inside or along the path.
Did you enjoy this post? Please consider donating to help us cover our server costs.


Could you please share which fonts do you use with “Creating Text Along Paths”?
Sure! They are Pacifico and Sacramento. Both are free fonts, and you can find their download links in this post.
Hope this helps 🙂
Thank you. Really helped.
You’re very welcome 🙂
Awesome!! Helped me a lot <3
Glad to know it did!
Thanks a lot for the comment 🙂
There are a couple of glitter tutorials published on here.
You can also check out our Free Layer Styles board on Pinterest, it’s got some amazing free layer styles there.
Hope this helps.