
Velvet Roses Text Effect
This tutorial will explain how to use simple photos of a rose and some leaves, to create a beautiful velvet roses text effect. Also, a couple of Adjustment Layers and Layer Style will be used to enhance the colors and the depth of the final result.
The Final Result

Tutorial Details
- Software Used : Photoshop
- Version : CS5 Extended
- Time : 1:00 – 1:45
Resources
- Harabara font.
- Wood Texture by karevalo.
- Red rose macro closeup by WeirdestGirl.
- LEAVES TRASP PNGS by bluesse.
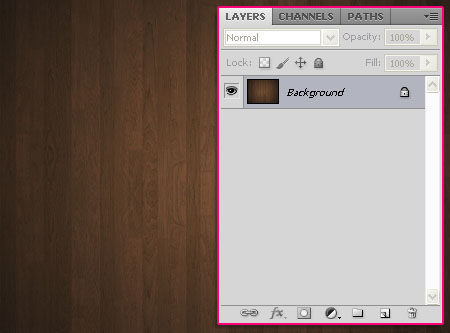
Step 1
Open the Wood Texture image.
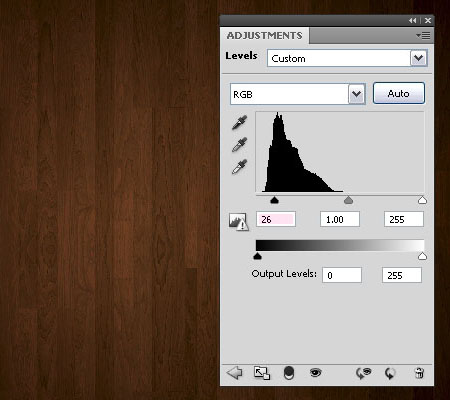
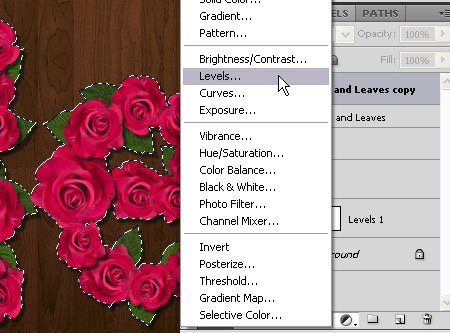
Click the Add new adjustment layer icon down the Layers panel, and choose Levels.
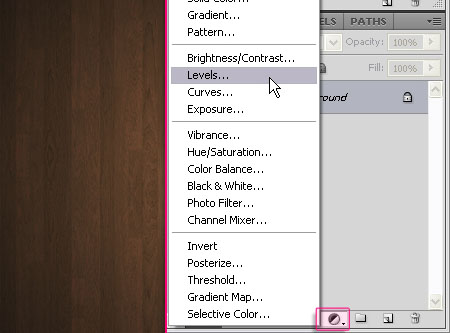
Change the Shadows value to 26. This will darken the texture a little bit.
Step 2
Create the text using the color #cbb99d. The font used is Harabara and the Size is 400 pt. In the Character panel (Window -> Character), set the Tracking value to 75 to increase the space between the letters.

Step 3
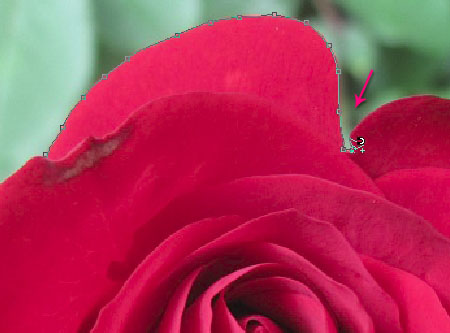
Open the Red rose macro closeup image, and pick the Magnetic Lasso Tool. clickce (and release) on a point at the edge where the rose and the Background meet. What you have to do next is just drag the selection on the edges without clicking. The tool will add points while you are dragging.
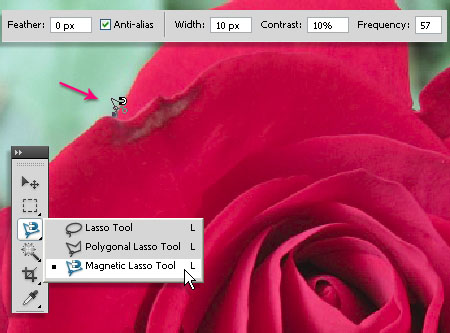
If the tool does not add a point somewhere, usually in the very narrow corners, you can click to add one. Also, you can press the Backspace button to remove the points one at a time.
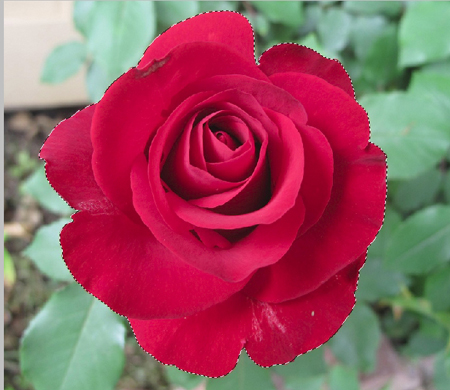
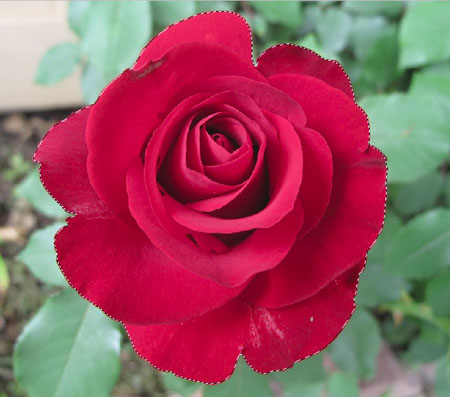
Finish where you started and click to create a selection.
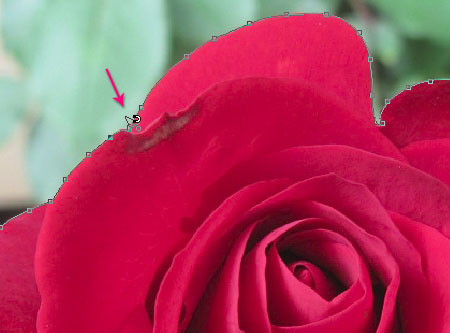
The rose will be selected nicely, and quickly! This tool works best when there is a high contrast, which is the case in this image.
Step 4
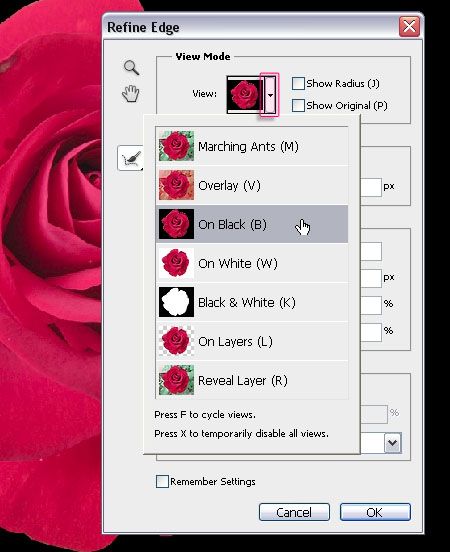
In the Options bar at the top, click the Redefine Edge button to enhance the selection.
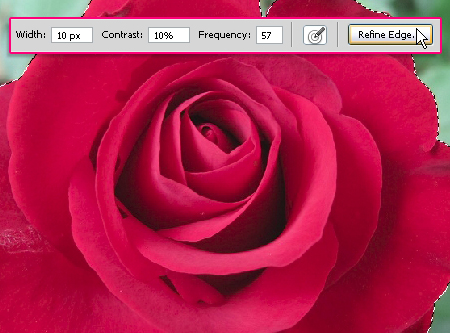
Choose the On Black View to see the edges more clearly.
Start with the Shift Edge option. Negative values will contract the selection inwards, which will help get rid of any unwanted edges, the value used here is -50. Next, modify the Smooth value. This will make the edges look softer, and here it is set to 10. Finally, this is optional, but you can set the the Feather value to 0.3 for a bit more subtle smoothing.
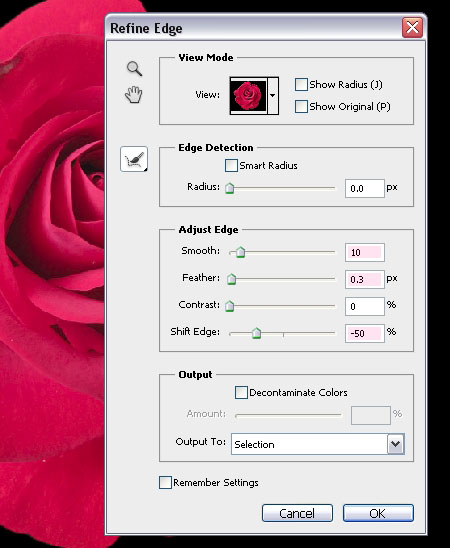
Click OK, then go to Edit -> Copy.
Step 5
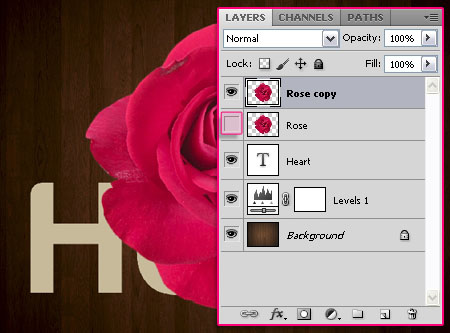
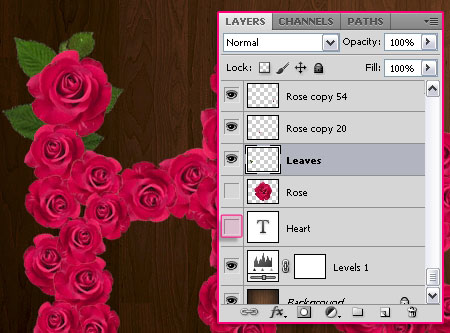
Back to the original document, go to Edit -> Paste. Rename the pasted layer to Rose
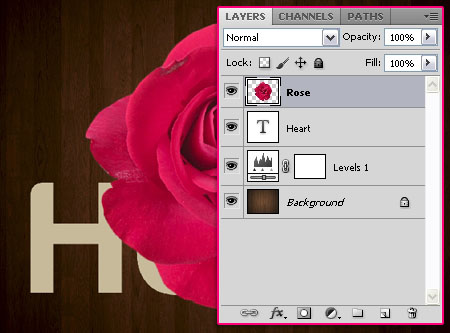
Duplicate the Rose layer and make the original one invisible by clicking the eye icon next to it.
Press Ctrl/Cmd + T to enter the Free Transform Mode. Scale the image down while holding the Shift key to retain proportion, you can also rotate it and move it around. Once you’re done, hit Enter/Return to accept the changes.

Duplicate the layer and do the same thing. Just keep in mind that you can scale the image down, but scaling it up will give a pixelated result. If you want larger images, go back to the original Rose layer, duplicate it, make the copy visible, and scale it down.
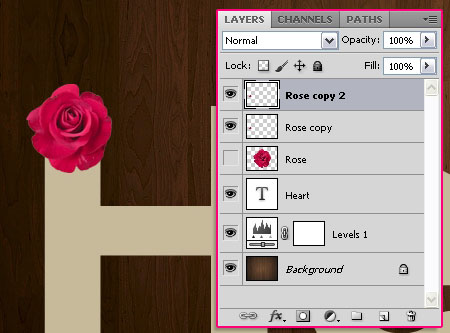
Don’t forget to hit Enter/Return after you’re done transforming each image.

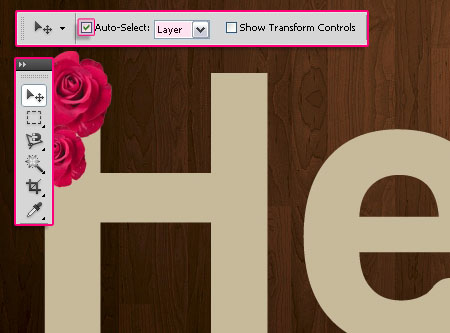
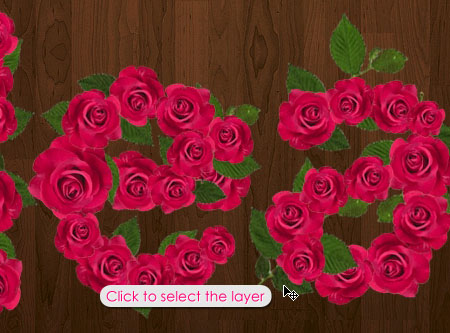
A simple trick that can help you easily select the roses without the need to search for their layers, is checking the Auto-Select box in the Move Tool Options bar, and choosing Layer from the drop down menu. Now all you need to select a rose is click it, and its layer will be selected immediately.
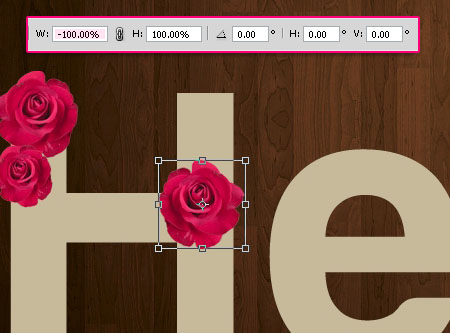
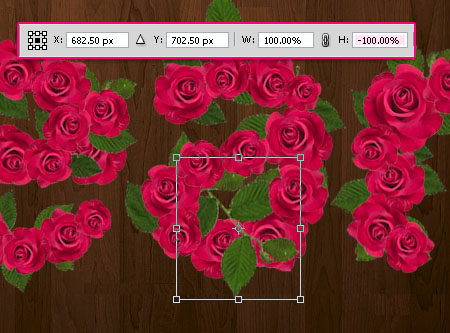
Also, you can flip the roses Vertically or Horizontally or both, by typing -100% in the Height and Width fields while you are in the Free Transform Mode.
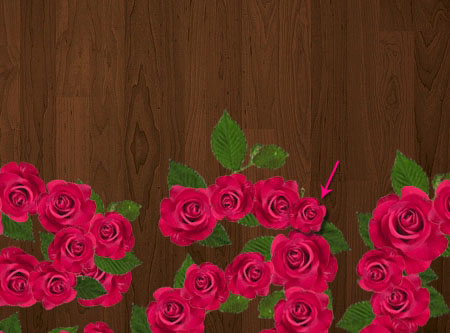
Continue duplicating and transforming until the text is covered up with roses. You can click and drag the layers to change their order. Take your time with this step, it is the most important part of achieving a nice looking final result.
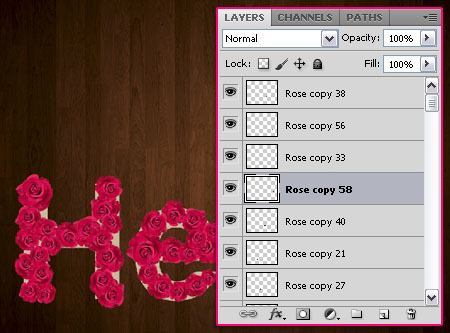
Step 6
Open the image Immagine 76.png from the LEAVES TRASP PNGS pack.
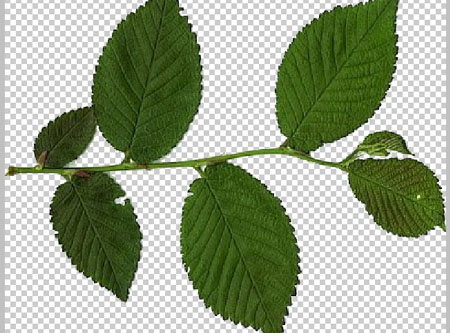
Duplicate the leaves image to the original document and rename its layer to Leaves. You’ll notice that it has jagged harsh edges, so if you like, you can Ctrl/Cmd + click its layer’s icon, choose any selection tool, then Redefine Edges just like we did with the rose image. But as the leaves will be scaled down those edges will not be as noticeable, also, we will be adding an Inner shadow later on, so you can just skip the redefining edges part as well.
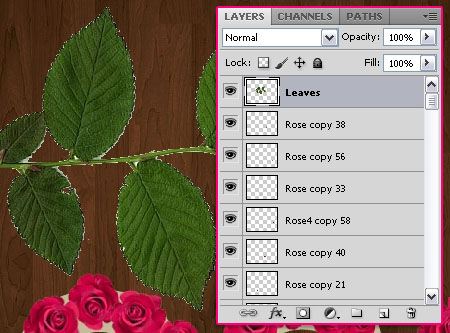
Duplicate the Leaves layer, scale it, rotate it and move it around to add leaves under and between the roses.

Don’t forget to change the order of the layers to place the leaves.
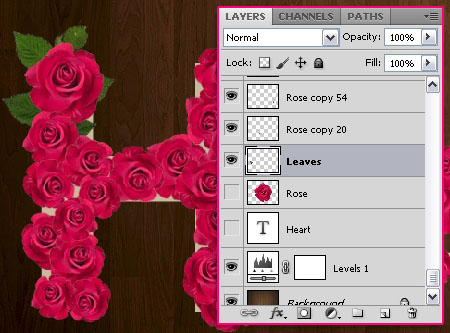
You can make the original text layer invisible as we don’t need it.
You can also flip the leaves vertically and horizontally whenever needed.
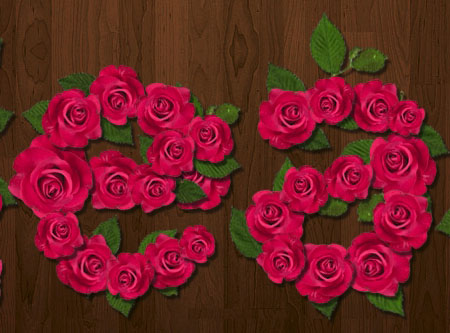
Step 7
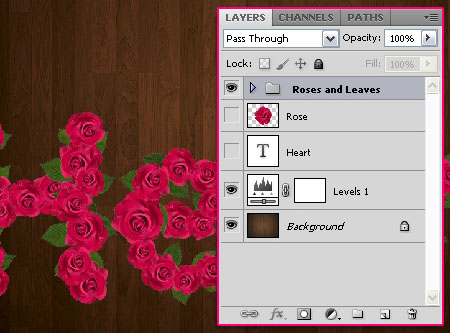
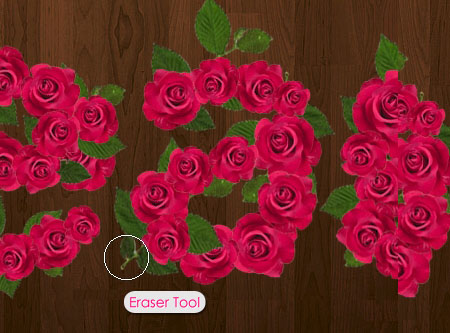
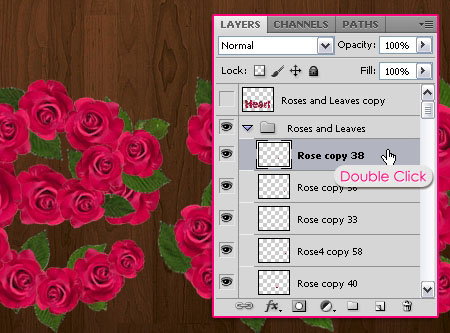
Once you’re done, group the roses and leaves layers together, and call the group Roses and Leaves.
If there are any extra parts you want to get rid of, select them using the Move Tool first.
Then use the Eraser Tool to remove them.
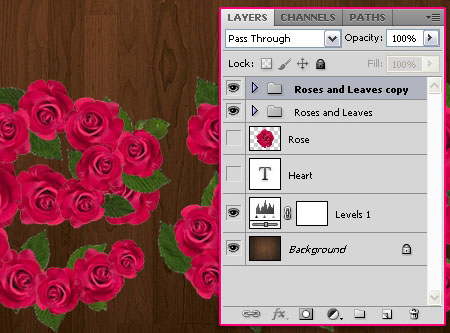
Duplicate the Roses and Leaves group.
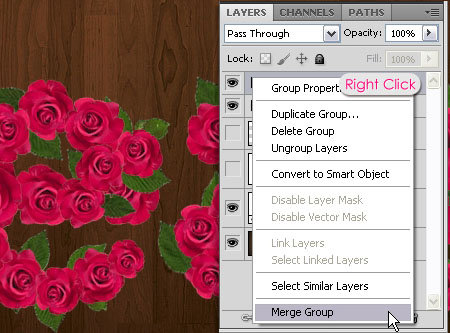
Right click the copy group and choose Merge Group.
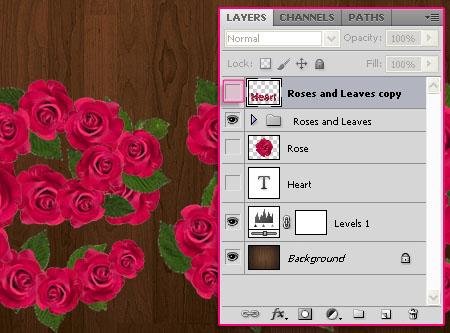
This will create a rasterized layer. Make that layer invisible. We will be using it to create a selection later on.
Step 8
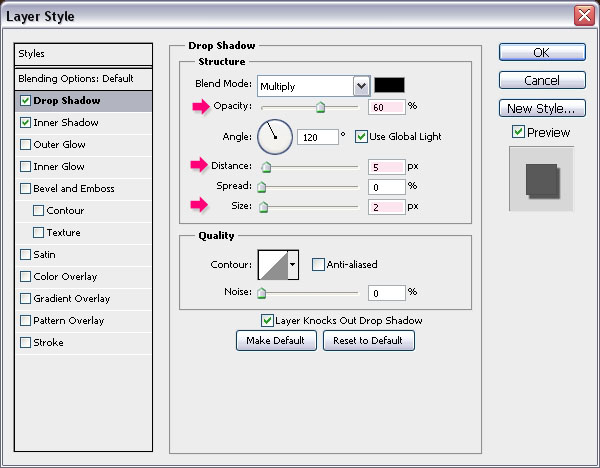
Double click the first layer in the group to apply the following Layer Style:
– Drop Shadow
- Opacity : 60%
- Distance : 5
- Size : 2
– Inner Shadow
- Color :
#5e5e5e - Distance : 0
- Size : 1
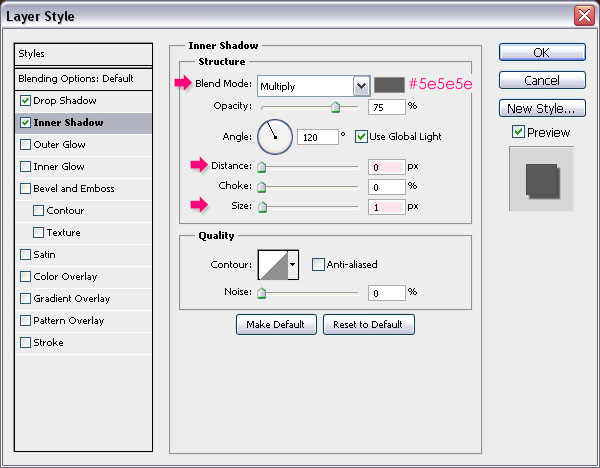
This will give more depth and dimension.
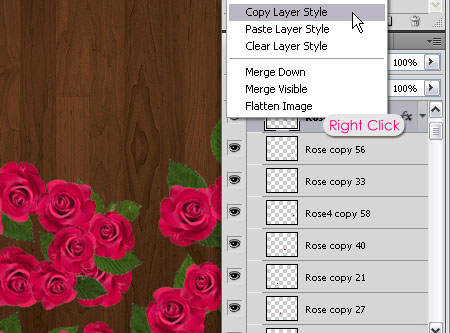
Right click the layer (that you applied the Layer Style to), and choose Copy Layer Style.
Select all the remaining layers, right click any of them, and choose Paste Layer Style.
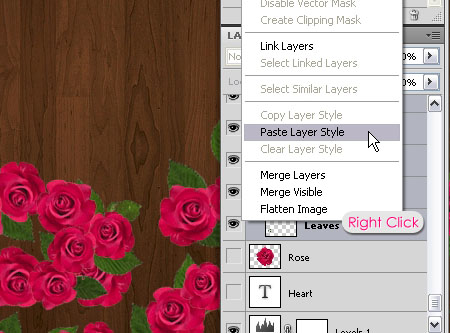
This will apply the Layer Style to all the layers.
Step 9
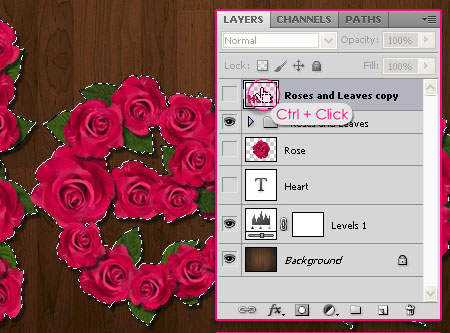
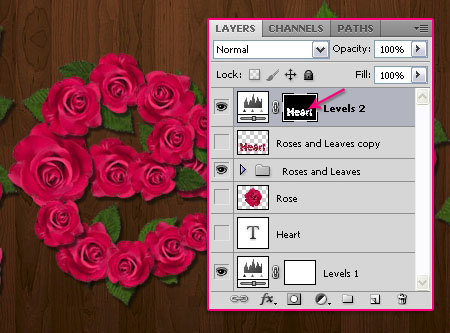
Press the Ctrl/Cmd key and click the Roses and Leaves rasterized layer’s thumbnail to create a selection.
Click the Add new adjustment layer icon down the Layers panel and choose Levels.
Notice how the selection becomes masked in the Levels’ layer mask. This will make sure that the changes will be applied to the text only.
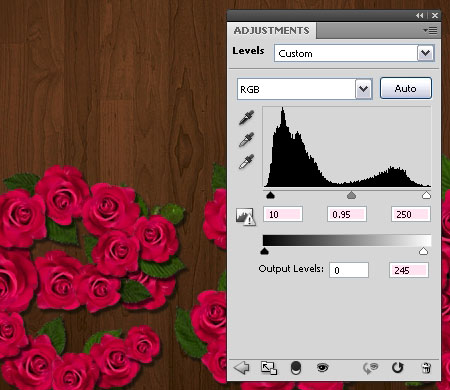
Change the values as shown below:
Create the same selection once again, then add a Hue/Saturation Adjustment layer.
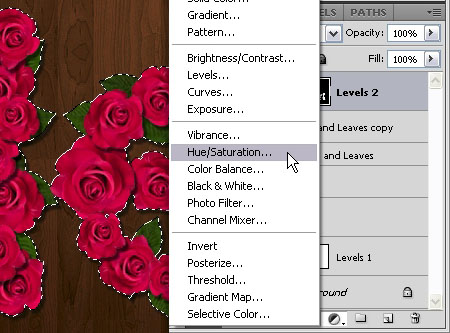
This is optional, but we will use this layer to modify the colors a little bit.
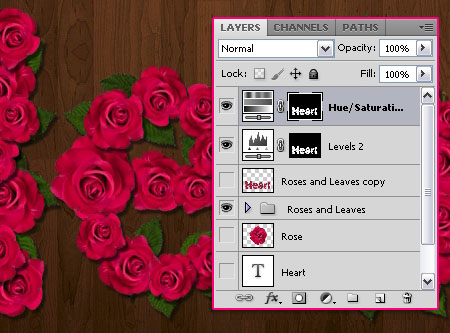
You can play around with the values, or you can use the same ones used below:

Step 10
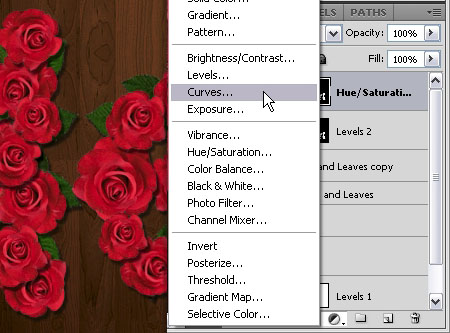
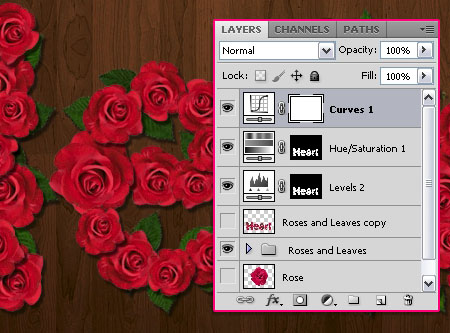
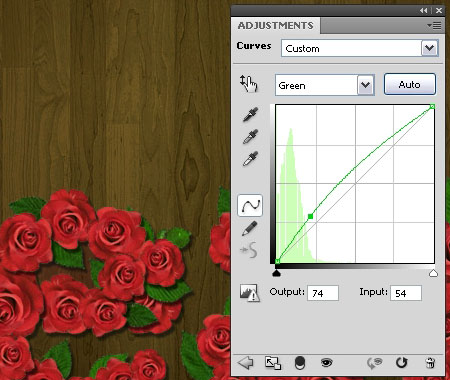
Finally, add a Curves Adjustment Layer, without a selection, as this will be used to modify and blend all the colors together.
Notice that the mask is white, meaning the the whole image will be affected.
Choose the Green channel from the drop down menu.
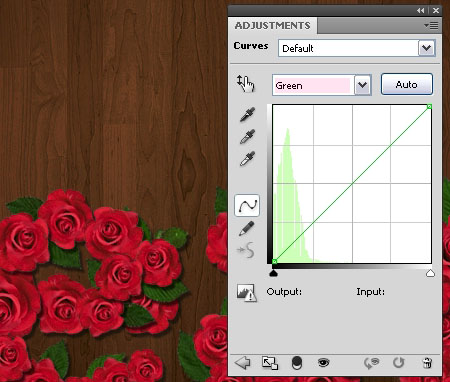
Add a point on the curve and move it upwards a little bit as shown below.
And that’s it! Hope you enjoyed the tutorial and found it useful.
Did you enjoy this post? Please consider donating to help us cover our server costs.


Dear Admin,
this was a great tutorial i really enjoyed , i just want a little help from you will u please tell me how to make a back button for I phone , i mean the back button in I phone same like that ?
Thank you for the comment.
As for the iphone button, check out this tutorial please. Hope this helps, but if that’s not what you meant, then please feel free to add another comment.
Regards.
Dear admin realy its a great tutorial … but i’m not good in Photoshop … can u make One for me by this name ( Nourhan ) … if u can do it please … and ty so much
Unfortunately, we can’t recreate the effects. Sorry about that 🙁
But you definitely can post any questions you have here and we’ll try our best to answer them.
Thanks a lot for the comment.
Thanks for your sharing. Your post are very precious tutorial for me.
That’s so nice of you, thank you very much 🙂
thanks a lot admin it really helps me .. thanks once again
You’re welcome, glad I could help.
Hhanks textuts! i got lost at first but got it [:
Glad you did, hope you got a nice result as well 😉
Thanks for the comment 🙂
Great tutorial And I really enjoyed.
Thank you!
Awesome 🙂
Thanks a lot for the comment.
It looks absolutely beautiful!
Thank you so much 🙂
good tut.. enjoyed it.. will try it immediately.. thanks for the share
Hope it turns out great 🙂
Thanks a bunch for the comment.
Can you do this rose effect with a brush stroke on a path?
It could be done, not with the same result, though. It is harder to control how the roses are distributed along the path, and a brush can’t give the same details an image has. So it needs more work and tweaking, with a less beautiful end result.
Hope this answers your question 🙂
Very nice This tutorial.
Thank!
Glad you like it.
Thanks for the comment 🙂
excelente tutorial, a mi mujer le va encantar xD
So sweet to know that 🙂
Muchas gracias for the comment.
LEAVES TRASP PNGS by *bluesse is not available on devianART. Please advise what to do?
You can use any of these leave packs: 1, 2, and 3.
Hope this helps 🙂
Thx alot. Can u plz make tutorial, how to make zipper text effect. I shall be very thankful to you.
I’ve been thinking about this idea for a while actually! Will definitely try my best to work on it soon.
Thanks for the comment and the suggestion.