Type Tool in Photoshop CS6+ – Options and Selections
There are four Type Tool options in Photoshop CS6, as well as a couple of different ways to highlight and select the text, and create a selection based on that text. Getting to know and master those is an important part of using the Type Tool efficiently and effectively in any related workflow.
Introduction
As mentioned in the first part of the series, there are four Type Tool options that you get when you click and hold the Type Tool icon.
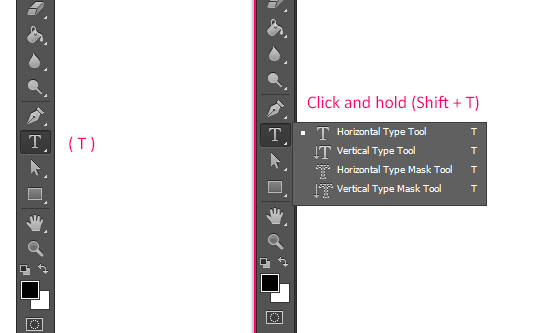
Type Tool Options
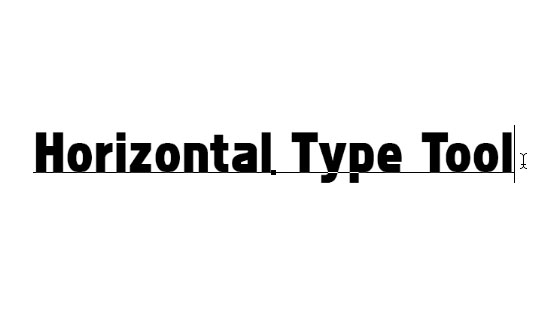
– The Horizontal Type Tool:
Used to create the standard horizontal text.
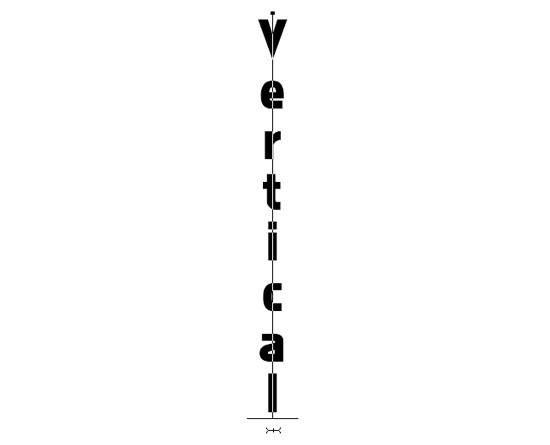
– The Vertical Type Tool:
Used to create vertical text. Apart from its use in vertically written languages (like Chinese and Japanese), this option is useful when creating typographic designs as well.
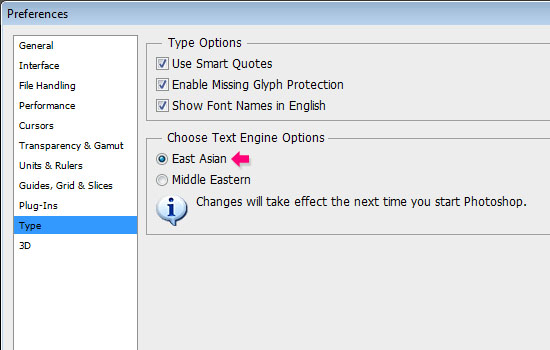
In Photoshop CS6, you can choose between two Text Engine Options: East Asian, and Middle Eastern. Those can be found under Edit -> Preferences -> Type.
So if the East Asian option is active, the vertical text will be created as above.
But if the Middle Eastern option is active, then the text will be created like a 90° CW rotated horizontal text as below.
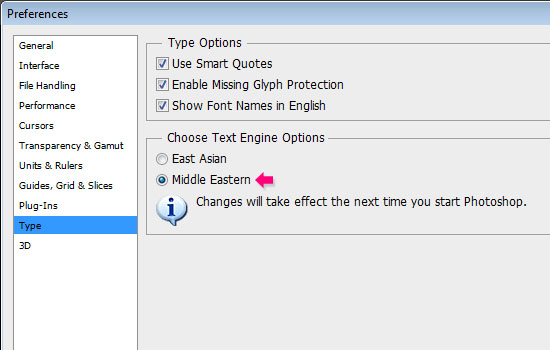
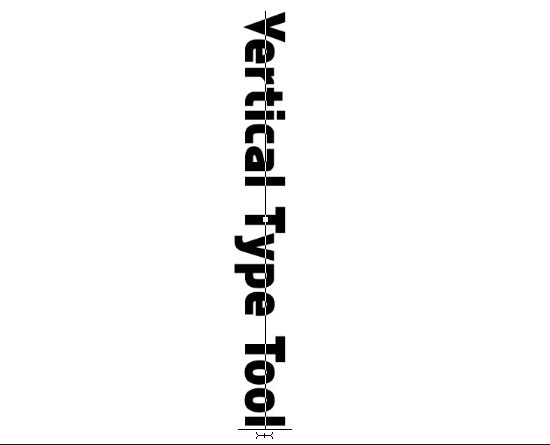
Just keep in mind that whenever you change the Text Engine Option, you need to restart Photoshop in order for the changes to be applied.
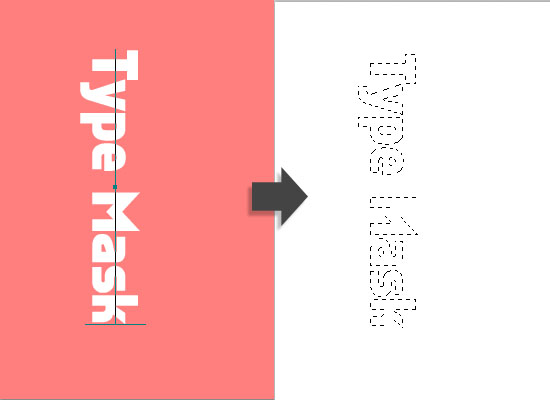
– The Horizontal Type Mask Tool:
Creates a quick mask text-based selection. So no actual text or Type Layer are created, but a quick mask selection of the shape of the text instead.
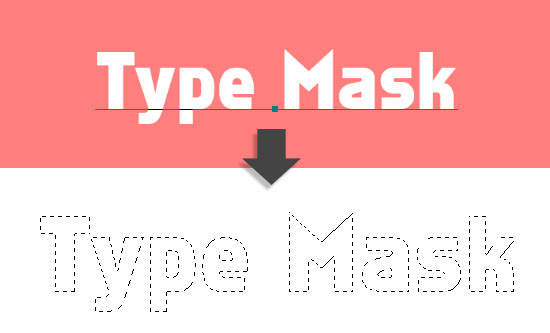
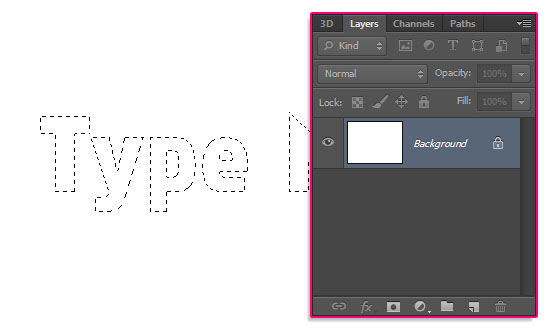
The selection is created once you “Commit the current edits”. So the text can be edited and modified before committing the changes, but not after it. Once the selection is created, no Type features work any more.
Many things can be done with the selection after it’s created, like filling it with a pattern or an already existing photo. This will be discussed in an example later in the series.
– The Vertical Type Mask Tool:
Does the same thing as the Horizontal Type Mask Tool, but vertically.
Selecting and Altering Text
Once the text is created, you can go back and alter any part of it. Like deleting, adding, or replacing letters, words, lines, or blocks of text.
– Basic Deleting and/or Adding
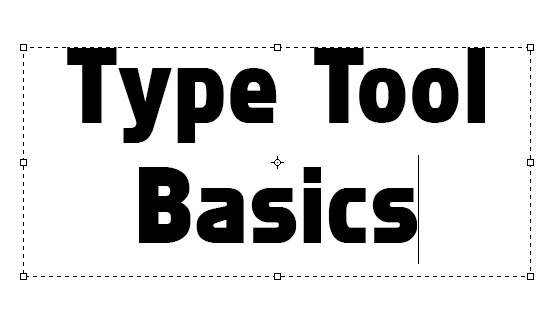
To delete a letter or add some text to an already existing text, pick the Type Tool, then click inside the text to place the insertion marker where you want to delete or add text.
Then, you can press the Delete or Backspace key on the keyboard to remove the letters, or start typing to add some more text.
This process doesn’t require selections as it is a pretty simple one.
– Highlighting and Selecting Text
If you want to delete bigger portions of the text, or replace some parts, it would be easier to select (highlight) those parts first, then modify them. So that way you won’t have to delete or rewrite the whole text.
To select and edit any part of the text, make sure to have the Type Tool active. Then click right before or after the part of the text you want to select, and before you release the mouse button, drag to select the wanted part, then release.
Make sure not to click anywhere outside the selection, or else the text will be deselected.
This way you can select a letter, a word, a line of text, and the whole text. So basically, any part you want.
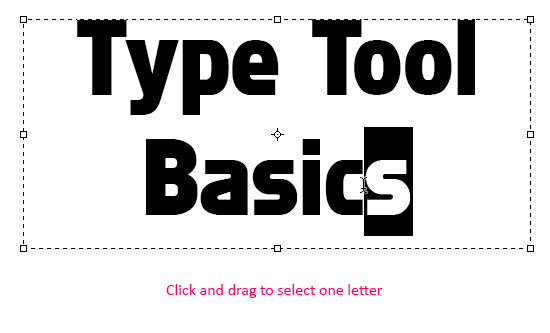
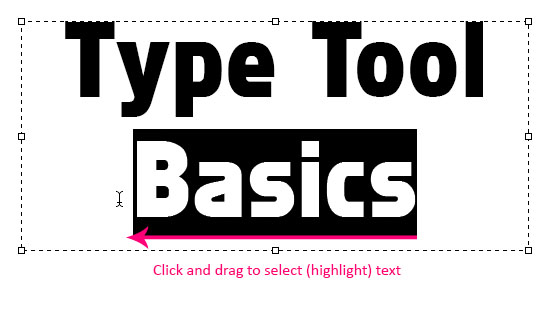
Just keep in mind that you can go only one way from where you started. So you can either select the part before where you placed the insertion marker when you clicked, or the part after it, but not both.
Selecting Shortcuts
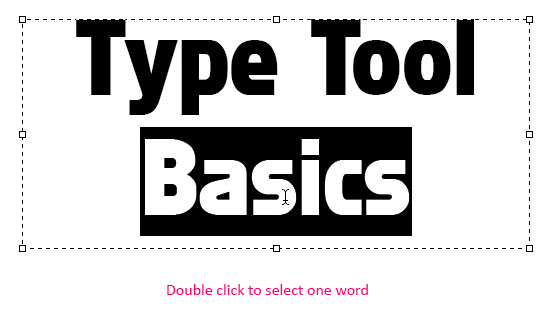
You can double click inside a word to select it quickly.
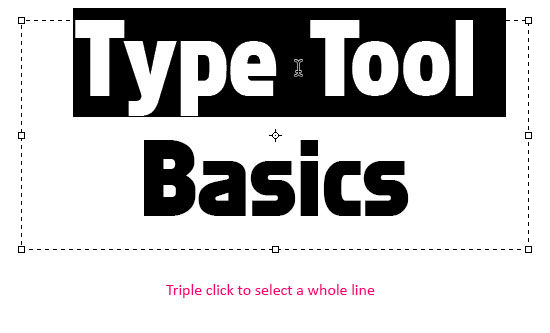
And you can triple click a line to select it at once.
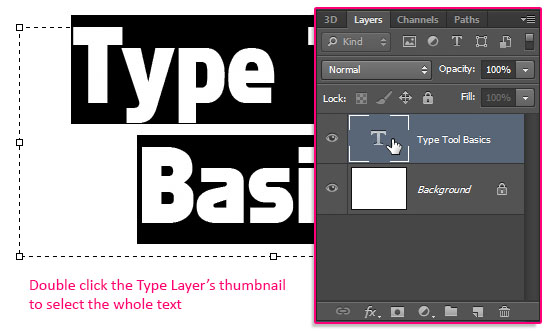
To select the whole text, double click the Type Layer’s thumbnail.
Text-based Selections
Sometimes, you might need to create a selection that has a certain text’s shape. The Type Mask Tools are one way to achieve that. But those tools do not create actual text or Type Layers, so everything needs to be perfected beforehand.
To create the selection after creating the text, select the Type Layer, the go to Select -> Load Selection.
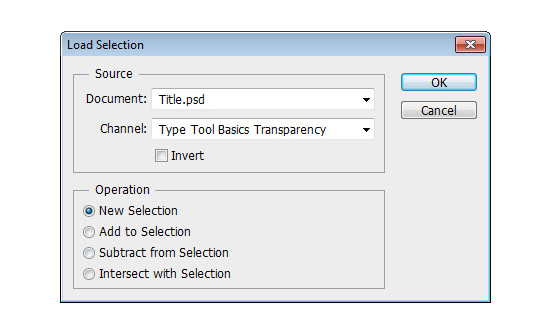
The “Load Selection” box appears, and it consists of two parts: Source and Operation.
The Source part is the part where you choose what to use in order to create the selection.
So in the “Document” drop down menu, you’ll find a list of the names of all the opened documents you have. And in the “Channel” drop down menu you’ll find the name of the selected layer, in this case, the Type layer.
The Operation part is where you choose how to create the selection. So you can create it as a new separate one, or, you can add it to, subtract it from, or intersect it with an already existing selection.
Once you click OK, you’ll have your text-based selection created.
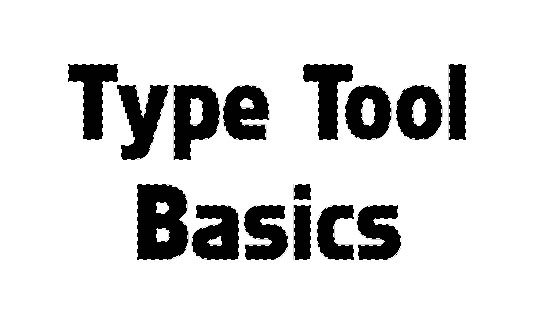
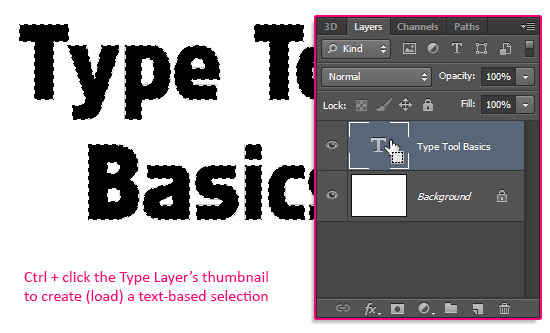
– Ctrl/Cmd + Shift + Click thumbnail -> Add to selection
– Ctrl/Cmd + Alt/Option + Click thumbnail -> Subtract from selection
– Alt/Option + Ctrl/Cmd + Shift + Click thumbnail -> Intersect with selection.
This is the end of this part. Next, the Type Tool Options bar settings will be explained.
Did you enjoy this post? Please consider donating to help us cover our server costs.



Amazing tutorial..
In today’s world, everybody seems to be so lazy that they just don’t help visitors via blog..
But, you have done an extraordinary job..
This type tool seems easy to use with your guide..
I would be making a poster using these..!
Thank u so much 🙂
Your comment just totally made my day! It really means a lot, and I’m really glad you found the tutorial helpful.
knowing that makes the whole thing really worth it.
Thank you very much for your absolutely kind words 🙂
WTF? Vertical Type Tool hath letters, but only allows vertical writing direction. In your screenshot it’s wrong!
I was going to discuss the point later in the series, but I guess since it created a confusion, I’ll go ahead and post it here.
The vertical text can be written in two different ways depending on the Text Engine Options. Please feel free to check the same part once again for the updated details.
Thank you for bringing the issue up, feedback is always important to improve the articles 🙂
Regards.
Thank you so much for an amazing tutorial, I have never seen an easy and simple tutorial to understand, I have a project in college and it will be helpful for me. You have save my time. Cheers
That’s really great to know!
Glad you found it helpful.
Thank you very much for the kind comment.
type tool is really productive in CS6
It certainly is!
Thanks for the comment.
Thank you for this very well written tutorial with step by step pictures and examples. Just what I needed to know to finish my Illustrative Typography homework for class.
Very glad you found it helpful.
Thank you very much for the kind comment.
Experiencing a strange problem which you may be able to answer.
I’m using CS6 on Windows 7
The shortcut key stroke for applying foreground colour to type is Alt + Backspace, for background colour it is Control + Backspace, and to open the Colour dialogue box it is Shift + Backspace.
I double click on the text icon layer to select the text then used the shortcut keys above.
I can use the shortcuts for foreground and Colour dialogue box but when I try to apply the background colour the text is erased. I’ve seen others on various web sites claiming a similar problem but never found any explanation despite numerous people claiming to use all three selection short cuts.
Am I completely stupid and missing the obvious?
Any suggestions would be gratefully received.
Not quite sure it’s “Backspace”. The shortcuts are actually “Alt + Delete” to fill with the Foreground color, “Ctrl + Delete” to fill with the Background color, and “Shift + Backspace” to open the Fill dialog box.
And you don’t need to select the text by double clicking the thumbnail, having the Type layer selected is enough.
Hope this helps.
Please feel free to add a reply with any other queries.
I love this tutorial with these easy steps.it will help me alot in future,i really need that.
That’s great to know!
Glad you found it useful.
Thanks a lot for the comment.