Simple Floral Text Effect Using the “Mia Charro Graphics Bundle”
The Mia Charro Graphics Bundle by TheHungryJPEG.com includes 12 of Mia’s fantastic products. Valued at a retail price of over $800, if purchased separately. For a limited period only this beautiful collection can be purchased for just $15.

The pack itself includes a wide range of file formats, including JPEG & PNG files meaning it is completely accessible to everyone interested in using these items. So hurry up and get your copy now before this awesome deal ends.

This tutorial will show you a simple way of using some of the pack’s wonderful elements, to create a lovely floral text effect. Let’s get started!
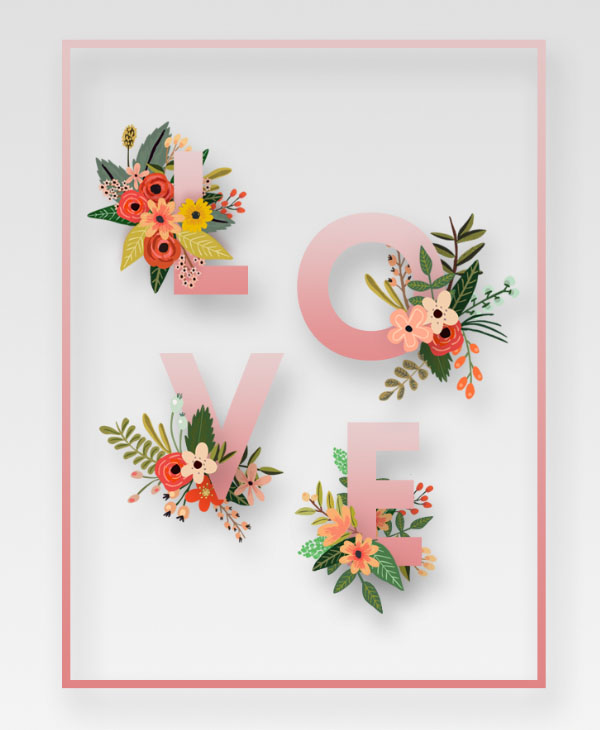
The Final Result

Tutorial Details
- Software Used : Photoshop
- Version : CC 2015
- Time : 0:15 – 0:35
Resources
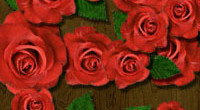
First off, you’ll need to choose the images you’re going to add to the text, then open them in Photoshop. The ones used here are from the Bloom! folder.
What you’ll need to do after that, is decide what part of each image you want to place in front of the letter, and what part you’ll place behind it.
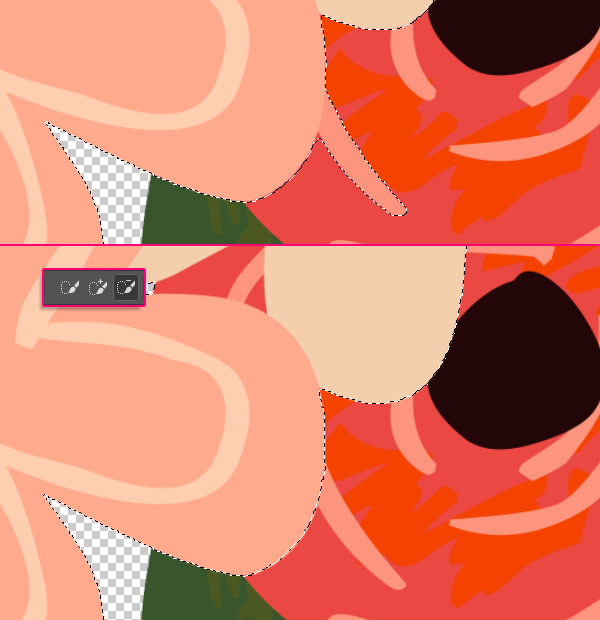
Once you have that in mind, it’s time to select the part you want to place in the front. There are two main ways to create the selection:
Step 1
The first way to select the front part is by using the Magic Wand Tool. So you simply pick the tool, and un-check the Contiguous box in the Options bar, then click to start creating the selection.
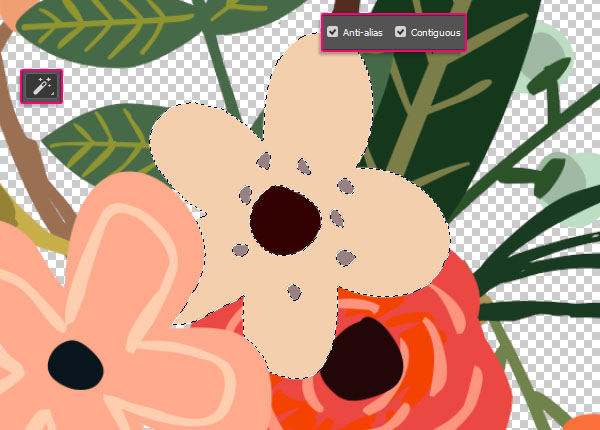
Click the Add to selection icon in the Options bar, and keep clicking the parts you want to add to the selection.
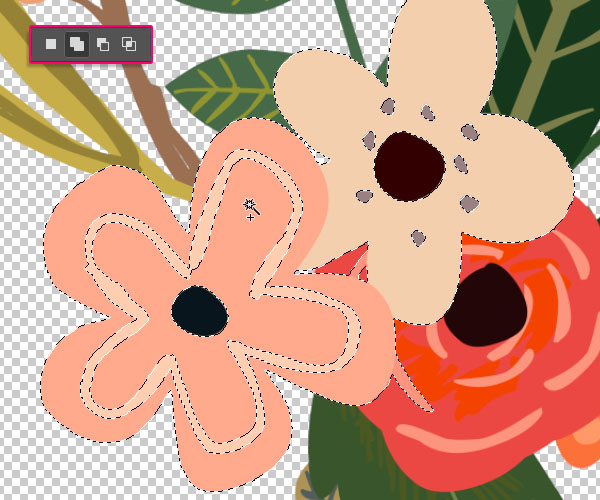
The second way is by using the Quick Selection Tool, with the Add to selection icon clicked as well. You just need to click and drag slightly to add to the selection. This is an easier option for the smaller parts to avoid clicking each one of them separately.
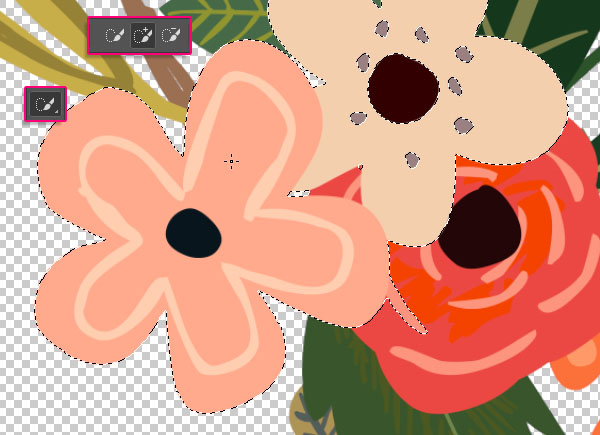
If any parts get added to the selection by mistake, you can click the Subtract from selection icon to deselect them.
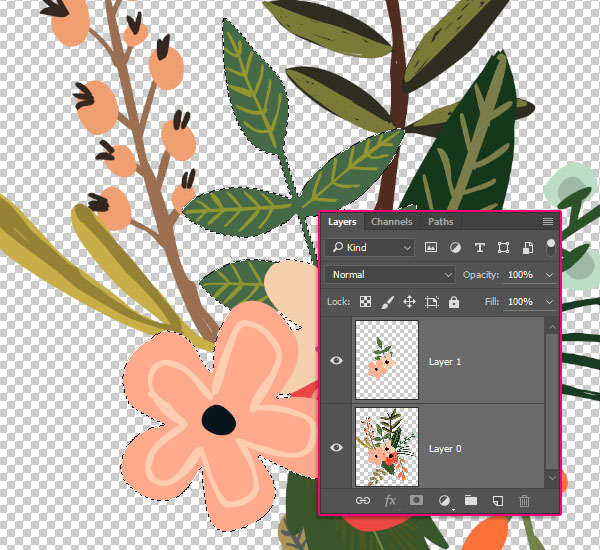
Once you’re done creating the selection, press the Ctrl/Cmd + J keys to duplicate the selection in a new layer.
Repeat that to all the other images you’ll be using.
Step 2
Create a new 750 x 955px document and duplicate the Background layer.
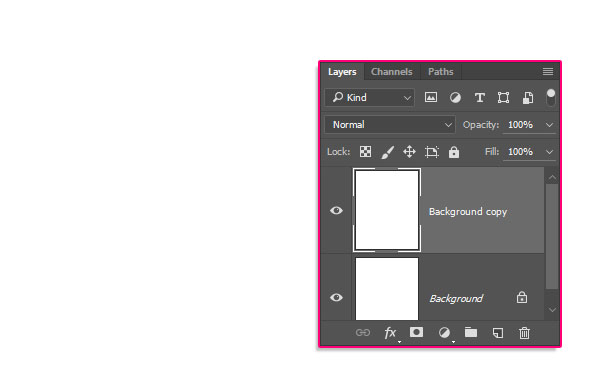
Double click the Background copy layer to apply a Gradient Overlay effect using the following settings:
- Check the Dither box
- Click the Gradient box to create the gradient using the colors
#f4f4f4to the left and#e0e0e0to the right.
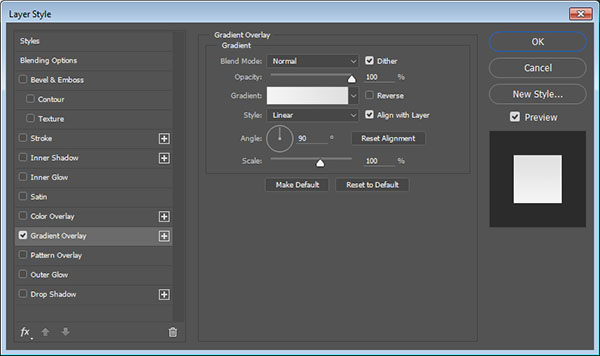
This will add a subtle gradient to the background.

Step 3
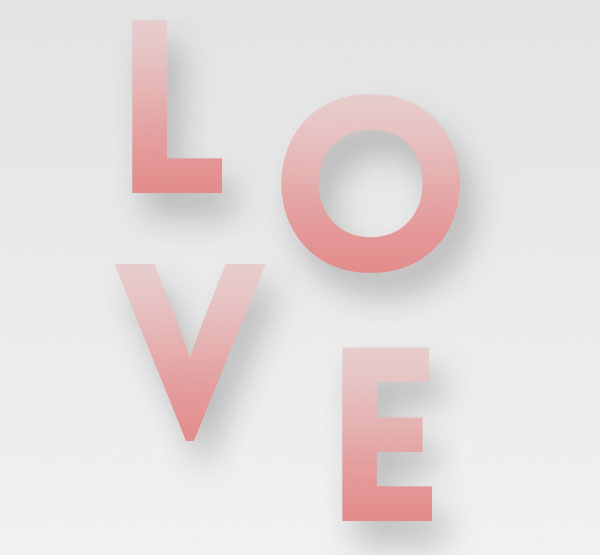
Create the text in All Caps, each letter in a separate layer, using the font Lovelo Black, and the font Size 300pt.
Place the letters how you’d like them to be, and make sure to keep enough space for the flowers.

Double click any of the letter layers to apply the following layers style:
– Gradient Overlay
- Check the Dither box
- Click the Gradient box to create the gradient using the colors
#e38d8dto the left and#e7cdcdto the right.
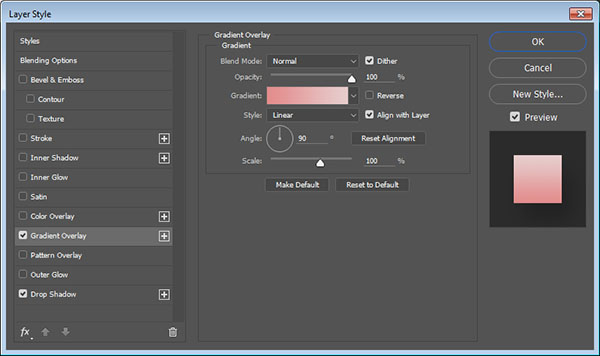
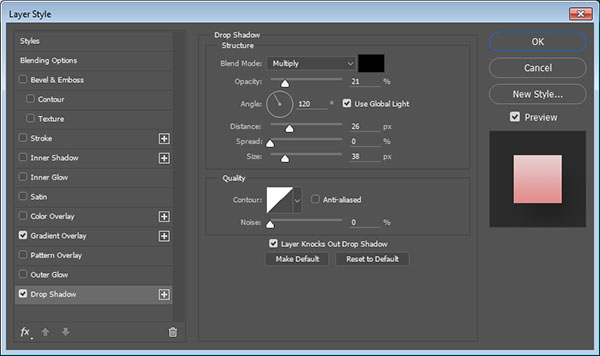
Add a Drop Shadow with these settings:
- Opacity: 21%
- Distance: 26
- Size: 38
Right click the styled letter’s layer, choose Copy Layer Style, then select the rest of the letter layers, right click any of them, and choose Paste Layer Style.
This will style all the letters.
Step 4
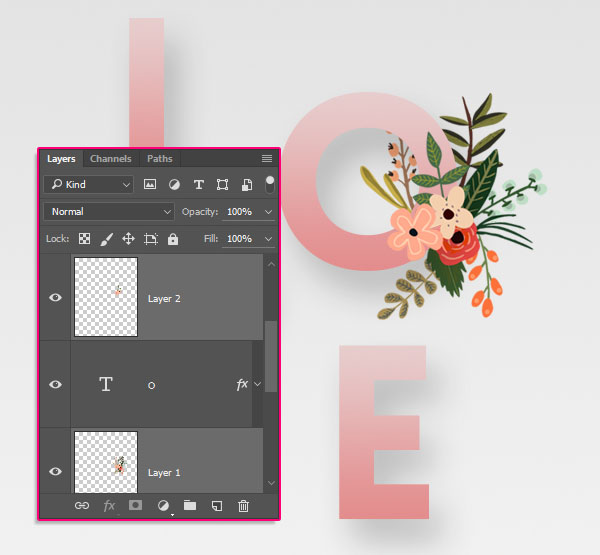
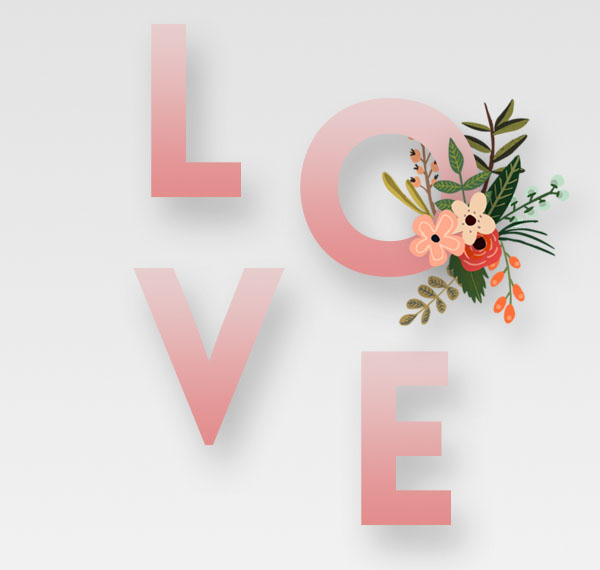
Now go back to the flower documents you have, and for each one, duplicate both layers to the original document.
After that, place the letter between both flower layers, select those flower layers, and press Ctrl/Cmd + T to enter the Free Transform Mode.
Resize, rotate, and reposition the flowers as you like, then hit the Enter/Return key to accept the changes.
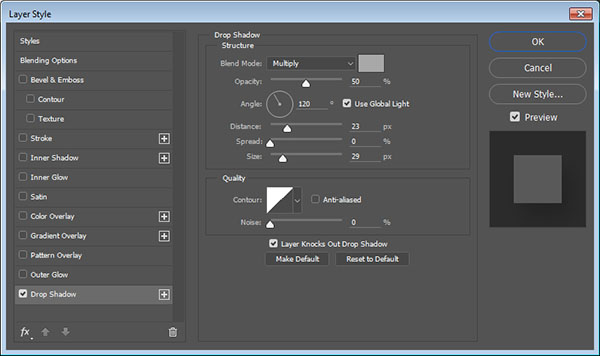
Double click the back flower layer to apply a Drop Shadow effect using the values below:
- Color:
#a8a8a8 - Opacity: 50%
- Distance: 23
- Size: 29
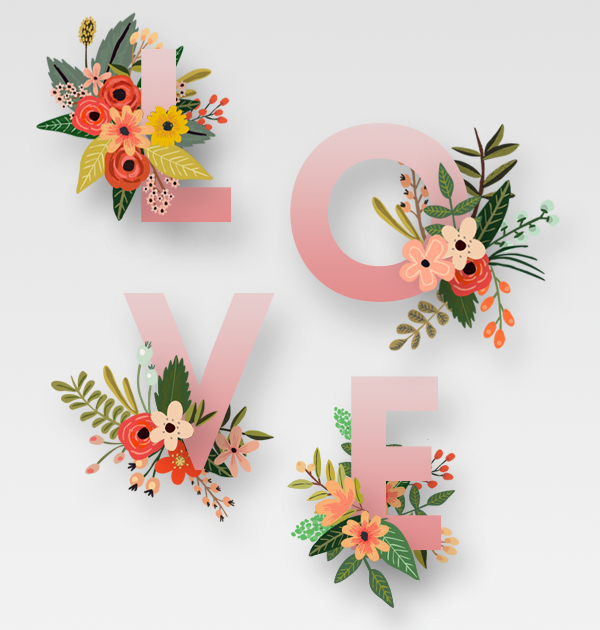
Copy and paste the same layer style to the front flower layer.
Add the rest of the flower layers, and paste the same layer style to all of them.
Step 5
Pick the Rectangle Tool and create a rectangle around the text. In the Options bar, change the Fill to None, and the Stroke Size to 10.
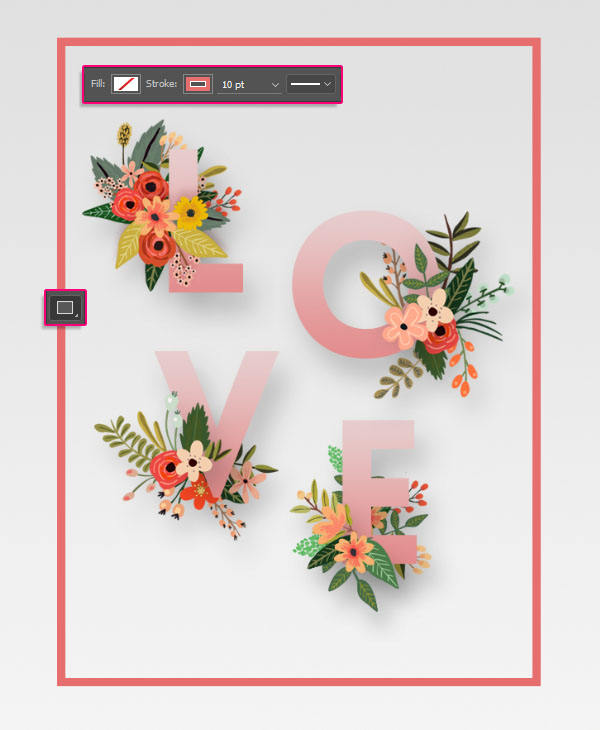
Copy and paste the text layer style to the rectangle.
Step 6
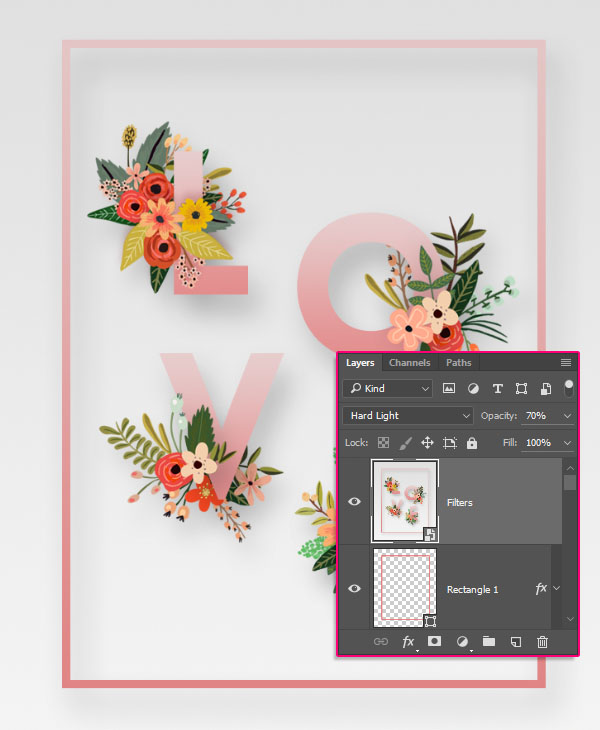
Go to Select > All, Edit > Copy Merged, then Edit > Paste.
Place the pasted layer on top of all layers, rename it to Filters, then right click it and choose Convert to Smart Object.
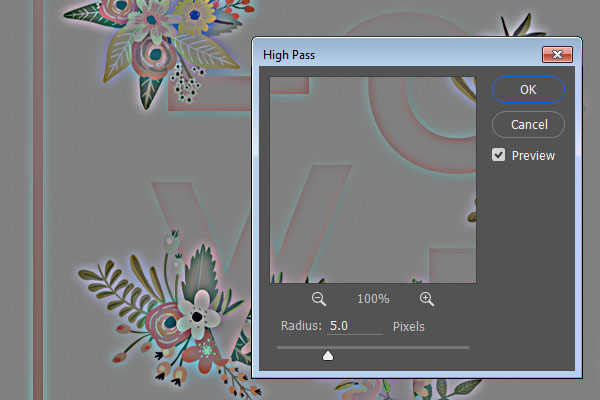
Go to Filter > Other > High Pass, and set the Radius to 5.
Change the Filters layer’s Blend Mode to Hard Light and its Opacity to 70%.
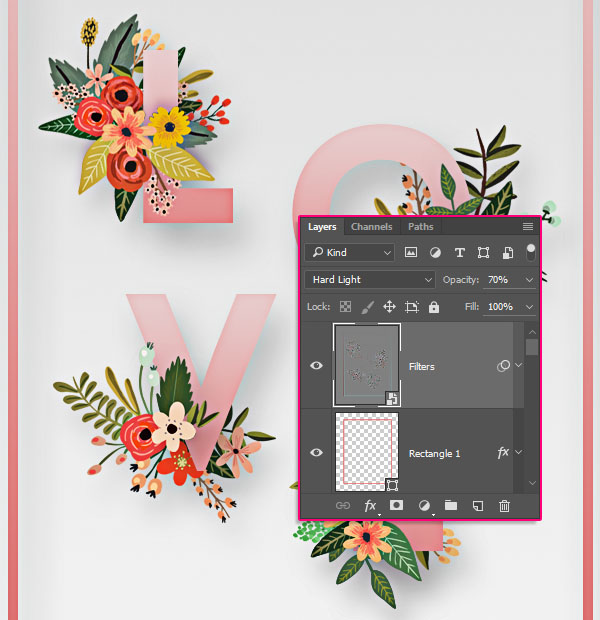
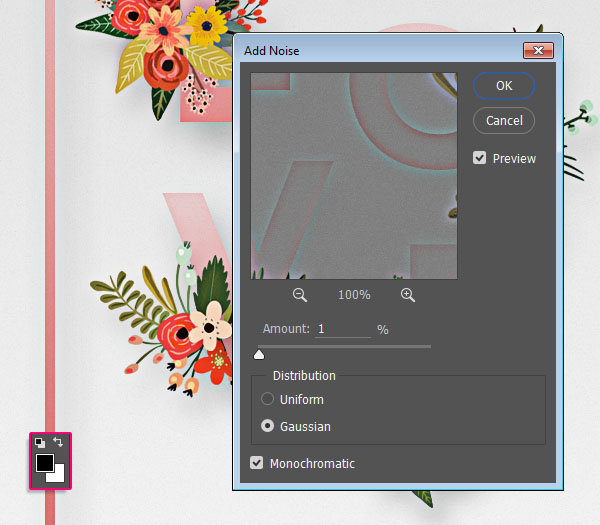
Set the Foreground and Background colors to Black and White, then go to Filter > Noise > Add Noise.
Change the Amount to 1, choose the Gaussian Distribution, and check the Monochromatic box.
And you’re done!
Did you enjoy this post? Please consider donating to help us cover our server costs.