
Milky Text Effect
This is a super simple tutorial that will help you create a nice “Milky” text effect in less than a minute!
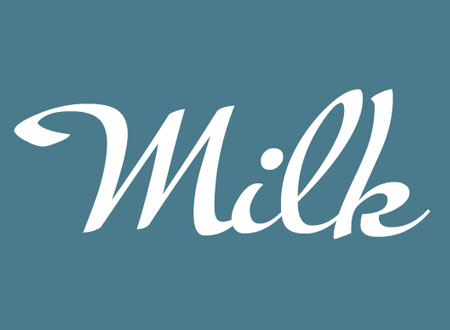
The Final Result

Tutorial Details
- Software Used : Photoshop
- Version : CS3
- Time : 1 – 2 min.
Resources
- Tiamaria Script font.
Step 1
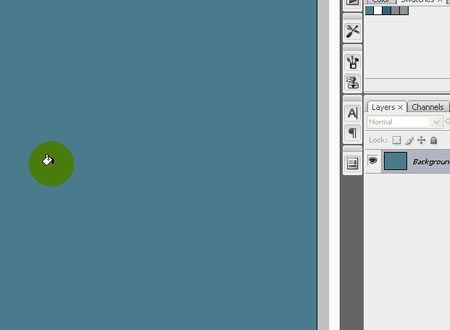
Create a new 1024 x 768 px document, and fill the Background with the color #4a7b8d.
Step 2
Create the text using the font Tiamaria Script, the font Size 257 px, and the color #ffffff.
Step 3
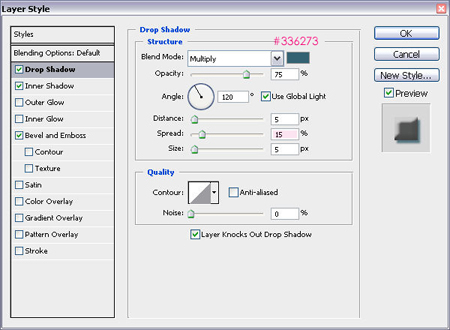
Double click on the text layer to apply the following Layer Style:
– Drop Shadow
- Color :
#336273 - Spread : 15
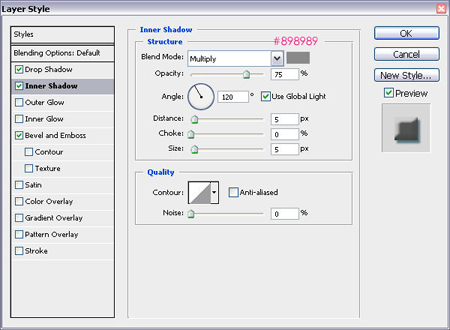
– Inner Shadow
- Color :
#898989
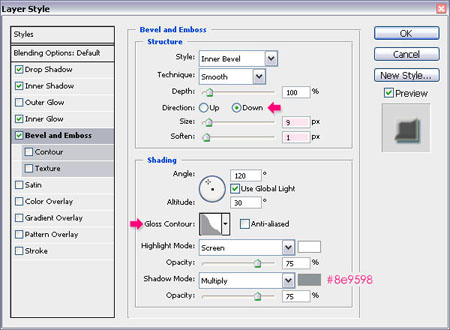
– Bevel and Emboss
- Direction : Down
- Size : 9
- Size : 1
- Gloss Contour : Gaussian-Invert
- Shadow Mode – Color :
#8e9598
And, we’re done!
Did you enjoy this post? Please consider donating to help us cover our server costs.


Latest Comments
good, i will try it later.
Thanks for the comment.
Hi!..^^
Can you tell me How to make “Gaussian-Invert”?
Yes sure! You need to follow the simple steps shown in this image https://textuts.com/images/others/contours.jpg, and when you load those contours, “Gaussian-Invert” will be among them.
Thank you so much..^^
Thanks for the short tutorial and pointing me to the nice font Tiamaria 🙂
You’re welcome!
Thanks for the comment.