Type Tool in Photoshop CS6+ – Free Transforming Text
Photoshop’s Free Transform command is one very useful feature for moving, resizing, rotating, and reshaping any object, including text.
Here’s a look at the basics of using the Free Transform Mode controls, and some tips and tricks and useful shortcuts to help you perform the many different transformations using that command.
Entering the Free Transform Mode
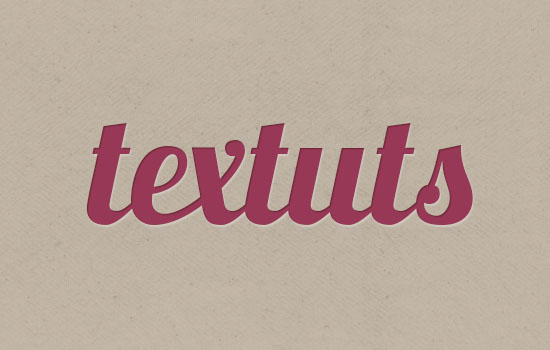
– Start by creating the text itself, and if needed, styling it as well.
(Note: You can create the text effect used in the example by following this really easy tutorial: Three Simple Elegant Headers Text Effects.)
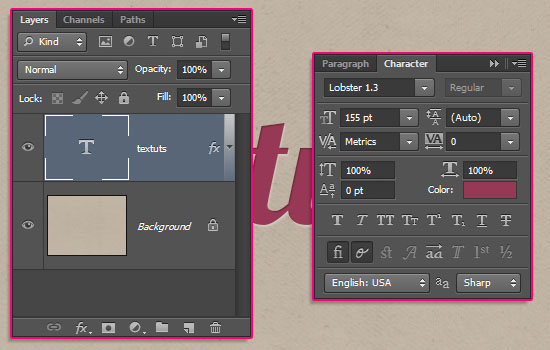
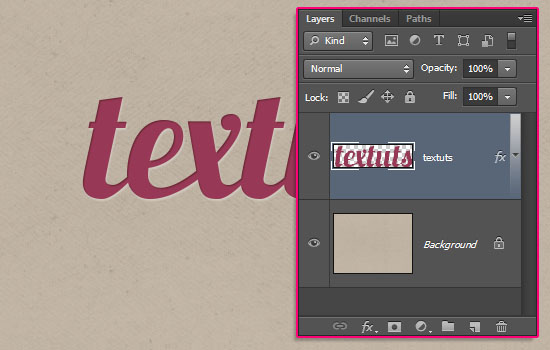
– It is important to know that the Free Transform command works on the selected layer’s contents. The text is in its separate layer, so make sure that its layer is active (selected) before you enter the Free Transform Mode.
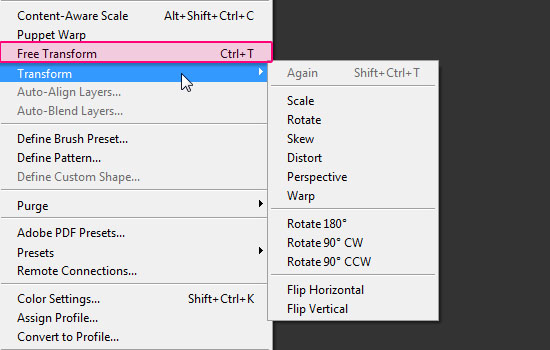
– To enter any Transform Mode, go to Edit -> Transform. You’ll find a couple of modes there, that can be accessed through the Free Transform Mode using some shortcut keys as well. But it’s good to keep in mind that they are available there if you happen to not remember the shortcut keys.
To enter the Free Transform Mode, go to Edit -> Free Transform, or simply press Ctrl/Cmd + T. This is a pretty helpful shortcut to memorize, as you’ll most probably need to access the Free Transform Mode a lot while working on almost anything in Photoshop.
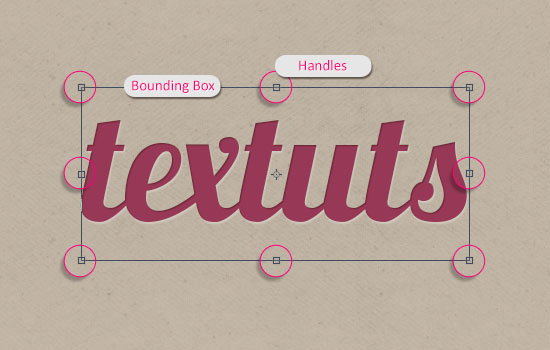
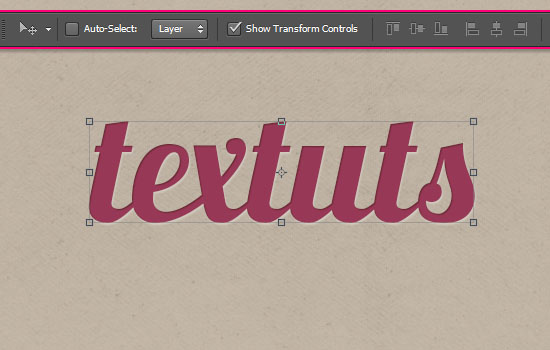
– When you enter the Free Transform Mode, the text will be surrounded with a Bounding Box that has small squares in each of its corners, and in the middle of each of its sides.
Those little squares are called Handles, and by clicking and dragging any of them, you can transform whatever is inside the bounding box.
Moving the Text
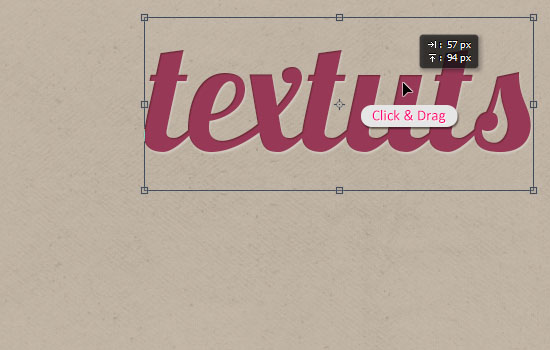
– To move the text around, you just need to click inside the bounding box, then drag the text and drop it where you want it to be.
Scaling the Text
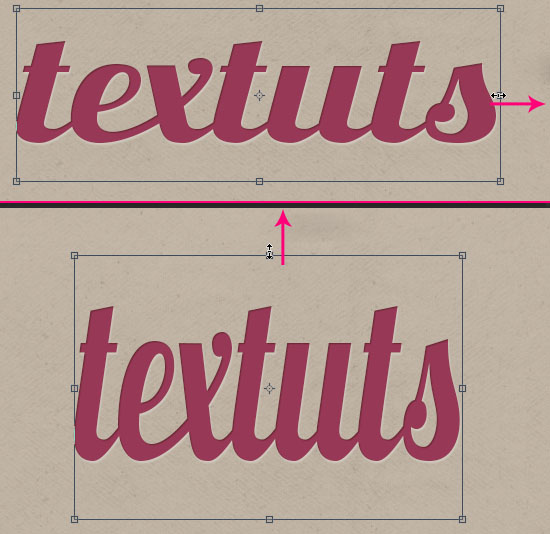
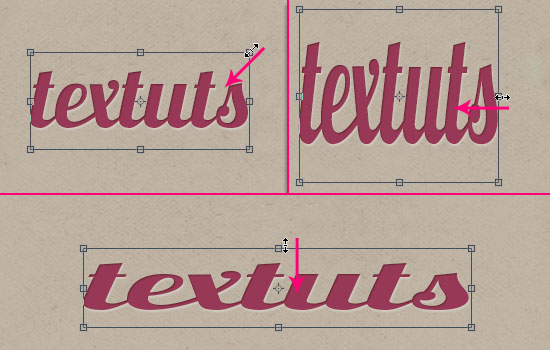
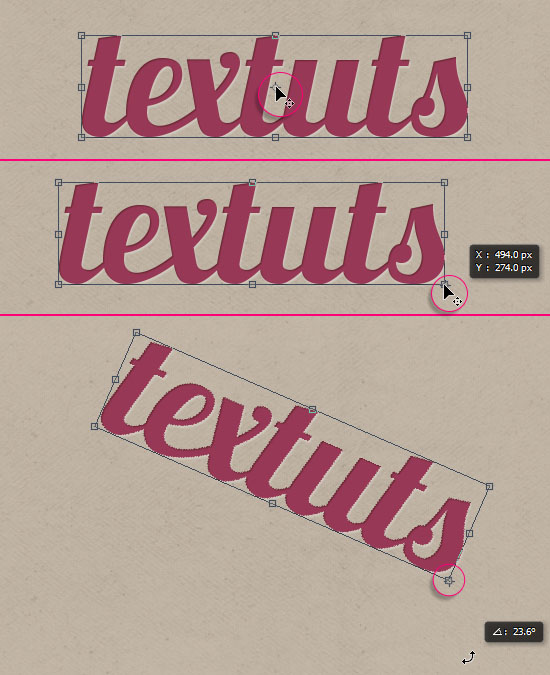
– To scale/stretch the text, you can click and drag any of the side handles to stretch the text horizontally or vertically, and hence change its width or height.
– You can also click and drag the corner handles to change both the width and height together.
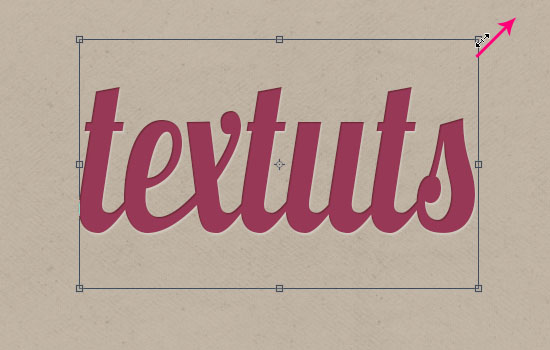
– The dragging works in both directions: Outwards and inwards.
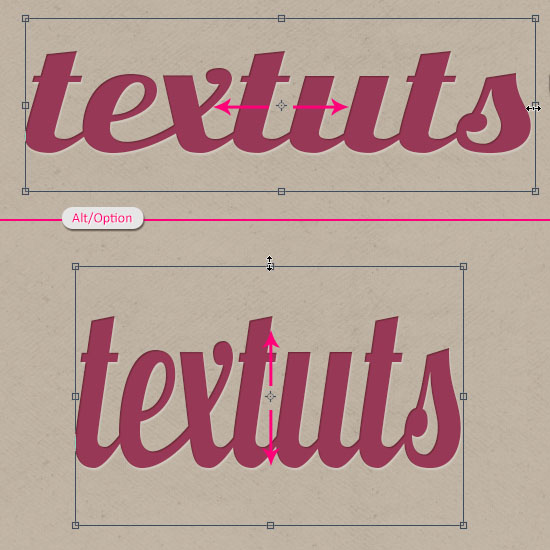
– When dragging the side handles, you can press and hold the Alt/Option key, to drag both opposite sides in opposite directions from the center.
So if you press and hold the Alt/Option key, and drag the right side handle of the bounding box outwards to the right, the left side will move outwards to the left.
And the same happens to any other side you drag while pressing and holding the Alt/option key as well.
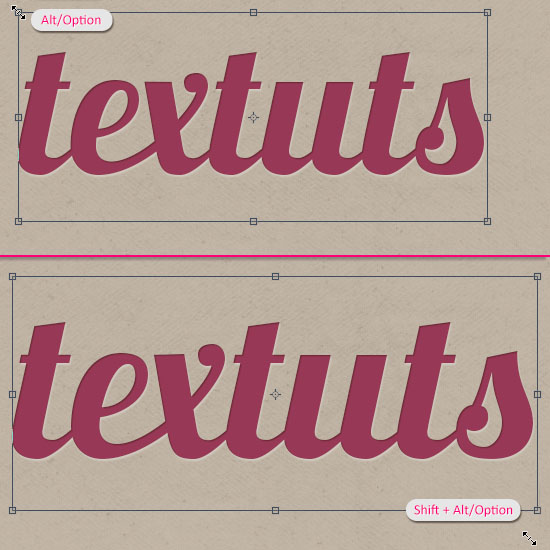
– This also works for the corner handles, so pressing and holding the Alt/Option key while dragging any corner handle is a great way to scale the text in place, with the width and height values changing around the center of the text.
Rotating the Text
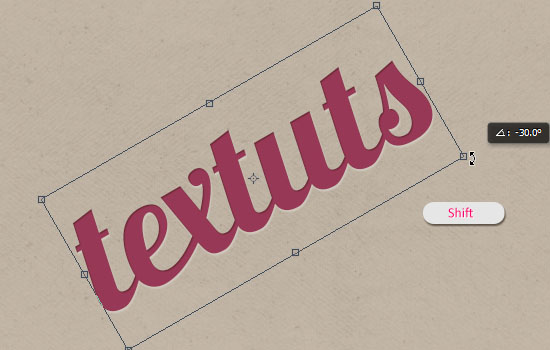
– To rotate the text, place the mouse cursor outside the bounding box, and when the cursor turns into a curved double-headed arrow, click and drag to rotate the text.
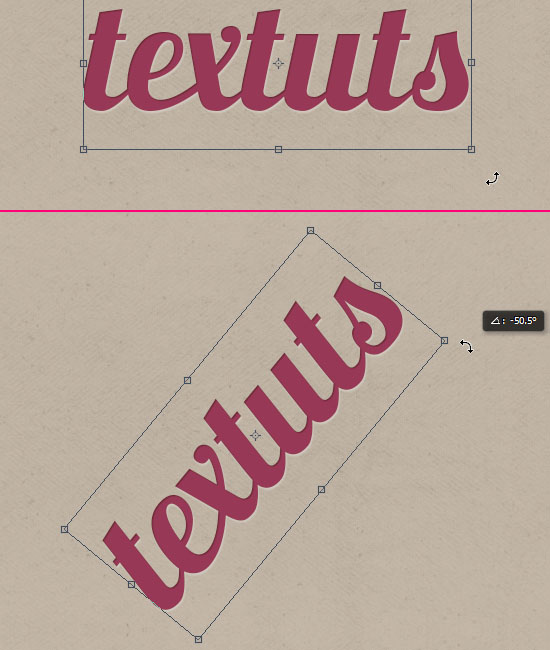
– If you press and hold the Shift key while rotating, you’ll be able to rotate in 15° increments (the text will snap into 15° increments as it is being rotated).
Skew, Distort and Perspective Transform Modes
These modes are available under Edit -> Transform.
But only the Skew option will be active, while the Distort and Perspective options will be grayed out.
This is because those modes aren’t accessible for Type Layers. But later in the tutorial, you’ll get to know how you can rasterize or convert the Type Layer into a Shape layer to access those modes.
For now, let’s take a look at the Skew Mode.
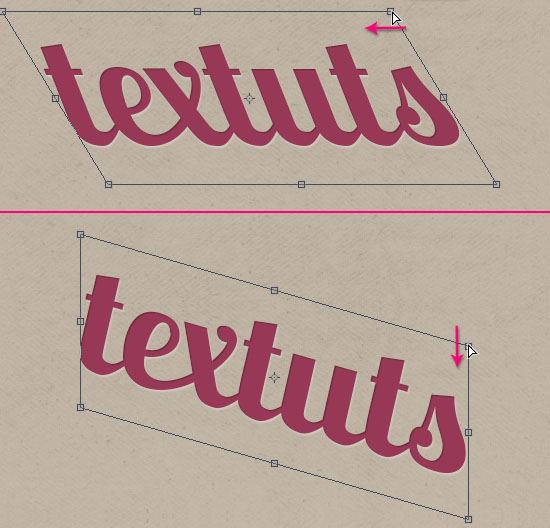
When you enter the Skew Mode, you can click and drag any corner handle to tilt the text while keeping the sides parallel.
You can drag the corner handle to the left or right, or you can move it upwards or downwards.
Skew Mode Shortcuts
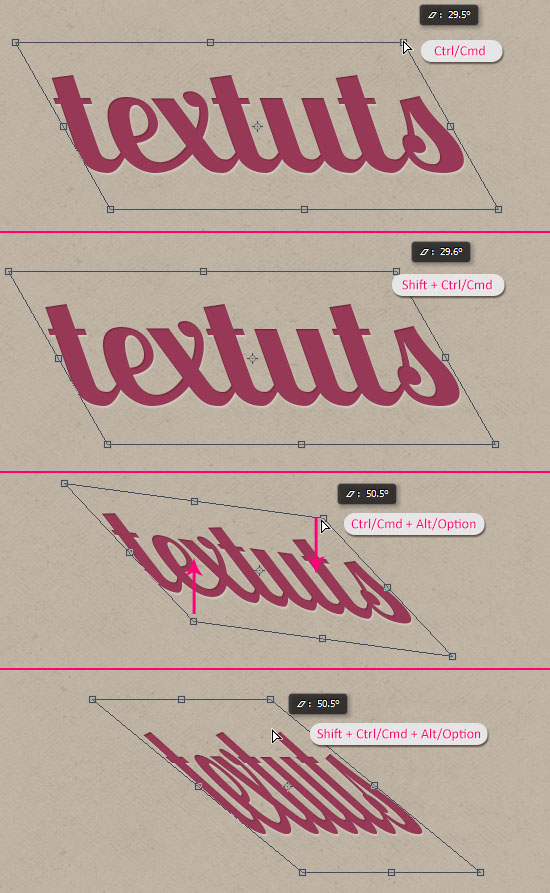
Instead of entering the Skew Mode through the Edit menu each time, you can use its keyboard shortcuts after entering the Free Transform Mode.
Ctrl/Cmd
By pressing and holding the Ctrl/Cmd key, then dragging any corner handle, you enter the basic Skew Mode, and can tilt the text as mentioned above.
Shift + Ctrl/Cmd
The Shift key constrains the text proportions while tilting it.
Alt/Option + Ctrl/Cmd
The Alt/Option key will move the diagonally-opposite corner instead of the horizontal/vertical one. And the movement happens in opposite directions as well. So if you drag the corner handle upwards, the diagonally-opposite corner will move downwards.
Shift + Alt/Option + Ctrl/Cmd
Does the same as the previous shortcut, but constrains the proportions while doing so.
Converting the Text Layer to Access the Distort and Perspective Modes
You have two options to convert text layers, but both make the text uneditable after converting its layer.
The first option is rasterizing the Type Layer, by going to Type -> Rasterize Type Layer, or right clicking the text layer and choosing Rasterize Type.
And the second option is converting the Type Layer into a Shape Layer by going to Type (or right clicking the layer) then choosing Convert to Shape.
The difference is that shapes can be resized without any loss in quality, while raster layers’ text is more likely to look pixelated when resized.
In this tutorial, however, we’re going with rasterizing the Type Layer.
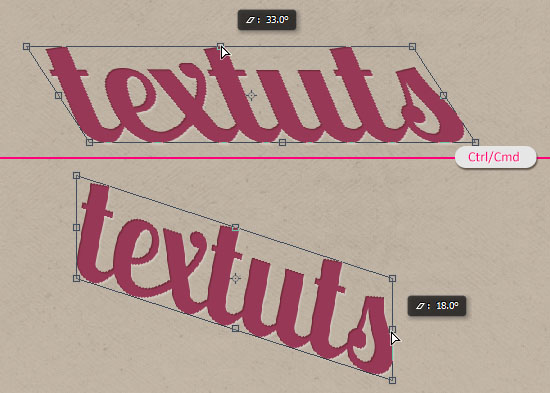
Skew
– Now, when you enter the Skew Mode, you can click and drag the side handles to tilt the text.
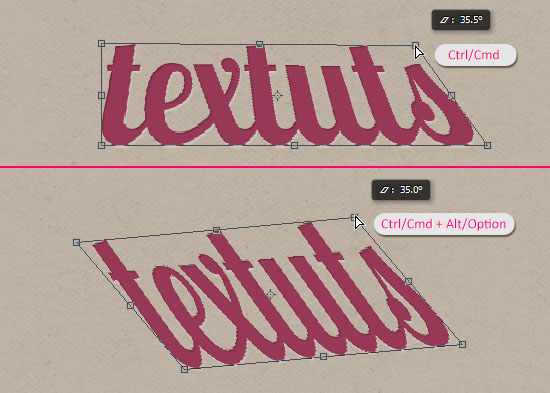
Distort
– Dragging the corner handles will move only that corner’s sides.
And if you press and hold the Alt/Option key while doing so, you can move the diagonally-opposite corner in the opposite direction.
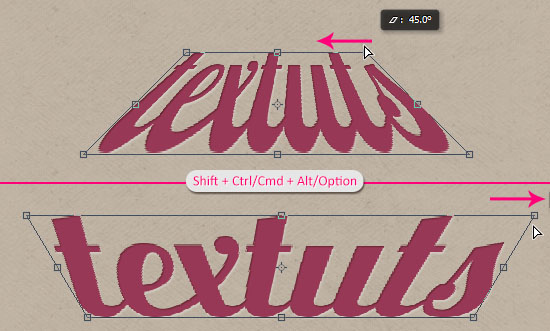
Perspective
– Pressing and holding the Shift + Alt/Option + Ctrl/Cmd keys will move the horizontally/vertically-opposite corners in opposite directions, creating text in Perspective, and giving an illusion of the text existing is a 3D space.
Commit/Cancel Transform Changes
– To accept the changes you made after you’re done modifying the text, you need to click the Commit transform icon to the right of the Options bar, or hit the Enter/Return key.
If you don’t like the changes, however, you can click the Cancel transform icon to cancel any changes you made, or press the Esc key.
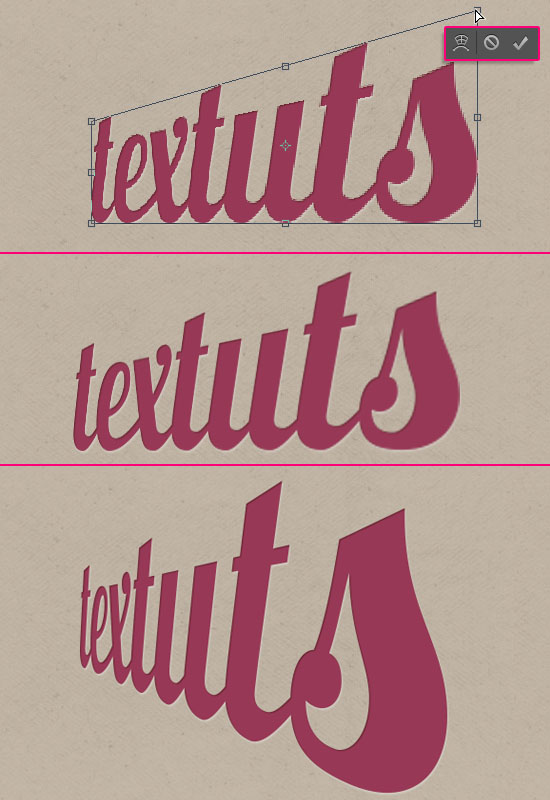
In the image below, the result in the middle is for a rasterized layer, while the one at the bottom is for a Shape layer. So you can notice the difference in the quality of both results.
Moving the Reference Point for a Transformation
– All transformations are performed around a fixed point called the Reference Point, which you can see, by default, at the center of the bounding box.
But you can change the Reference Point or move it to a different location using the Reference Point Locator in the Options bar, by clicking the point you want to set as the reference.
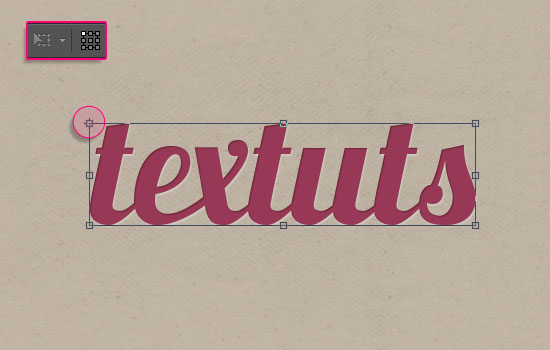
– Or, you can click and drag the Reference Point and place anywhere inside or even outside the text. Then, when you perform any changes, they will be performed around that point.
Flipping and Rotating the Text Using the Edit Menu Options
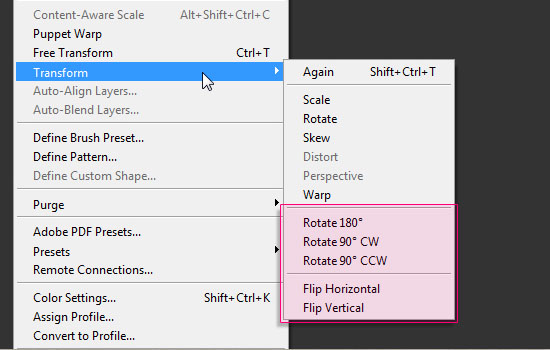
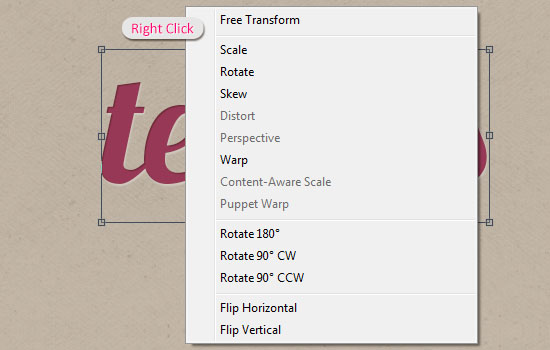
– There are a couple of quick rotation options that can be accessed through the Edit menu -> Transform.
Rotate 180°: Rotate the text by 180 degrees
90° CW : Rotate the text by 90 degrees clockwise.
90° CCW: Rotate the text by 90 degrees anticlockwise.
Flip Horizontal: Mirror the text by interchanging the left and the right parts of it.
Flip Vertical: Mirror the text by turning it upside down.
That’s a sum up of the main things you can do in the Free Transform Mode, and the other modes that can be accessed through the Free Transform Mode using some shortcut keys as well.
Conclusion
The Free Transform command is one of the most useful features in Photoshop for the resizing, rotating, and reshaping of the different objects. Text (Type) is one of the objects that can be transformed as well, with some slight differences from the other objects.
The more you use the Transform options and modes, the easier and more effective the whole process gets.
In the next part, we’ll take a look at the Character and Paragraph panels in Photoshop CS6.
Did you enjoy this post? Please consider donating to help us cover our server costs.


