Curled Ribbon Text Effect
This tutorial will show you how to create a curled ribbon text effect, then decorate it with thin stripes of glitter. The curl will be created using simple shapes and gradient overlays, and then, it will be placed all over the text using some techniques and tips and tricks. After that, the glitter stripes will be created and styled, and finally, you’ll learn how to change the color of the final result as you like.
The Final Result
Tutorial Details
- Software Used : Photoshop
- Version : CS6 Extended
- Time : 1:15 – 2:30
Resources
- ETH (ETH Sans/EthBlackEthon.ttf) font.
- White plaster pattern by Phil Maurer.
- 3px tile pattern by Gre3g.
Step 1
Create a new 1100 x 750 px document. Set the Foreground color to #fdfdfd and the Background color to #9e9a97. Pick the Gradient Tool, choose the Foreground to Background gradient fill, and click the Radial Gradient icon.
Then, click and drag from the center of the document to one of the corners to create the background gradient, and duplicate the Background layer.
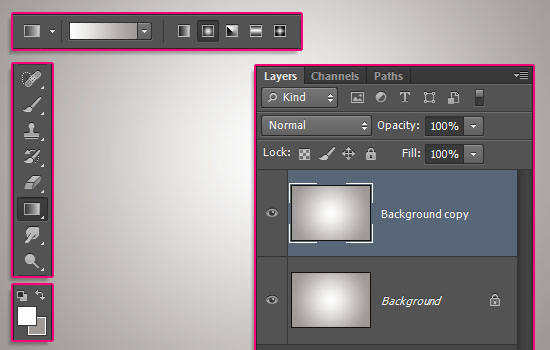

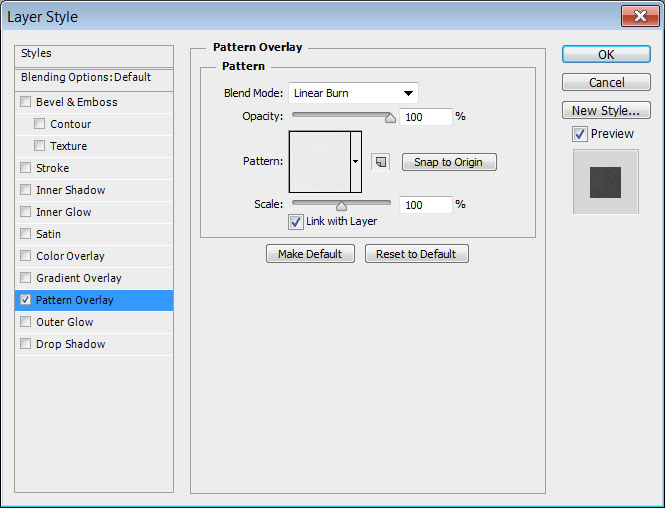
Double click the copy Background layer to apply a Pattern Overlay effect:
- Blend Mode : Linear Burn
- Pattern : White plaster
This will add a subtle pattern to the background.

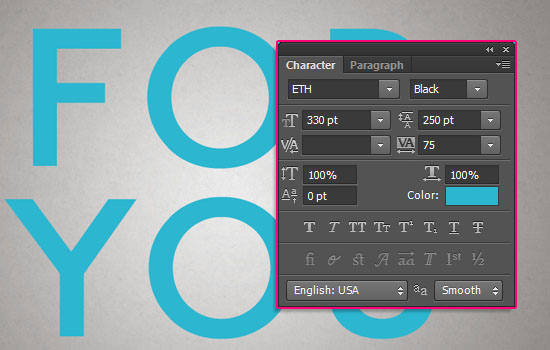
Create the text using the font ETH (Black). The text will be used as a reference only, so choose a bright blue color to keep a high contrast between the ribbon curls and the original text. The Size is 330 pt, the Tracking is 75 pt, and if you’re using more than one line of text, set the Leading value to 250 pt.

Step 2
Create a new 300 x 300 px document. Pick the Rectangle Tool and create a 160 x 102 px rectangle in the center of the document.
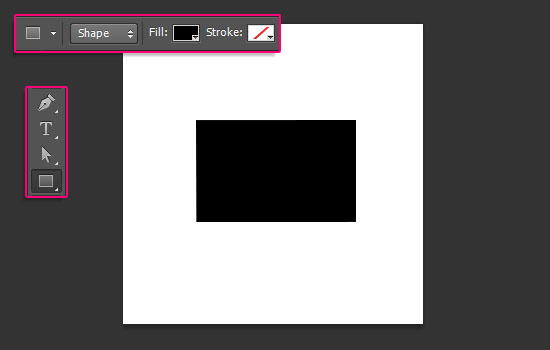

Pick the Direct Selection Tool, then click and drag to select the two left anchor points.
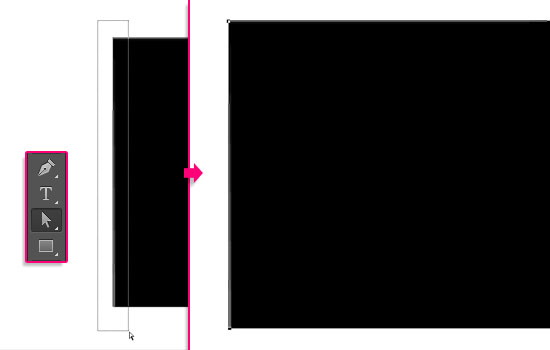

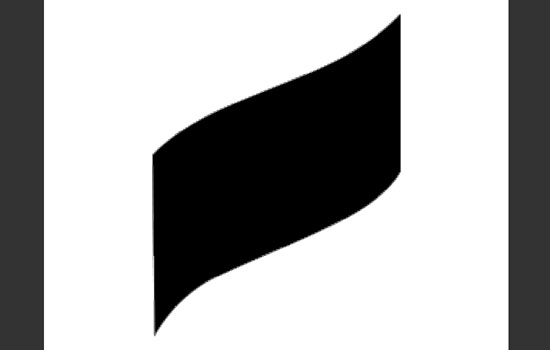
Use the Down Arrow key to move the left points downwards. Then, select the right anchor points and use the Up Arrow key to move them upwards. You need to achieve a shape similar to the one shown below.
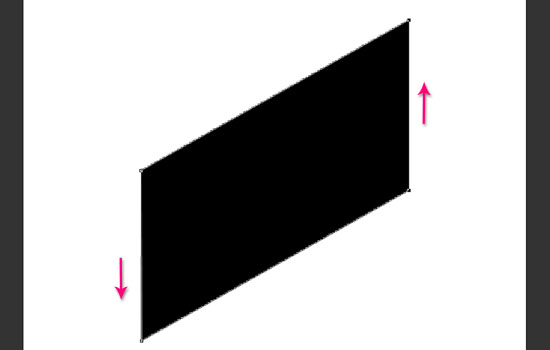

Pick the Add Anchor Point Tool, then click to add a point near the upper left point.
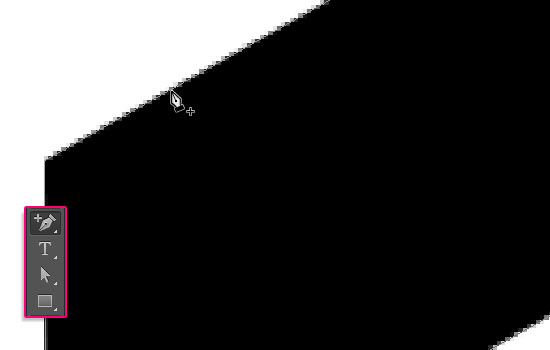

Click to add 3 more points near the other corners.
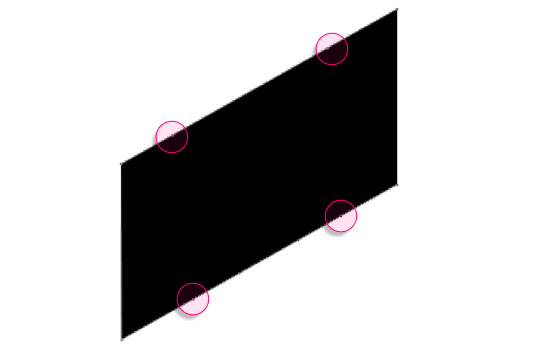

Next, use the Direct Selection Tool to select and move the points in order to create the shape below.

Step 3
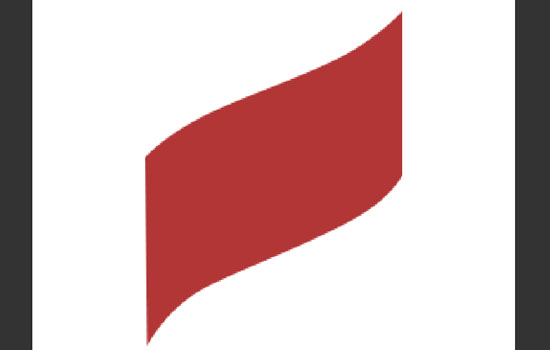
Change the Shape’s Fill color to #b23636.

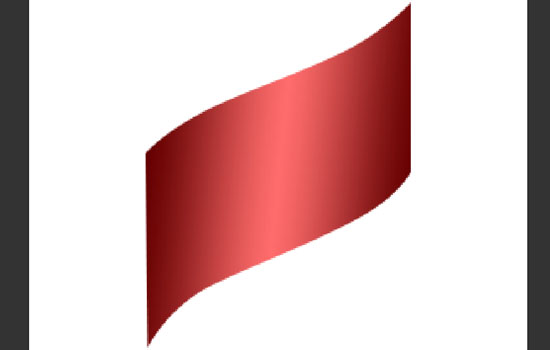
Double click the shape layer to apply a Gradient Overlay effect:
- Blend Mode : Overlay
- Style : Reflected
- Angle : -5
- Use a
WhitetoBlackgradient fill
This will create an illusion of a 3D curved ribbon.

Duplicate the shape layer and change the copy’s Fill color to #2f1616.
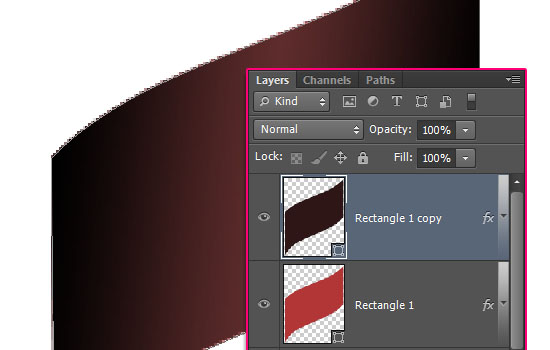

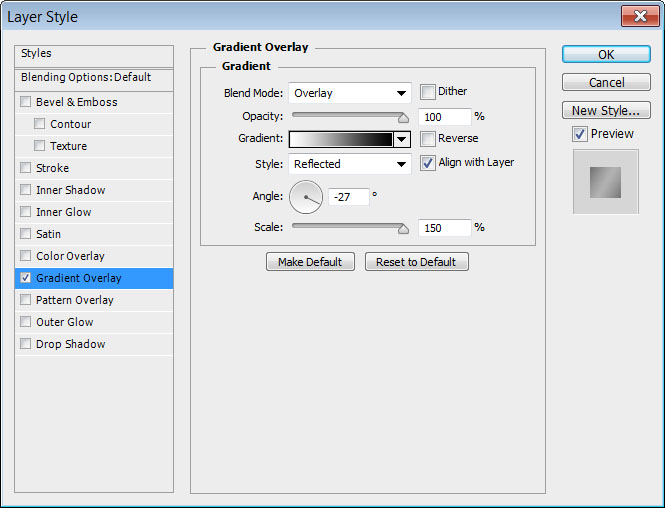
Double click the copy shape layer to change its Gradient Overlay effect’s Settings:
- Angle : -27
- Scale : 150%
Go to Edit > Transform Path > Flip Vertical.
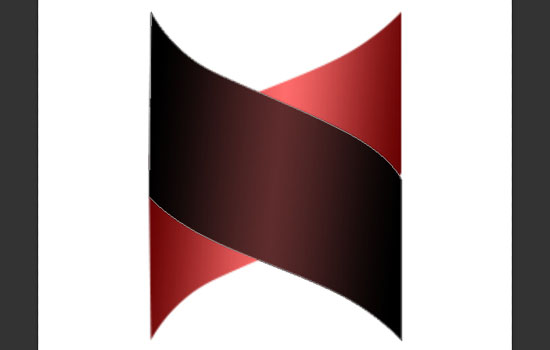

Drag the copy shape layer below the original, then move it downwards to connect both seamlessly.
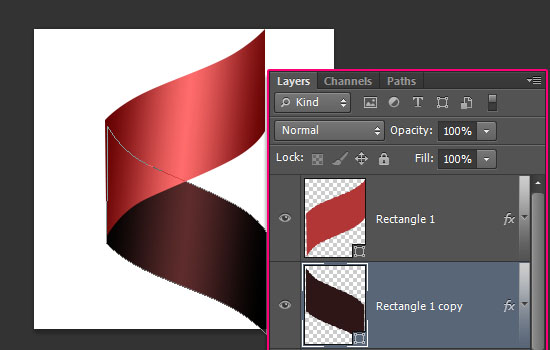

Select both shape layers, then go to Edit > Transform > Scale, and scale them down to fit within the document. Hit Enter/Return when done to accept the changes.
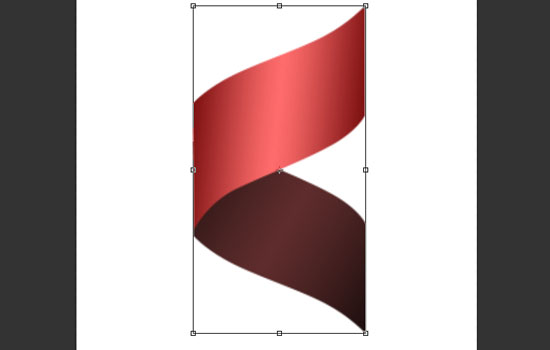

Step 4
With both layers still selected, go to Layer > Duplicate Layers, and choose the original document’s name from the Document drop down menu under Destination.
Save the shapes’ document (File > Save) and close it (File > Close) to go back to the original one.
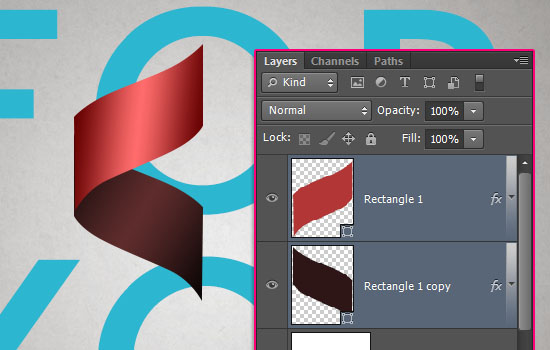

For each shape layer, right click it then choose Rasterize Layer Style. If you’re using < CS6 versions, then you’ll need to group each layer (Layer > Group Layers) then merge the group (Layer > Merge Group).
This will make sure that the gradient maintains its angle when the curl is rotated later.
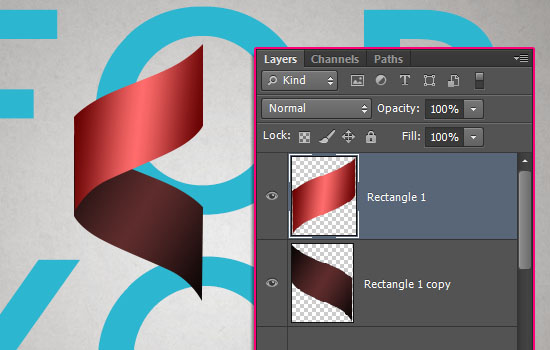

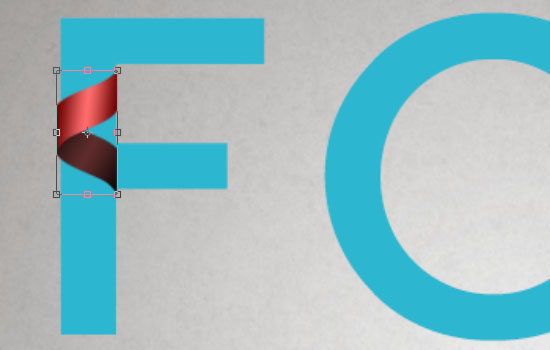
Select both layers again, then go to Edit > Transform > Scale to scale them down until they have the same width of the text. Hit Enter/Return when done.

Duplicate the two layers, then go to Layer > Merge Layers. These are the original parts that you’ll use to create the text effect. You have each individual part, and the curl.
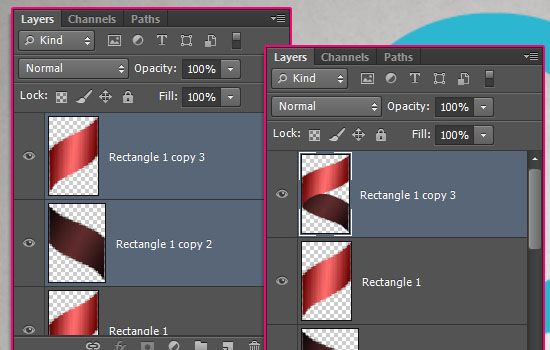

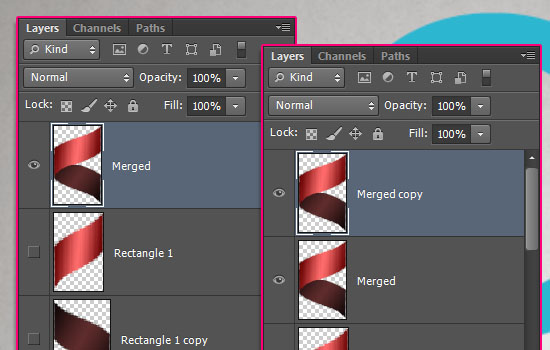
You can make the individual parts invisible (by clicking the eye icons next to each of them), then duplicate the curl to start creating the text.
(If you need to use the invisible layers, you can make them visible again by clicking the empty box where the eye was).

Step 5
The trick while placing the curls is to pay attention to the order of the layers, so that the front and back of the curls don’t get mixed up.
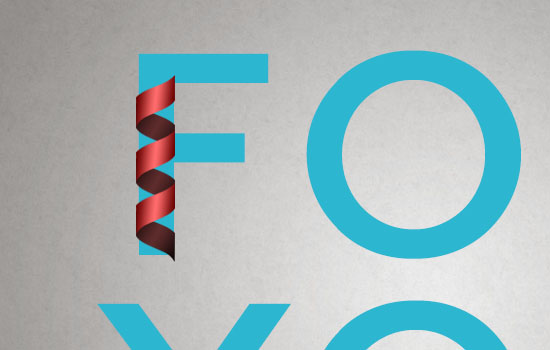

In order to place the curls all over the text, you need to make use of the:
– Arrow Keys : To move the curls easily and accurately.
– Edit > Transform > Rotate : To rotate the curls where needed.
– Edit > Transform > Flip Vertical / Flip Horizontal : To keep the order of the front and back sides of the curls.
You can also use the Eraser Tool to get rid of any parts that overlap outside the actual curls.
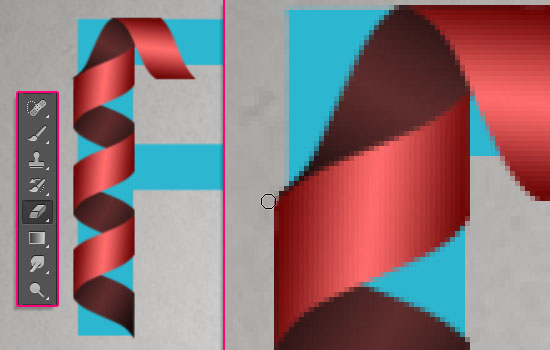

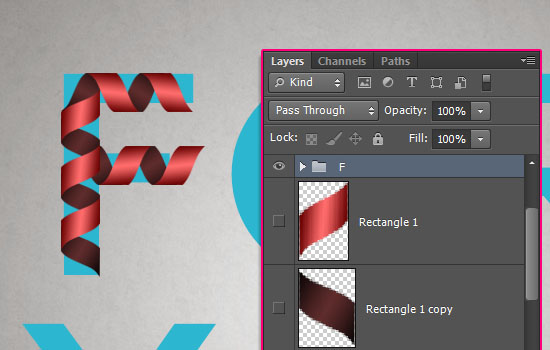
When you’re done creating a letter’s curls, it’s a good idea to group them in a group that has the letter’s name. This will keep things organized.

Here’s a trick to help you create the “O” letter. Place the curl horizontally at the top of the letter, with the light side to the left. Then duplicate that curl’s layer, enter the Rotate mode, then rotate the copy 36° CW, and move it so that it is connected with the horizontal curl, then hit Enter/Return.
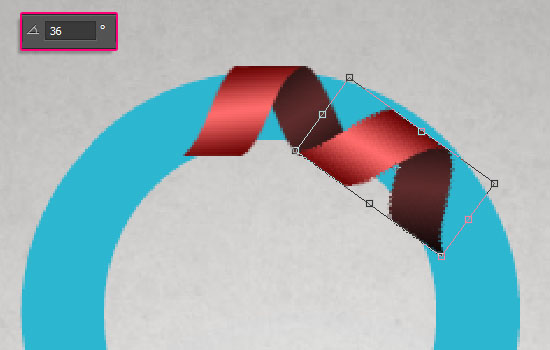

Press the Alt + Ctrl + Shift + T or Option + Cmd + Shift + T keys a couple of times until a full circle is created (leading back to the horizontal curl).
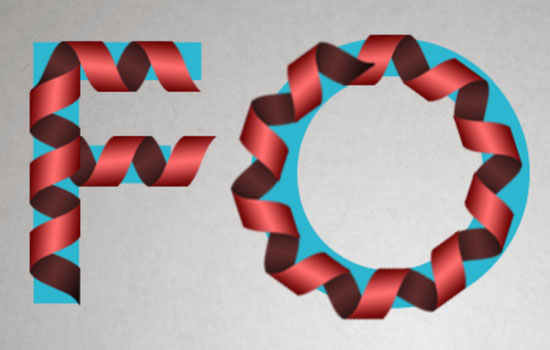

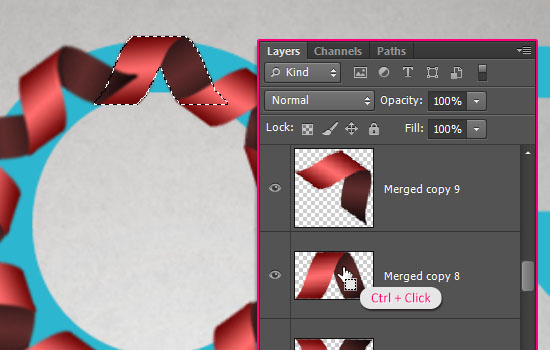
Ctrl/Cmd + click the horizontal curl’s thumbnail to create a selection.

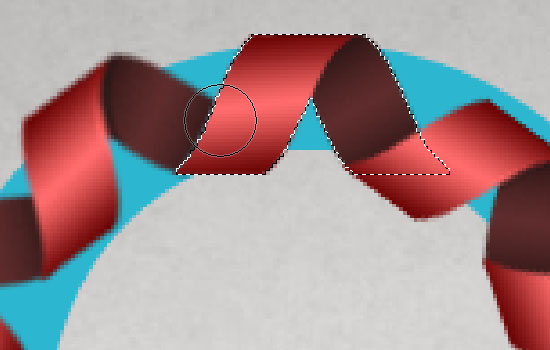
With the last curl’s layer selected, hit Delete or use the Eraser Tool to get rid of the overlapping part.

Use those techniques, and duplicate any similar parts (instead of recreating them) for any similar letters, to finish adding the curls.
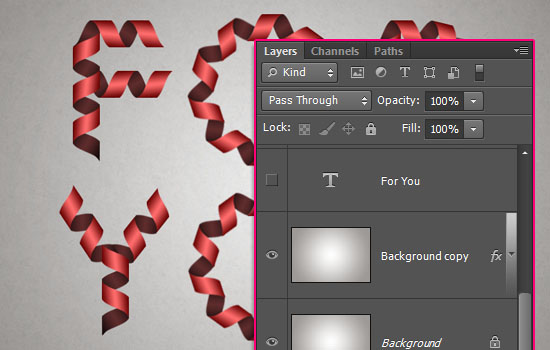
When you’re done, make the original text layer invisible. Now, you can see the ribbon curls without the text behind them. Make any needed changes to enhance the final result.
Click the image below to see the final result of this step.
Step 6
When you’re done, group the original curl layers (if you still have them) in a group called Original, and the text letters’ groups in another group called Final.
Duplicate the Final group, and make it invisible along with the Original group.
Then, with the copy Final group selected, go to Layer > Merge Group.
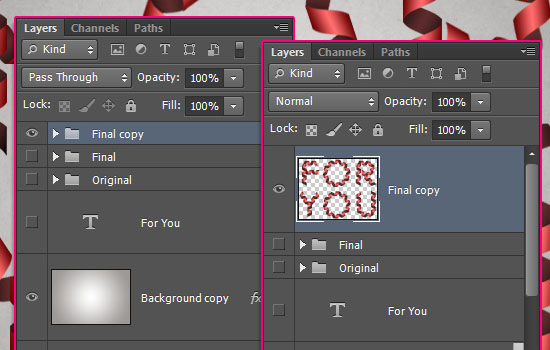

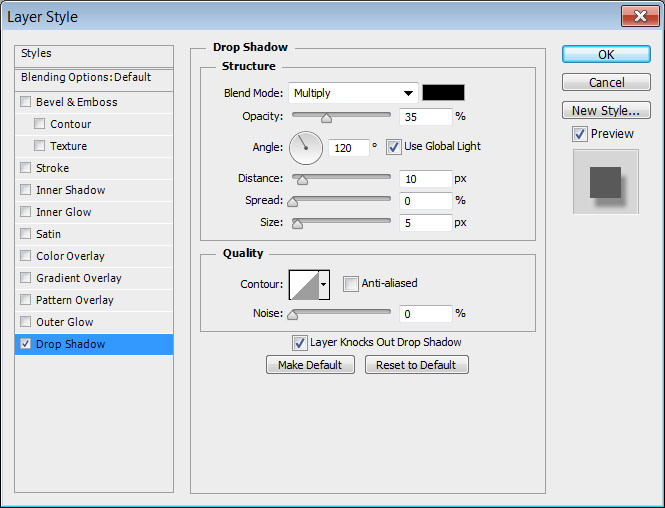
Double click the merged layer to apply a Drop Shadow effect:
– Drop Shadow
- Opacity : 35%
- Distance : 10
This will add a simple shadow to the curls.
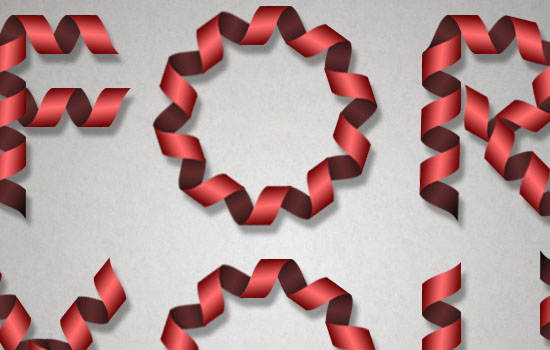

Step 7
Ctrl/Cmd + click the merged layer’s thumbnail to create a selection, then create a new layer on top of all layers and call it Glitter.
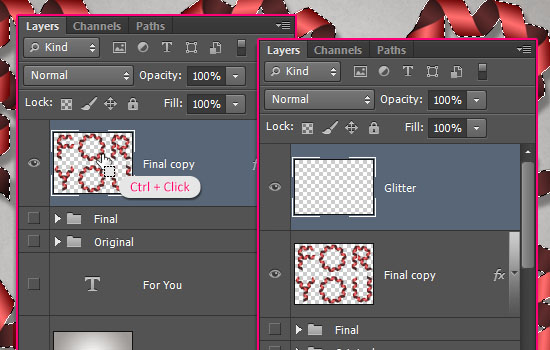

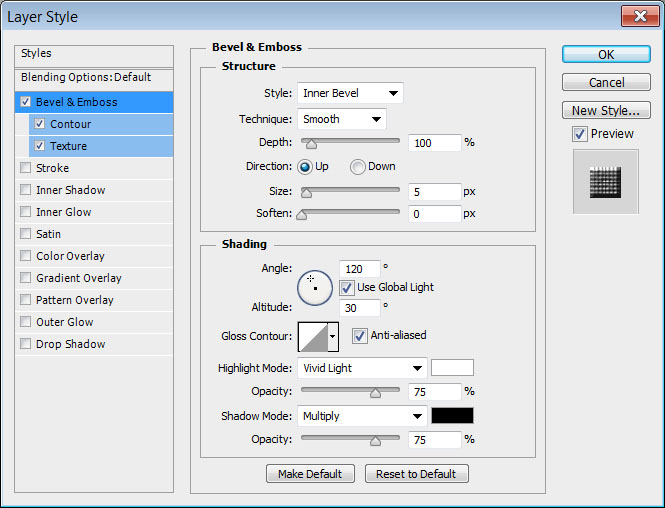
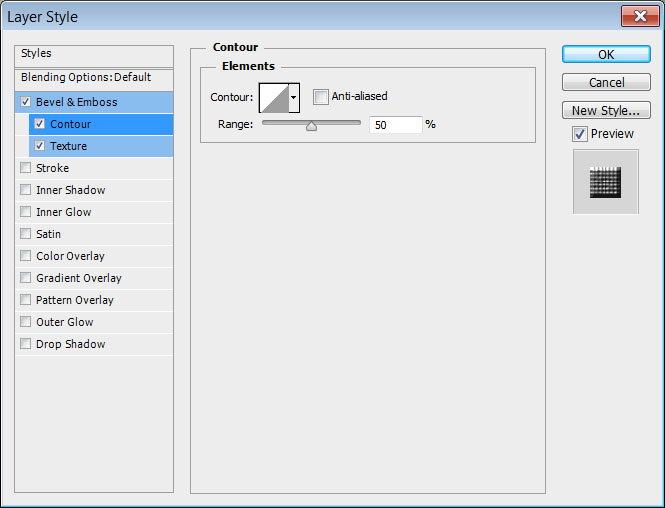
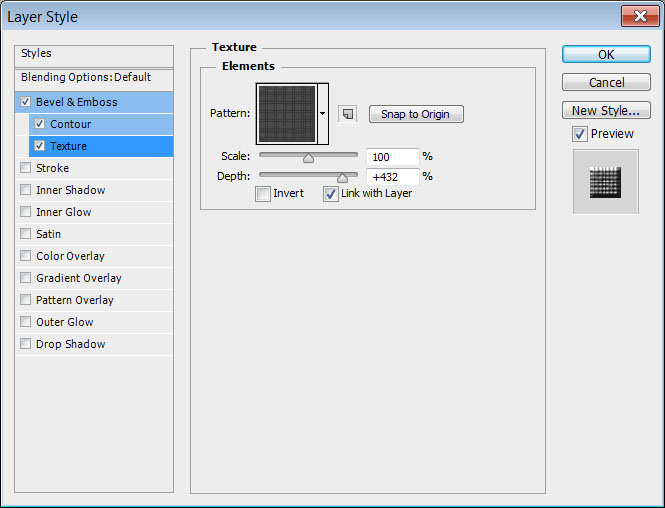
Double click the Glitter layer to apply the following Layer Style:
– Bevel and Emboss
- Check the Anti-aliased box
- Highlight Mode : Vivid Light
– Contour
– Texture
- Pattern : 3px tile
- Depth : 432%
Set the Foreground color to #ffb94a, pick the Brush Tool, choose a 3px brush with 95% Hardness value, then start adding stripes in the middle of each curl. This might take some time, so it’s optional, but it adds a really nice final touch to the effect. 😉
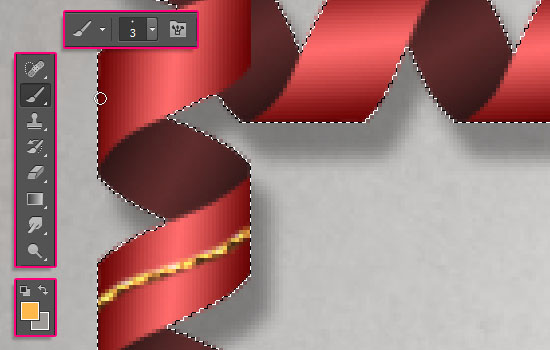

You can always erase and recreate any stripes you don’t like. When you’re done, go to Select > Deselect to get rid of the selection.
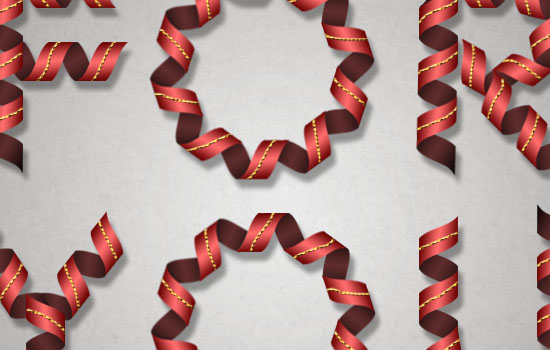

Step 8
This is an optional step for changing the text color.
Click the Create new fill or adjustment layer icon down the Layers panel and choose Hue/Saturation.
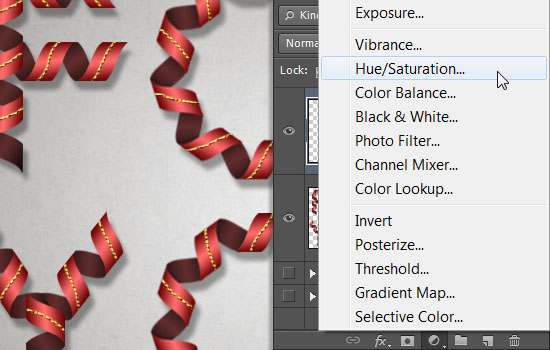

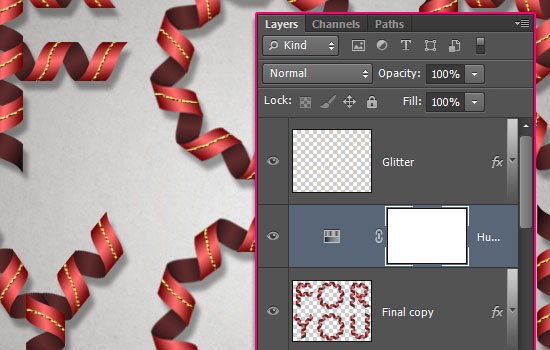
Place the adjustment layer below the Glitter layer.

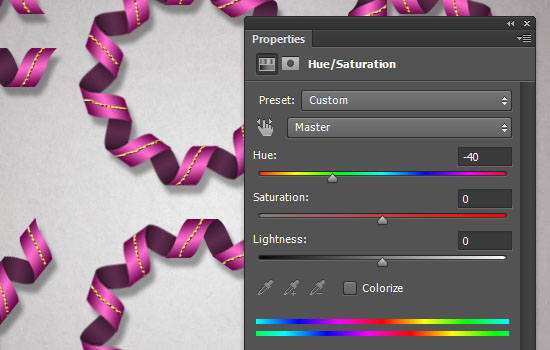
Change the Hue value to -40. Almost any other value will work, so you can choose any other color you like.

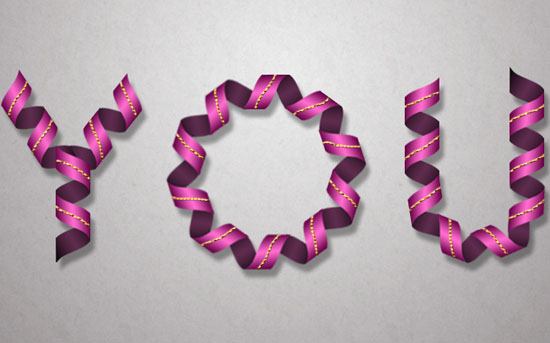
And you’re done!
Hope you enjoyed the tutorial and found the tips and tricks used helpful 🙂
Did you enjoy this post? Please consider donating to help us cover our server costs.



appreciate this!
Thank you!
Very beautiful text effect, perfect for Valentine’s day!
Glad you like it 🙂
Many thanks for the kind words.
hi there may i use your tutorial for my facebook timeline effects. if you give right use this one. Thanks and last i did this tutorials..many-1-1-2 Thanks….
Sure, no problem at all 😉
Thanks for the comment and for asking.
hello dear is very nice design……………..
Very glad you like it.
Thanks a lot for the kind comment 🙂
So creative ^_^ Love it.
You’re very welcome 🙂
Thank you for the comment.
ABSOLUTLY LOVED IT , TRIED IT AND ITS FANTASTIC !!! <3 <3 <3
That’s awesome to know!
Many thanks for the comment 🙂
nice one 🙂
Thanks a lot 🙂
making a farewell banner with this effect can you help me !
What step(s) do you need help with? Please feel free to leave a comment with any issues you have and I’ll try my best to help 🙂
Wonderfull….!!! I’m surely try to do this.
Awesome!
Thanks for the comment 🙂
Rose,you made a mistake in Step 1,it is Linear Burn,not Linear Light.
Fixed!
Thank you for pointing that out 🙂
Nice effect! The sharp edges like on the ‘F’ or the ‘Y’ are connected with illusions where the ribbon/tape do meet that way with real tape.
Thank you so much ! I made tonight for my Christmas blog, amazing !