Photoshop CC 2014 Type and Font Features
The new Photoshop release comes with some cool Type and Font features that help enhance and simplify their workflow. Here’s a look at those features and how they work.
The Lorem Ipsum text will be used to demonstrate the new features.
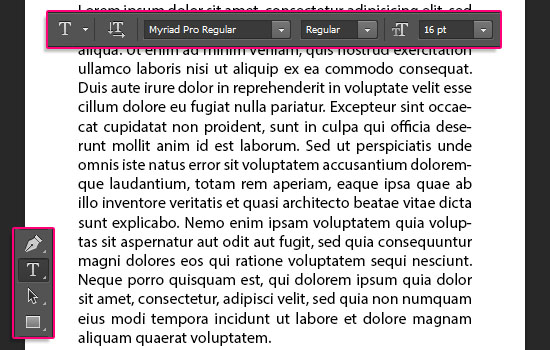
Instant Font Preview
For any selected text you have, you can roll the mouse cursor over the font names in the font menu in the Options bar, and you’ll get an instant preview of that font as it will be temporarily applied to the selected text. When you find a font you like, simply click it to confirm applying it to the text.
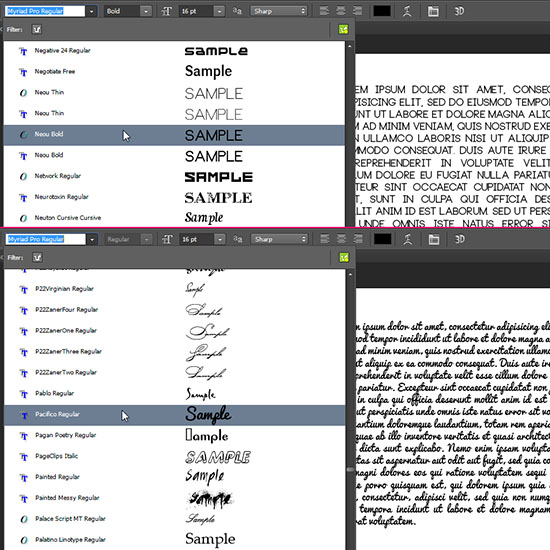
Search Fonts by Style and Name
You can now look for a certain font by typing its name in the font menu, and you can also look for fonts of a certain style by typing the style’s name in the font menu as well. Photoshop will then display a list of the fonts with that style for you to choose from.
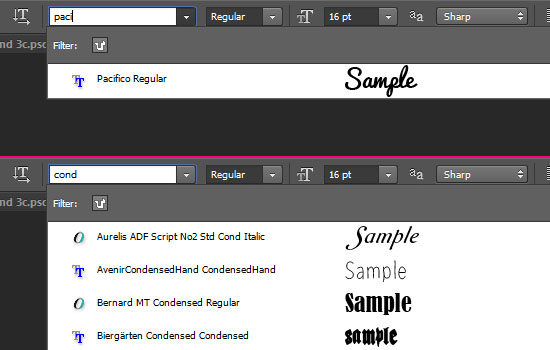
Typekit Integration
Fonts from Typekit were introduced in May 2013 as a part of the CC membership, giving access to hundreds of amazing, high quality fonts for use on the Desktop. So if you haven’t already, make sure to check them out!
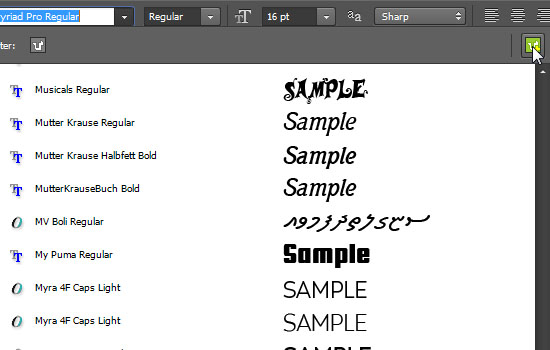
The new release of Photoshop gives you an easy access to those fonts from within Photoshop, using the Typekit icons in the font menu.
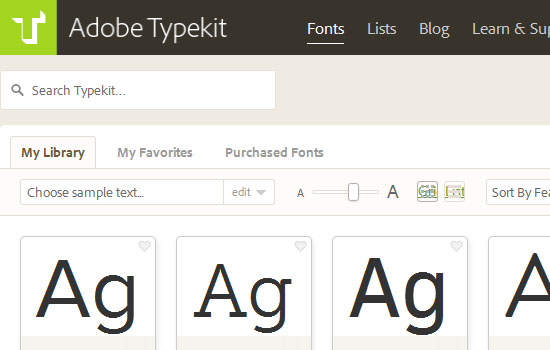
By clicking the Add fonts from Typekit icon in the upper right corner of the font menu, the Typekit font selection page will be opened in your web browser, and you’ll be automatically logged in with your Adobe ID.
Then, you’ll be able to view the available fonts, choose the ones you want to use, and sync them to your desktop so that they become available for use in all the applications you have.
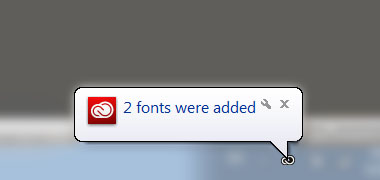
Whenever Typekit fonts are synced to your Desktop, you’ll get a notification with that.
Typekit Fonts Filtering
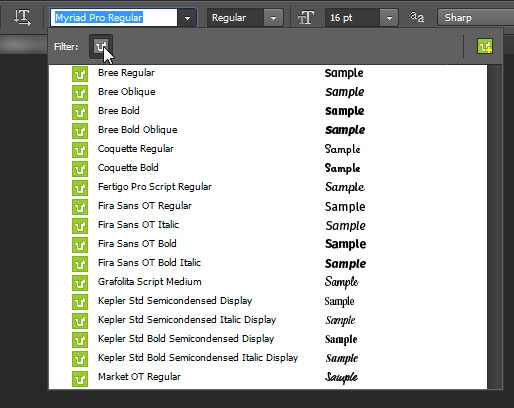
To view a list of only Typekit fonts, click the Filter icon in the upper left corner of the font menu. Un-click the same icon to go back to the full list of fonts.
Replace Missing Fonts
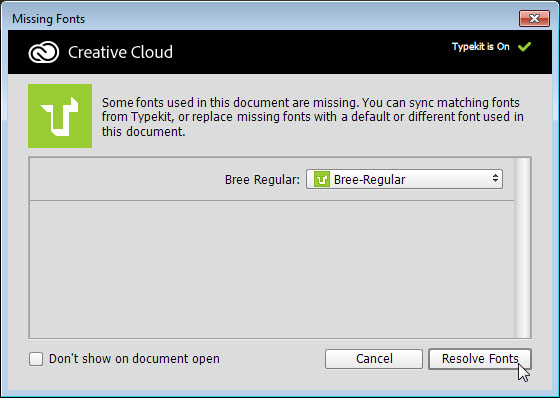
If you open a file with fonts that are not installed on your computer, you’ll get a Missing Fonts box to help you replace them. It is important to have Typekit turned on to continue.
If the font is available from Typekit, and not installed on your computer, all you need to do is just click the Resolve Fonts button, and the font will be installed on your computer, as well as updated in the document.
Conclusion
Some really simple but helpful features that make the Type and Font workflow in Photoshop easier and more effective. Hope you found these simple tips helpful. Make sure to leave us a comment with your favorite feature 😉
Did you enjoy this post? Please consider donating to help us cover our server costs.


New feature in Adobe Photoshop CC 2014 are really helpful..
They sure are!
Thanks a lot for the comment.