
Polished Wood Text Effect
This tutorial will explain a simple way to create a polished wood like text effect, using layer to give the beveled look, and a couple of filters to create the texture.
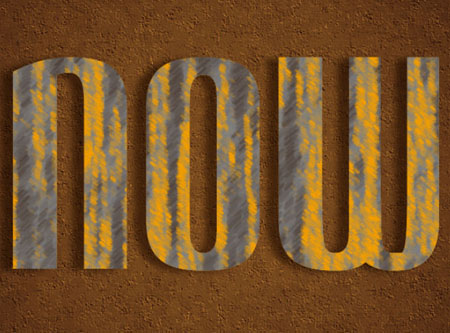
The Final Result

Tutorial Details
- Software Used : Photoshop
- Version : CS5 Extended
- Time : 0:20 – 0:35
Resources
- Mabellafont.
- Background.
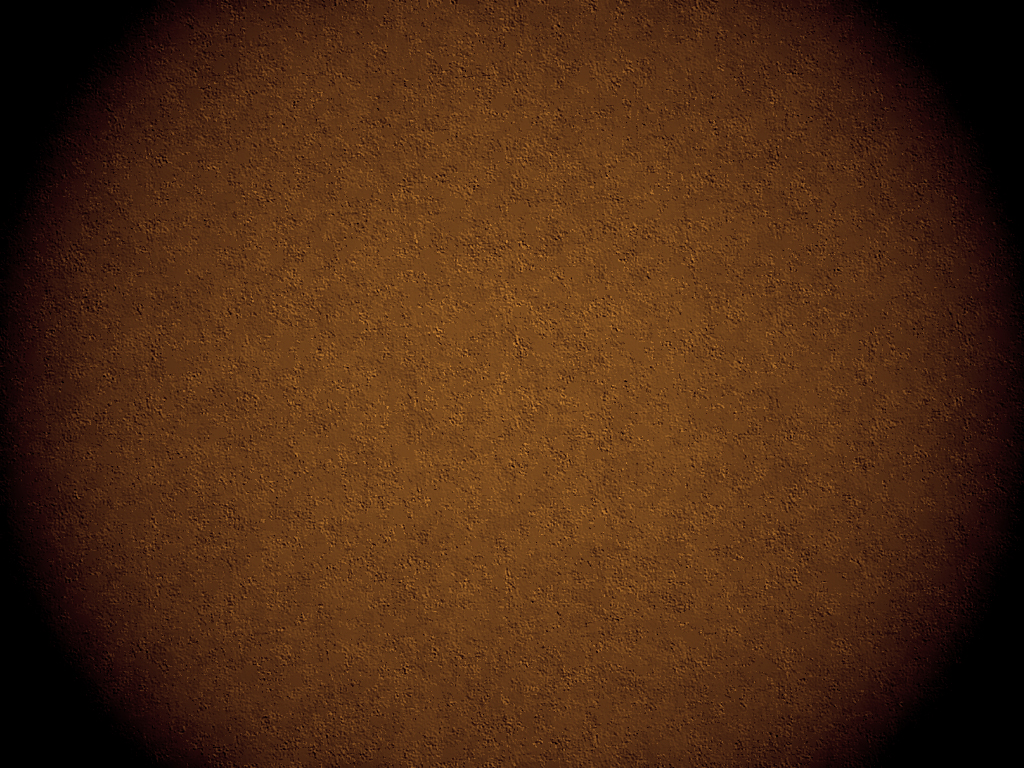
Step 1
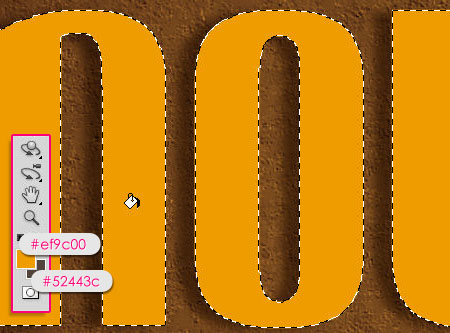
Open the Background. image, and create the text using the color #ef9c00. The font used is Mabella, and the Size is 450 px.

Step 2
Double click the text layer to apply the following Layer Style:
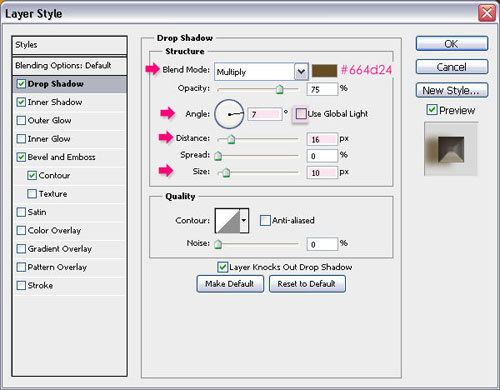
– Drop Shadow
- Color :
#664d24 - Uncheck the Use Global Light box
- Angle : 7
- Distance : 16
- Size : 10
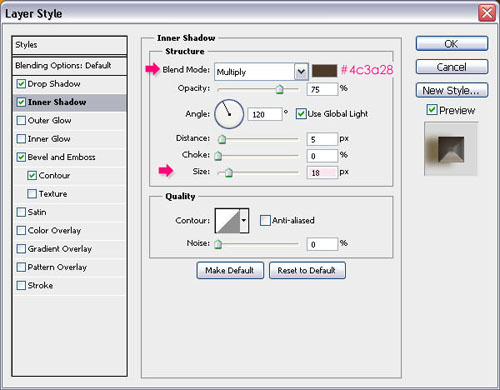
– Inner Shadow
- Color :
#4c3a28 - Size : 18
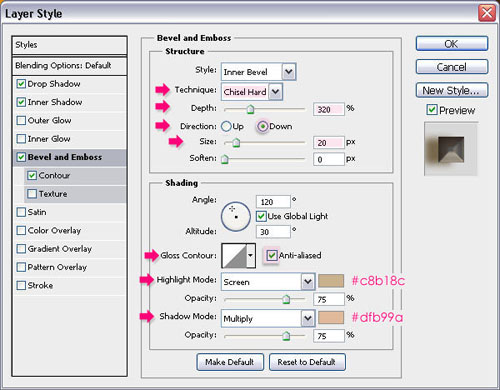
– Bevel and Emboss
- Technique : Chisel Hard
- Depth : 320
- Direction : Down
- Size : 20
- Check the Anti-aliased box
- Highlight Mode – Color :
#c8b18c - Shadow Mode – Color :
#dfb99a
– Contour
- Contour : Gaussian
- Check the Anti-aliased box.

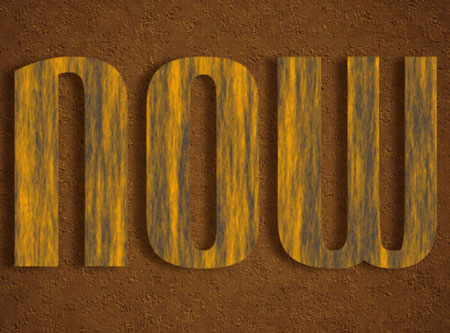
The text should look like this:

Step 3
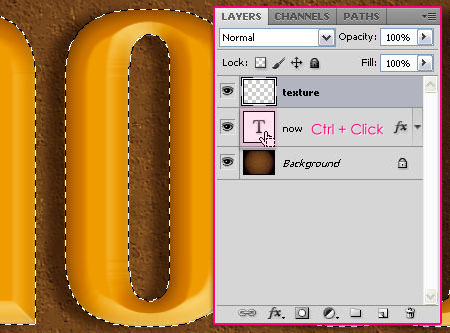
Create a new layer on top of the text layer and call it texture.

Ctrl/Cmd + click the text layer’s thumbnail to create a selection.
Set the Foreground color to #ef9c00 and the Background color to #52443c. Make sure that the texture layer is selected, and fill the selection with the Foreground color.
Press Ctrl/Cmd + D to get rid of the selection.
Step 4
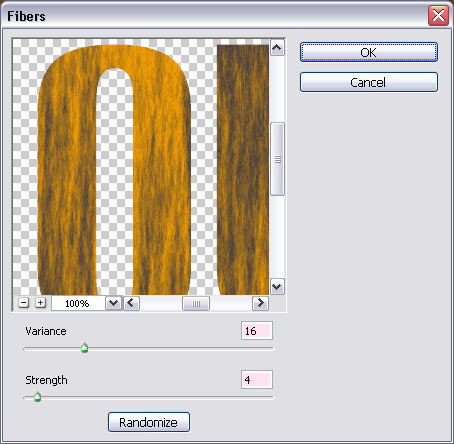
Go to Filter > Render > Fibers, set the Variance to 16, and the Strength to 4.
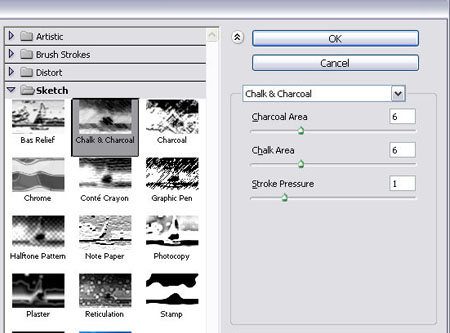
Go to Filter > Sketch > Chalk and Charcoal, change the Charcoal Area value to 6, the Chalk Area to 6, and the Stroke Pressure to 1.
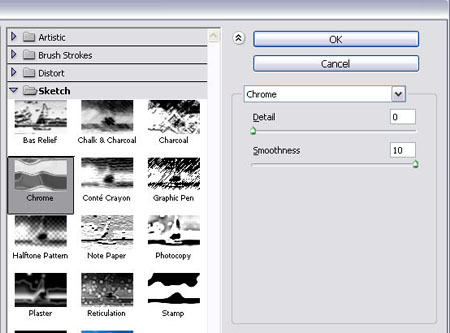
Go to Filter > Sketch > Chrome, change the Detail value to 0, and the Smoothness to 10.
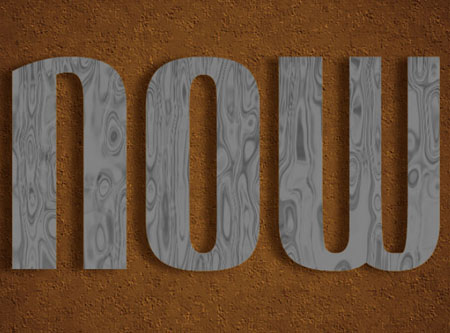
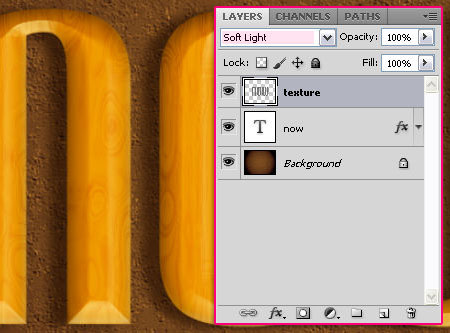
Change the texture layer’s Blend Mode to Soft Light.
Go to Image > Adjustment > Levels, and change the Shadows value to 20.

This will make the texture colors more vivid..

Step 5
This step is optional, but it helps set the colors of the final effect with the Background. So go ahead and create a new layer on top of all layers, and with the Foreground and Background colors still as in Step 3, create a Radial Gradient form the center of the document to one of the corners.
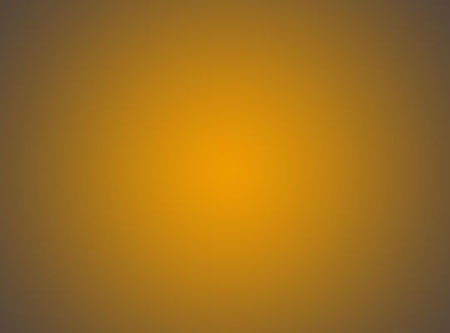
Change the layer’s Blend Mode to Multiply, and the Fill value to 10%.
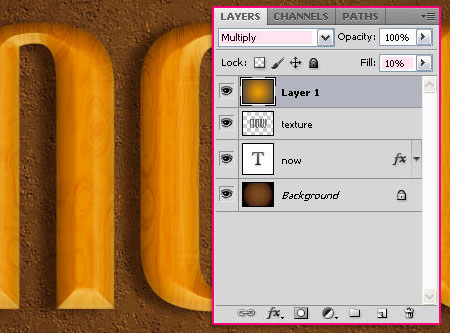
And that’s it!
Did you enjoy this post? Please consider donating to help us cover our server costs.


very good!
Brazilian greetings …
Thanks a lot!
good tutorial. great directions. easy to follow. thank you!!
You’re welcome.
Thanks for the comment.
Saludos, excelente, si Sr,
Muchas gracias!
It’s greeting of this tutorials..! Thank you !
You’re welcome!
Thanks for the comment.
Thank you! Simple, easy to follow directions.
Glad you liked it 🙂
Thanks a lot for the comment.
creative effects and tricky tutorial. thanks for sharing
Glad you liked it.
Thanks for the comment.
this was beautiful, thank you! Do you ever make video tuts?
Glad you like it 😀
Unfortunately though, we don’t make video tutorials.
Thank you for the comment 🙂
in glowing step Convert
the Shape Layers to 3D Layers, what do you mean ”
Repeat that for all the shape layers as well.
What’s the Step number you’re referring to please?
Thank you!! Perfect tutorial!
That’s a perfect outcome as well 😉
Many thanks for the comment and for sharing your work 🙂
Awesome tutorial <3
Very well done!
Thanks a lot for the comment and for sharing your work 🙂