Type Tool in Photoshop CS6+ – The Type Menu
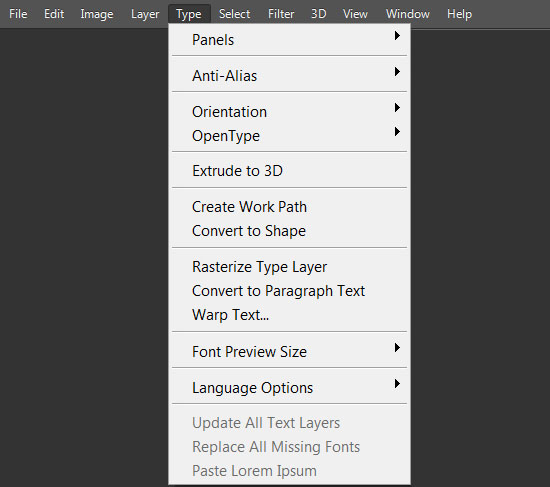
The Type menu is a new main menu command introduced in Photoshop CS6. It contains Type-related options that can also be found in the Options bar and the Character and Paragraph panels, and a couple of other options that have been moved out from the Layer > Type menu in previous PS versions. Here’s a look at what those options do.
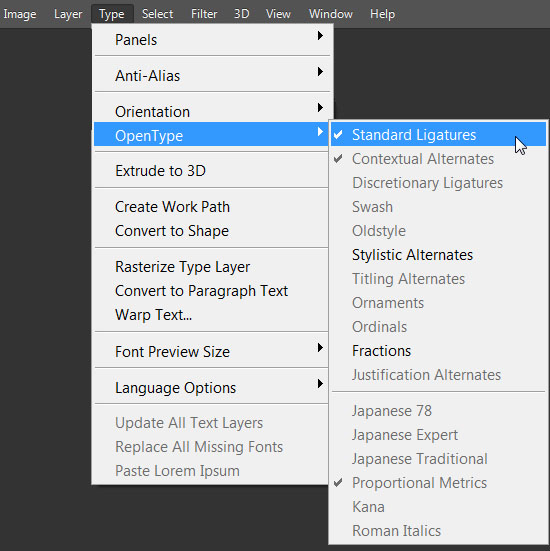
These are all the Type menu options.
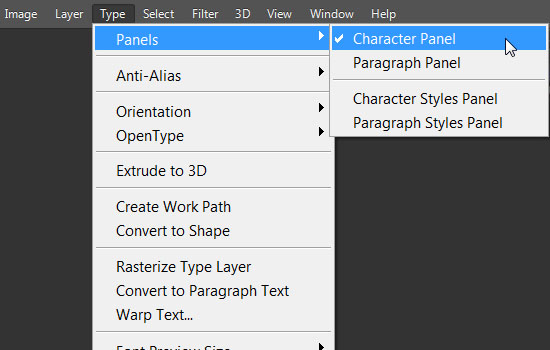
Panels
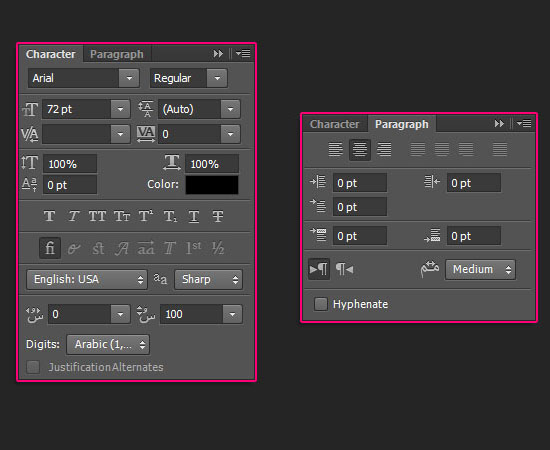
This is another place to open the Character, Paragraph, Character Styles, and Paragraph Styles panels.
Learn more about the Character and Paragraph panels, and the Type Styles in Photoshop CS6+.
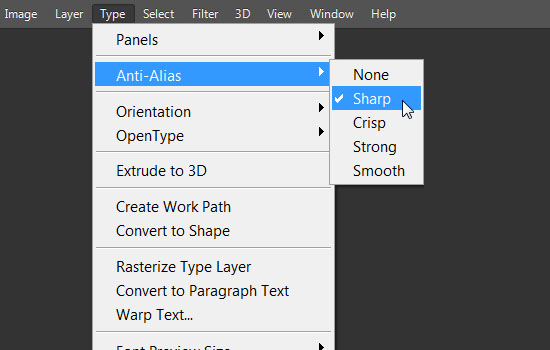
Anti-Alias
Through this option, you can access the same Anti-aliasing methods found in the Character panel.
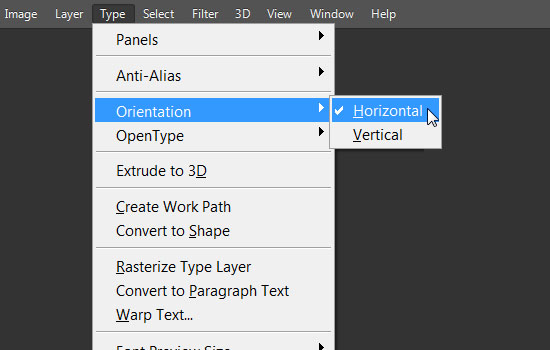
Orientation
This is another Character panel option, which can be used to set the direction in which the text flows.
Open Type
This option is for Open Type fonts, and it has the many attributes that can be switched on and off when working with them. Most of the attributes are also available in the Character panel.
You can learn more about what those attributes do here.
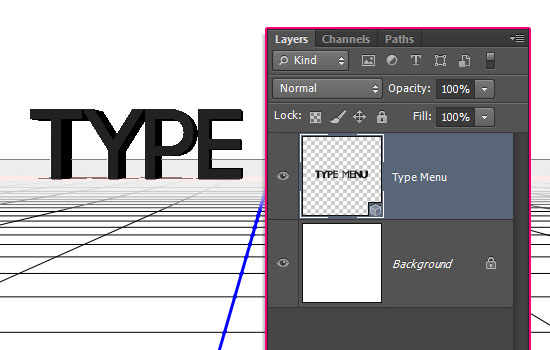
Extrude to 3D
This is an Extended version feature, and it converts the text into a 3D mesh.
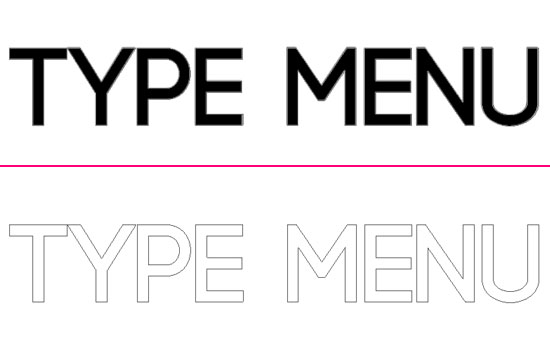
Create Work Path
Creates a text-based work path.
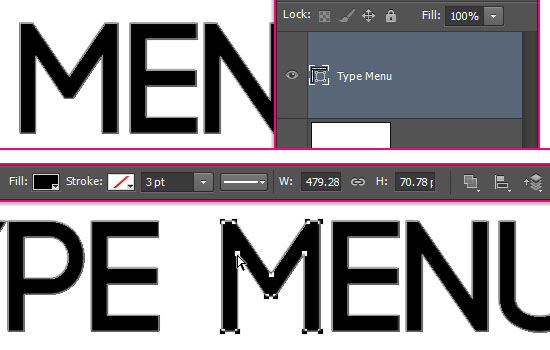
Convert to shape
Converts the Type layer into a Shape layer, so the text can no longer be edited as type, but as a shape instead. This includes having access to all the Shape attributes, settings, and options.
Rasterize Type Layer
This option rasterizes the Type layer, which means it converts it to pixels. The text will no longer be editable, but many other options become possible like applying Filters and using the Eraser Tool.
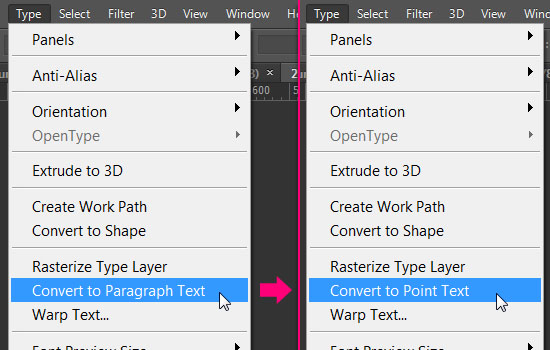
Convert to Paragraph Text / Convert to Point Text
One of the ways to switch between the Paragraph and Point text options for the selected text.
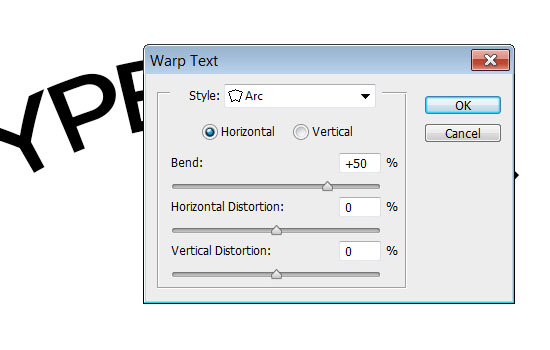
Warp Text
This will open up the Warp Text box so that you can create a warped text.
Font Preview Size
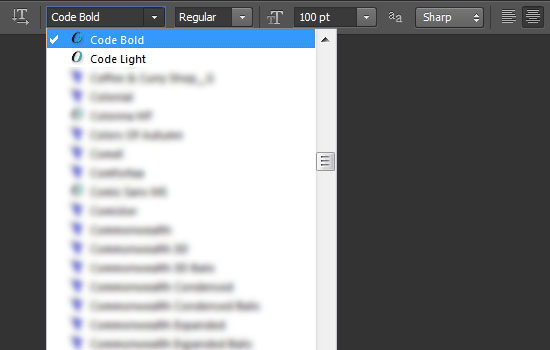
This is a cool option that used to be found under Edit > Preferences > Type in previous PS versions, and it controls the font preview size of the font families you have.
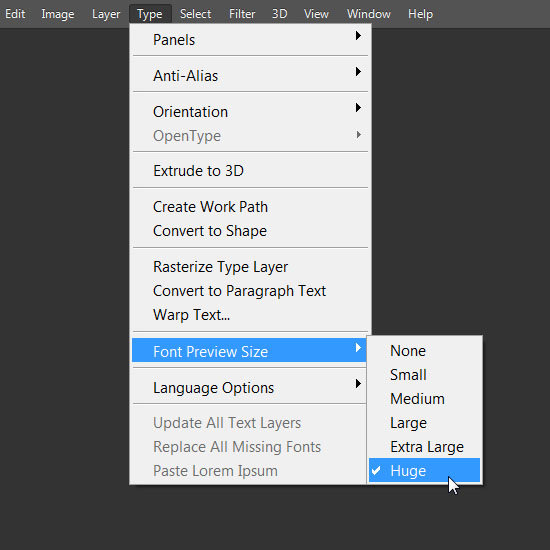
The options vary from None to Huge, with Huge being the biggest size available.
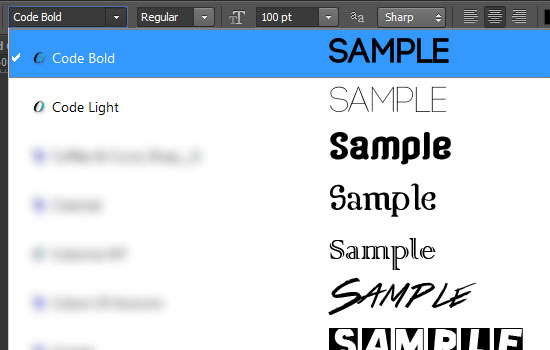
Small is the smallest size available.
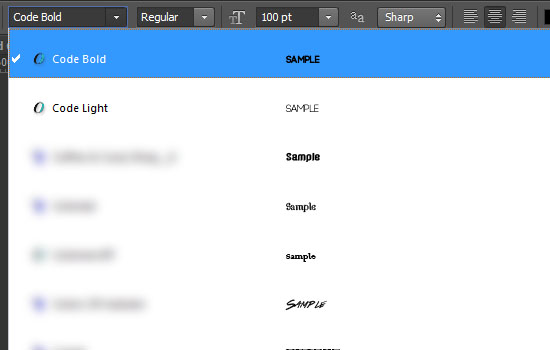
And None lists the font names without a preview at all.
Language Options
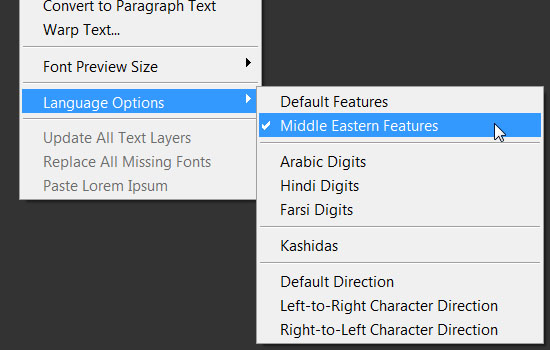
There is no need to change the Default option if you are using the same language in which you installed Photoshop. But if you are using East Asian or Middle Eastern fonts, choosing Middle Eastern Features will give you access to their appropriate options (in the Character and Paragraph panels).
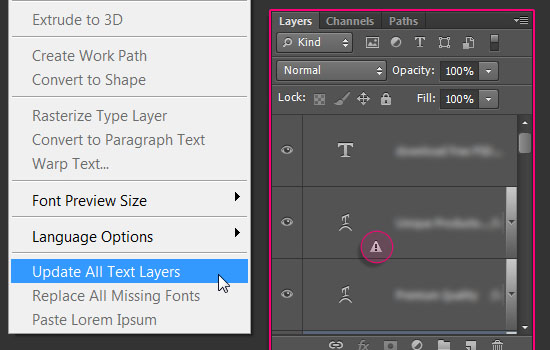
Update All Text Layers
When you import bitmap Type layers created in older versions of Photoshop, you get a gray warning symbol on them. Choosing the Update All Text Layers option converts those Type layers to vector type.
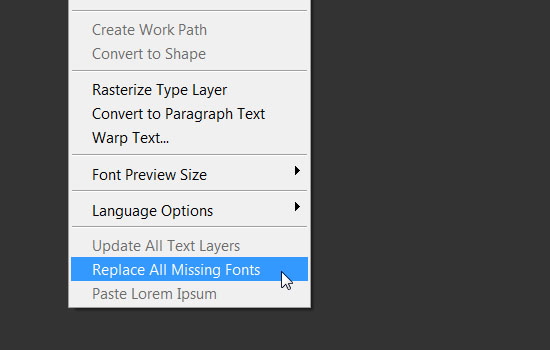
Replace All Missing Fonts
When you open files that contain fonts that are not installed on your computer, you get an alert box telling you that the file contains text layers with missing fonts, and those text layers will have yellow warning symbols on them.
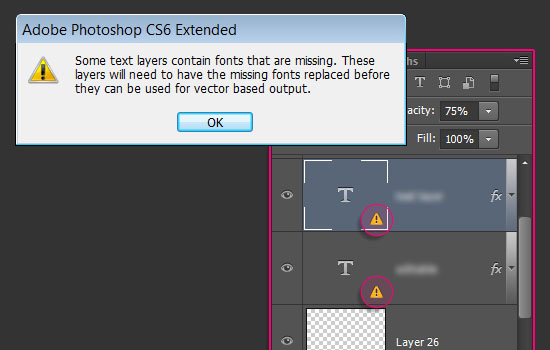
If you do not substitute those fonts, you’ll be alerted by Photoshop to do so any time you try to edit those layers. So you can instead use the Replace All Missing Fonts option to choose a font to substitute the missing fonts for all the Type layers at once.
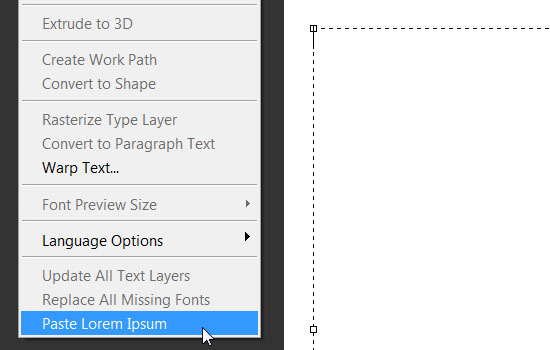
Paste Lorem Ipsum
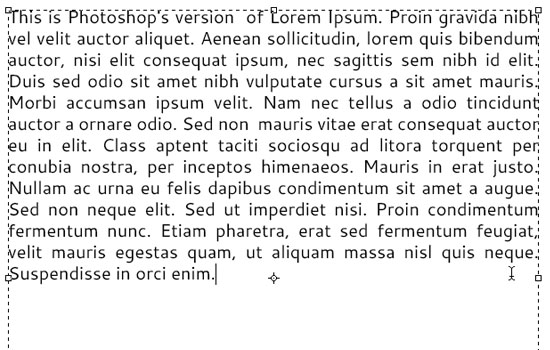
This is a new CS6+ option that enables you to paste placeholder text (like you can in Adobe InDesign). So you can create a text box then choose the Paste Lorem Ipsum option to fill it with placeholder text.
You can then format the text as you like.
Conclusion
This is pretty much it for the Type menu. Mostly options found in other places, and a couple of new ones as well, but it keeps things organized by putting the Type-related options together in one place.
In the next part, we’re going to discuss Path Text.
Did you enjoy this post? Please consider donating to help us cover our server costs.


I only found your website last night and want to say thanks for making such great tutorials! I’m just getting started with Photoshop and this helps immensely 🙂
Very glad to know you’re finding the tutorials helpful 😀
Thank you very much for the comment.
Thanks! Really helpful!
Thank you for the kind words.
Thank you again, this is so helpful!
You’re very welcome 🙂
Many thanks for the comment.
Excellent rundown of the Type menu. Thanks!
You’re welcome 🙂
Thanks a lot for the comment.
I’m having problem with the text moving backwards…now i resolve it..its just the language options.. this is so helpful thanks!
Glad it was resolved!
Thanks for the comment.