
Low Poly Text Effect
One of the latest and hottest trends in design is the Low-Poly trend. It basically refers to 3D meshes that have a small number of polygons, but with some rendering techniques and lighting effects, those meshes can end up looking like paper-craft or origami pieces.
The Low-Poly look is usually produced using a 3D software. But this tutorial will show you how to achieve a simple 2D version of it, using basic Photoshop and a really simple app, in order to create a nice Low-Poly text effect.
This was suggested by Sirbu Calin. Thank you for the great suggestion, Sirbu.
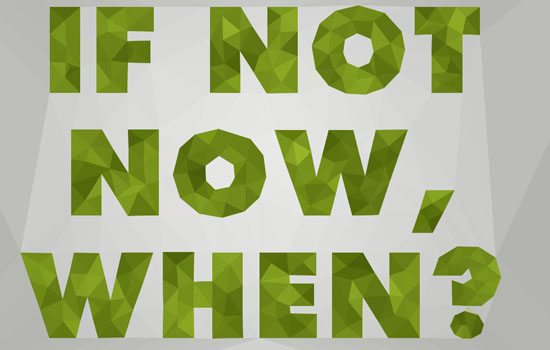
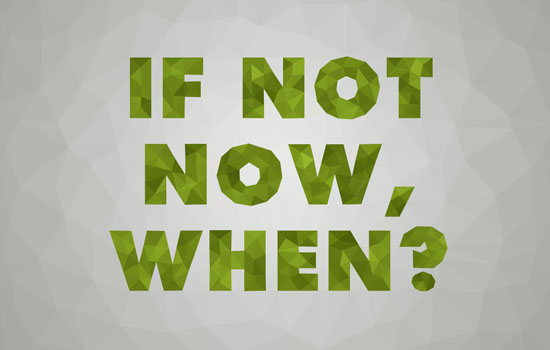
The Final Result:

Tutorial Details
- Software Used: Photoshop – Image Triangulator App
- Version: CC (CS3+ versions can be used as well) – 5+
- Time: 0:45 – 1:30 Hours
Resources
- Intrepid ExtraBold font.
- Image Triangulator App.
- 19 Light Grunge Textures (the “OTF_Light_Grunge_12” image is used).
Step 1
Create a new document with the dimensions you like. In this tutorial, the size used is A3, in order to print the result later. But you can use any other size you like as well, depending on what you want to use the final result for, and the length of the text you’re going to create.
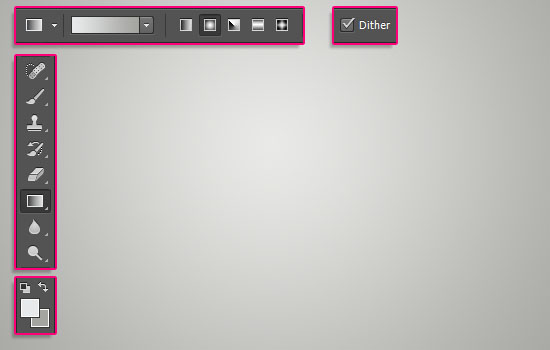
Set the Foreground color to #e7e9ea and the Background color to #a4a5a1. Pick the Gradient Tool, choose the Foreground to Background gradient fill, and click the Radial Gradient icon.
Then, click and drag from the center of the document to one of the corners to create the background gradient.
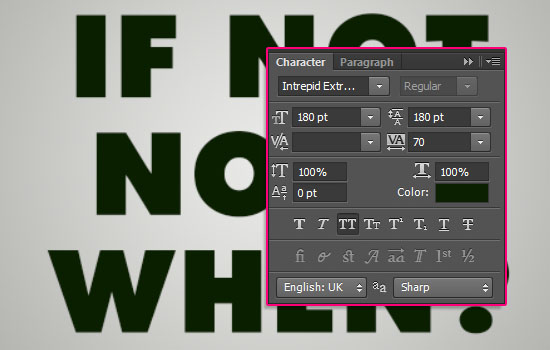
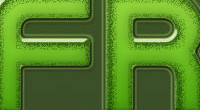
Create the text in All Caps using the font Intrepid ExtraBold. The font Size is 180 pt and the Leading is 180 as well (you might need to use different values if you used different document dimensions).
Try to keep the text as short as possible, since using the app can be a bit time consuming as you’ll see later on.
Ctrl/Cmd + click the text layer’s thumbnail to create a selection, then create a new layer and call it Fill.
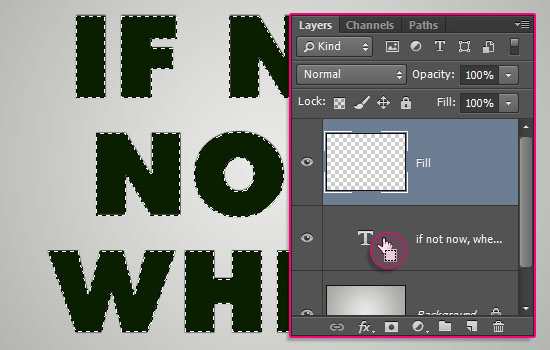
Set the Foreground color to #9cbc2c and the Background color to #405203, go to Filter > Render > Clouds, then go to Select > Deselect.
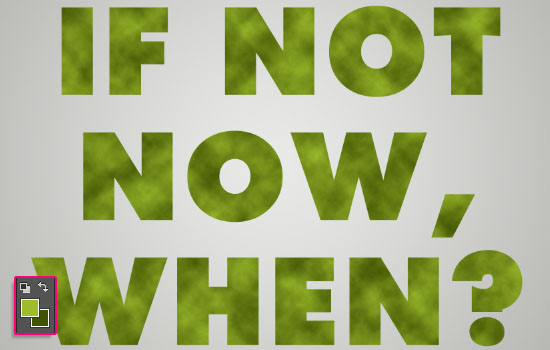
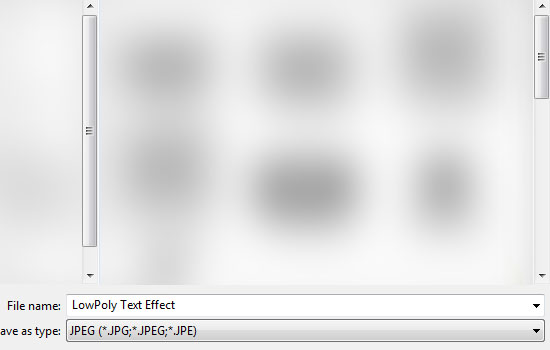
Go to File > Save As, and save the file as a JPEG image.
Step 2
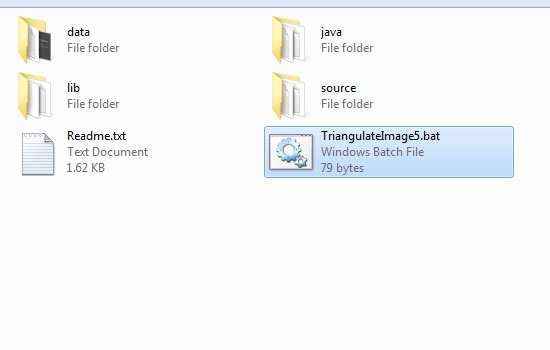
To run the app, download it, extract it, then open the TriangulateImage5.bat file inside the extracted folder.
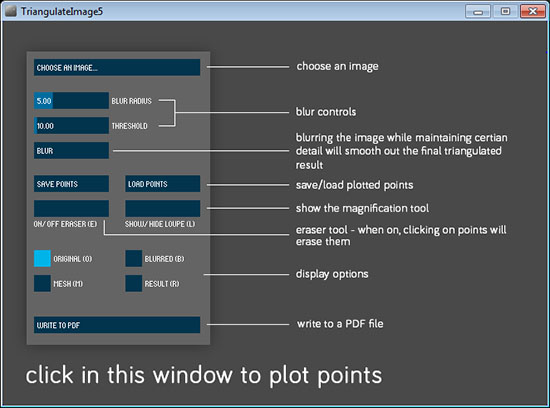
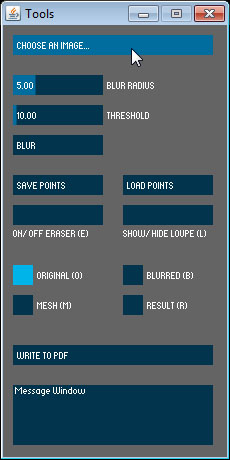
A couple of windows will open, one of them explains what each option does. You can take a look at it before moving on with the tutorial.
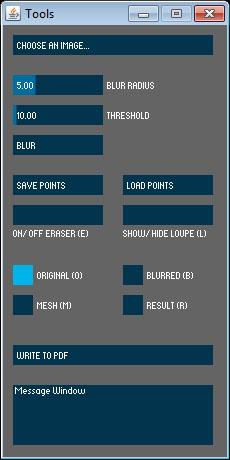
The other window is the Tools window, which is the one that we’ll be using to create the Low-Poly text.
Step 3
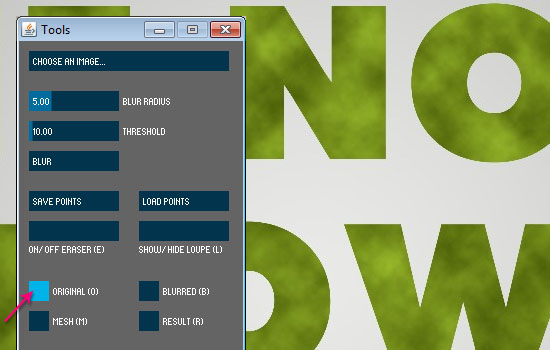
Start by clicking the CHOOSE AN IMAGE button at the top, then open the image you saved earlier.
Make sure that the Display Option used is the ORIGINAL (O) one.
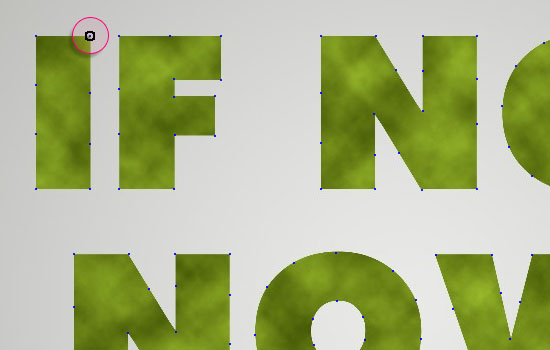
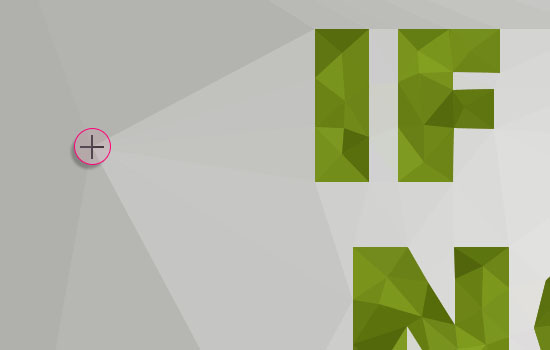
What you will need to do next, is to as precisely as possible, start clicking to add points at the corners and the edges of the letters you have. It is important to try to keep the points aligned, as this will give you a much better outcome.
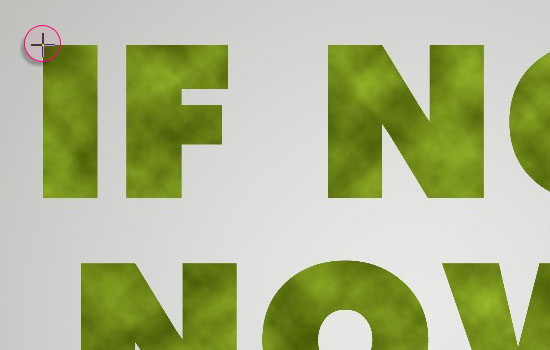
Another important thing to pay attention to is to add at least 1 – 2 points along the edges of the letters. So shorter edges get at least one point, and longer ones get at least two. This will make adding polygons to the center of the letters an easier process.
If while you’re adding the points you need to remove and re-add any of them, you can click the ON/OFF ERASER (E) button to do so.
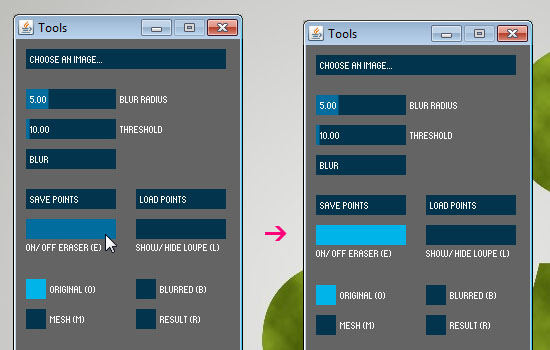
When the Eraser button is clicked, the cursor shape turns into a circle. You can then click any point to remove it, then turn the Eraser off and re-add the point again.
Using the (E) shortcut for switching between the ON/OFF modes will make the process much faster.
Step 4
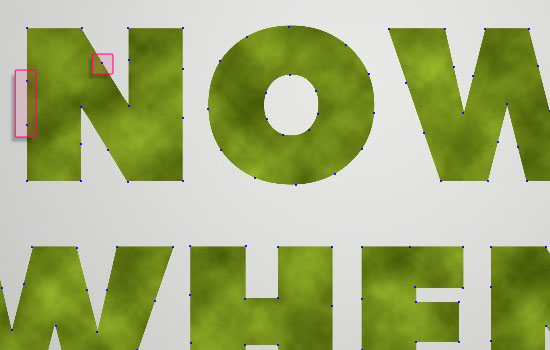
Once you’re done adding the points, click the RESULT (R) Display Option. This will show you the basic polygons created based on the points you added.
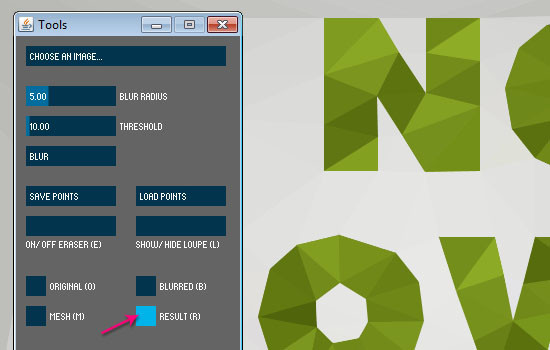
Now, start clicking inside and along the center of the letters to add more polygons.

If some edges keep moving around, then you’re either not placing the cursor precisely inside the letters, or you need to add more points to the edges to keep them in place.
Once you’re done with the letters, start working with the surrounding background to add polygons to it as well.
This can be a time consuming process, but it’s still one of the easier ways to achieve a 2D Low-Poly effect.
Keep in mind that at any time, you can switch between the Display Options to make sure everything is ok, or to fix any issues you have.

Step 5
Once you like the result, click the WRITE TO PDF button and save the result you created.
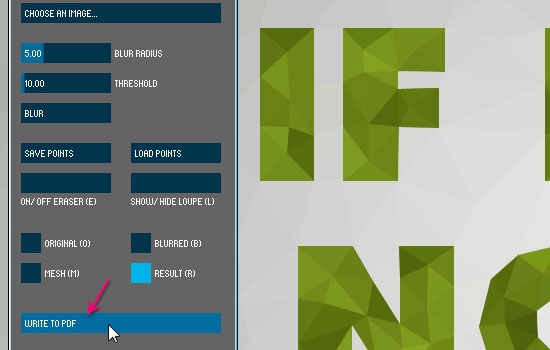
You can then open that file in Photoshop for any further editing, or simply for saving the result in different formats.
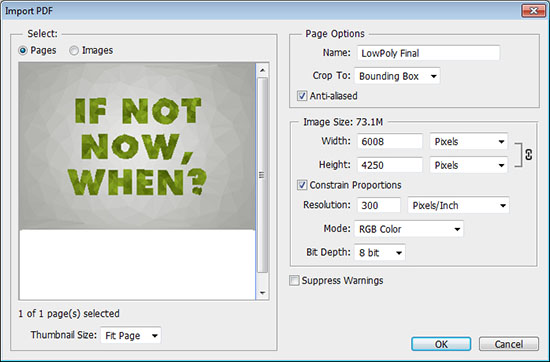
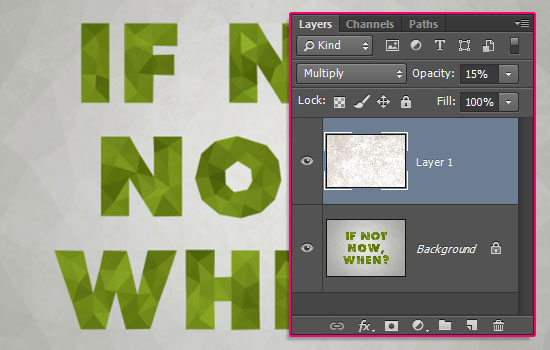
Inside Photoshop, you can open the OTF_Light_Grunge_12 texture, add it on top of the opened image’s layer, change its layer’s Blend Mode to Multiply, and its Opacity to 15%. This will spice up the final result a little bit.
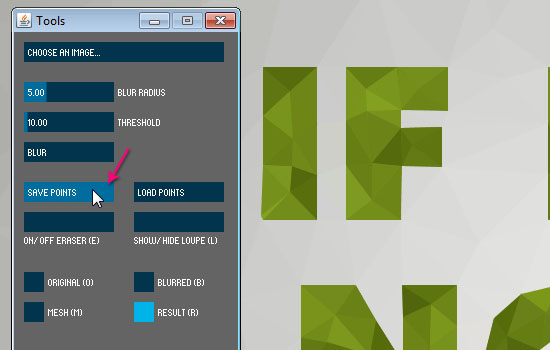
You can also save the points you created, by clicking the SAVE POINTS button, and typing in a name for the file. The points’ coordinates will be saved in a simple .txt file that you can load anytime you want later.
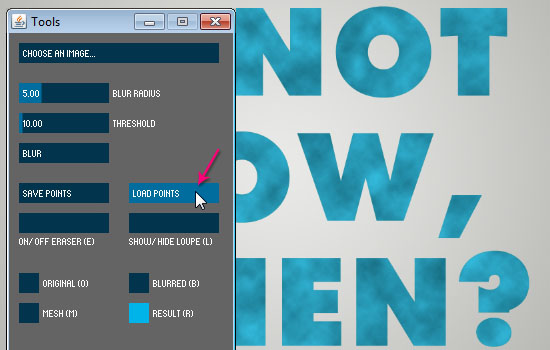
So if you create the text using different color variations in Photoshop, and want to get the Low-Poly version of it, all you need to do is open its image using the app, then click the LOAD POINTS button, and open the points’ file you saved earlier.
Note that the points saved work only for the same exact text they were already created for. So the only thing you can change in order for the points’ file to work correctly is the color. You can’t change the font, the font size, the text position, or make any other changes on the text itself except for changing its color.
Once the points are loaded, you can switch to the RESULT (R) Display Option to see how the new colors look.
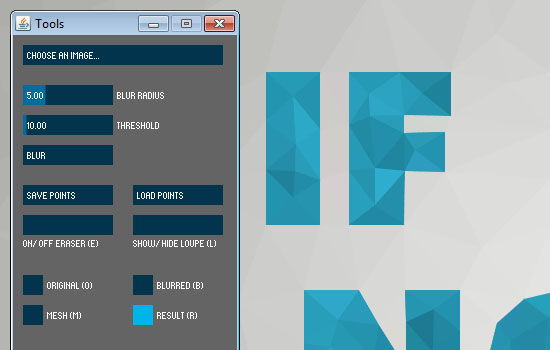
You can also still edit the points like you did before, and add or remove them as well.

And you’re done!
Hope you enjoyed the tutorial and found the technique used to achieve this text effect helpful.
Did you enjoy this post? Please consider donating to help us cover our server costs.


The Triangulator app looks a mite difficult to use, but, I love this design. I want to try it! Thanks for a nice tut to try it on.
It really is not, but it might be a bit time consuming though 😉
Glad you like the design, and hopefully you’ll give it a try and things will work out great 🙂
Thanks a lot for the comment.
amazing tutorial congratulations!
always i am very exciting waiting to know which new tutorial you are going to post
i love typography
i have learnt to much with you
thank you
That’s really awesome to know! Very glad you’re enjoying the tutorials and finding them helpful.
Many thanks for the kind words, they truly mean a lot 🙂
Thanks, I love that program
Great!
Thanks a lot for the comment 🙂
You really helped me 🙂
That’s great to know!
Thanks a lot for the comment 🙂
does the triangulator apps have size limit for the image it can process
Not really sure about that. Have you tried using it for bigger sizes?
You really helped me 🙂
Glad you found the tutorial helpful!
Thank you for the comment and for sharing your awesome work 🙂
Can we make this without app?
Of course, there are a couple of ways to do that, but they need more work and time.
The app just makes things easier 😉