
Sparkling Text Effect
This tutorial will show you a simple trick using the smudge tool and some Layer Styles to make your text sparkle!
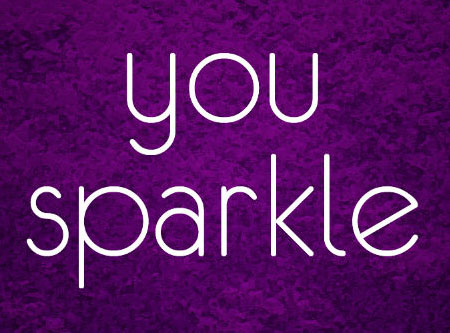
The Final Result

Tutorial Details
- Software Used : Photoshop
- Version : CS5 Extended
- Time : 0:30 – 0:45
Resources
Step 1
Open the Background Image, and set the Foreground color to White. Create the text in White as well. The font used is eurofurence light, and the Size is 250 px.
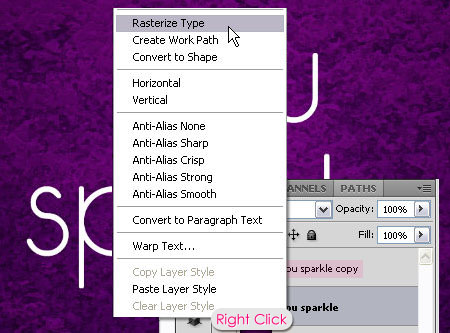
Duplicate the text layer, then right click it and choose Rasterize Type.
Step 2
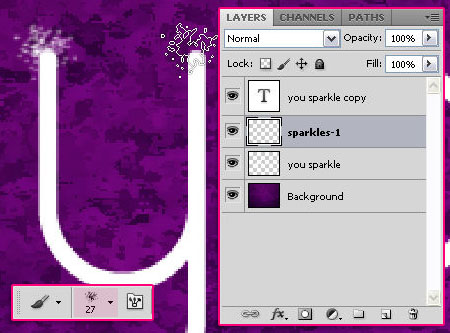
Pick the Brush Tool and choose the Spatter 27 pixels brush tip. Create a new layer on top of the rasterized text layer and call it sparkles-1, then start adding the brush on the tips of the letters. Let the center of the brush be positioned on the tip, and click once each time to create the sparkles.
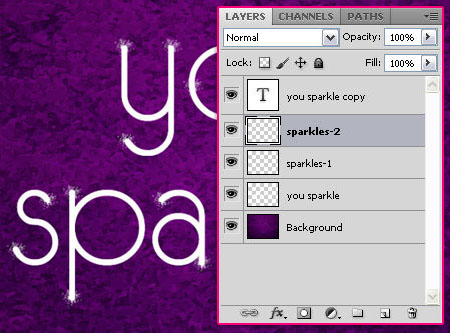
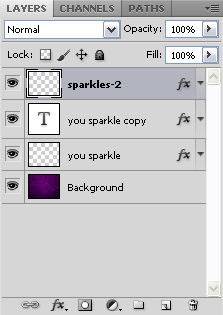
Duplicate the sparkles-1 layer, and rename it to sparkles-2.
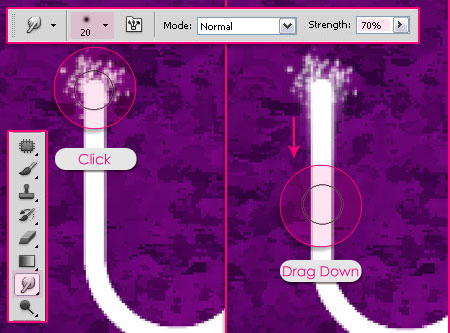
Select the sparkles-1 layer, then pick the Smudge Tool. In the Options bar, pick a soft round 20 px brush tip, then change the Strength value to 70%.
Click and hold in the center of each sparkle, then drag along its letter.
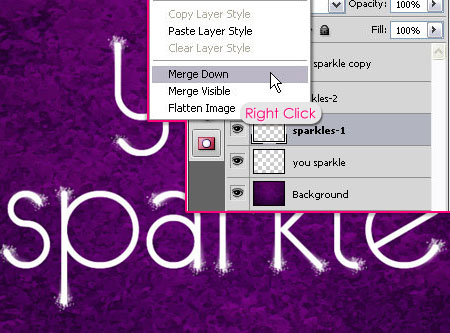
Once you’re done, right click the sparkles-1 layer, and choose Merge Down. This will merge the smudged sparkles with the rasterized text.
Step 3
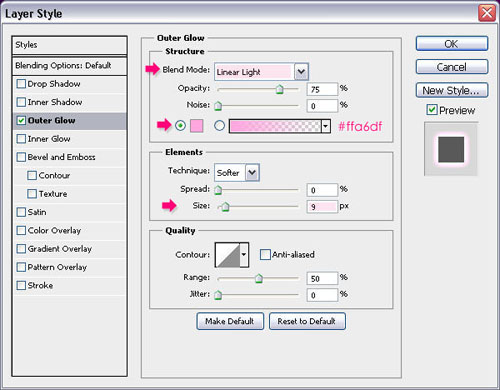
Double click the rasterized text layer (the one merged with the sparkles in the previous step), and apply an Outer Glow effect:
- Color :
#ff007e - Size : 9

Double click the sparkles-2 layer, and apply an Outer Glow effect as well:
- Color :
#ffa6df - Size : 9
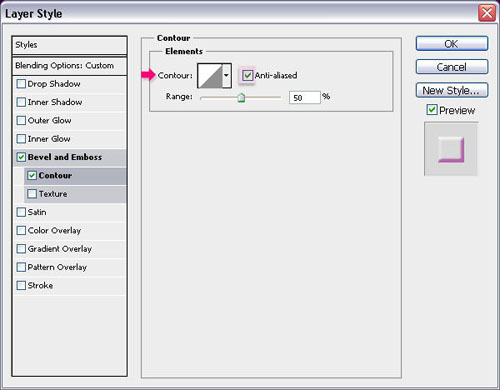
Double click the text layer copy (the duplicated one that is not rasterized), and apply the following Layer Style:
– Bevel and Emboss
- Shadow Mode – Color :
#c54db8
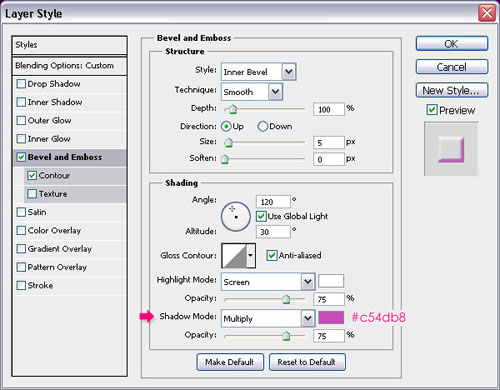
– Contour
- Check the Anti-aliased box.
The last thing you need to do, is place the sparkles-2 layer on top of all layers to get the final effect.
Hope you enjoyed this tutorial!
Did you enjoy this post? Please consider donating to help us cover our server costs.


Thank you..^^
You’re welcome 🙂
I love this, so pretty thank you, I have done it with a few different colors and backgrounds to…this one included…
http://a8.sphotos.ak.fbcdn.net/hphotos-ak-ash4/184334_179807912064359_179737415404742_464215_343321_n.jpg
Oh, cool result out there! I like that you’ve changed some details and made it different!
Thanks a lot for the comment, glad you enjoyed the tutorial 🙂
Thank you so much, it was a very clear lesson to me.Now I’m going to make it on a different way
Thank you so much for the comment. It’s always fun to apply the techniques in different ways!
Good luck.
Which font did you use ???
Hello Ashley,
The font used is “eurofurence light”, and you can find the link to download it in Step 1, the second line.
Best regards.
Thanks actually I was posting this on another tutorial and by mistake I commented here anyways thank you :).
No problem! You’re welcome 🙂
Thanks, the first tutorial out of 5 tried, and this is actually the only one i have succeeded in, great tut, thanks.
Hello ShadowLT,
Glad this one worked, but I’d like to get your feedback on why the other 4 didn’t.
You can post your comments on those tutorials if you like, and I’ll be more than happy to clarify any unclear points.
Thanks for the comment.
Best regards.
Great tutorial! Used it a tad differently, and it turned out great.
Awesome! Glad it did.
Thanks a lot for the comment 🙂
Great text effect, simple but yet very cool looking!
Thanks a lot for the comment 🙂
verry good text & good styles
this is cool & very smart design thank you very much
which font is this
The font used is eurofurence light, it’s mentioned in the first step 🙂
Glad you liked the effect.
Thanks a lot for the comments.
is there any changes to the directions if doing this in CS4?
Nope, it should work just fine.
If you are having any problems please feel free to add them in a reply.
Regards.
wow, it is indeed a very nice tutorial, good work.
Glad you like it!
Thanks a lot for the kind comment.