Type Tool in Photoshop CS6+ – Point Text and Paragraph Text
There are three ways to create text using the Type Tool in Photoshop, Point Text, Paragraph Text, and Path Text. For this part, the Point and Paragraph text types will be discussed.
Introduction
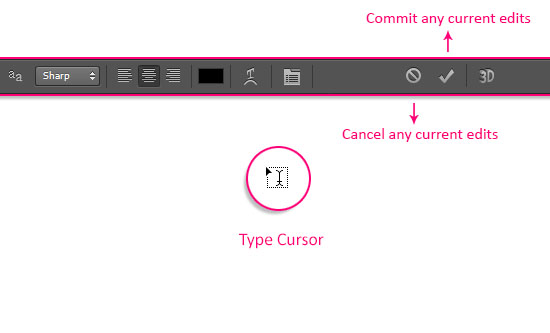
In the previous part, it was mentioned that the Type Tool has its own cursor shape, the Type Cursor, which indicates that the tool is selected and ready to be used. So keep in mind that whenever the type cursor is active, any click will either create a new text, or activate an existing one so that it can be modified.
Point Text
The Point Text is mainly a line of text that has no breaks unless manually added. So if you keep on typing using this method, the text will be added in one single line. And even when the text reaches the document edges, it will be continued outside.
Creating Point Text
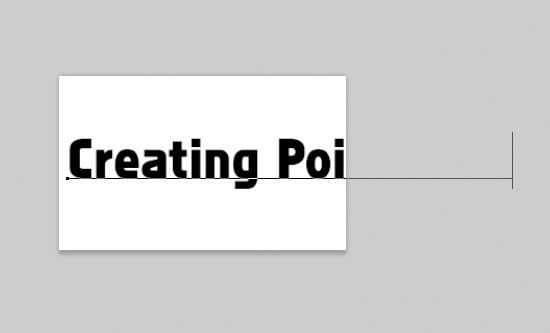
To create Point Text, all you need to do is click wherever you want the text to begin inside the document, then start typing.
And once you click, you will get a blinking insertion marker which indicates that you can start typing where that marker is.

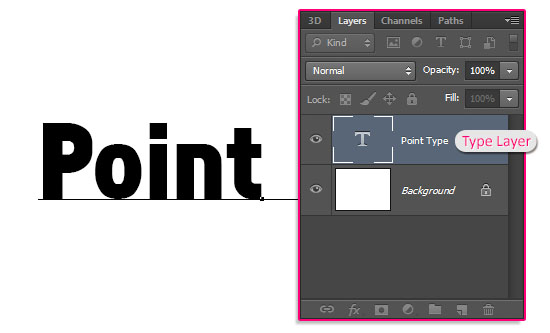
This will create a new layer for the text, which is the Type Layer. The letter T inside the layer’s thumbnail indicates that it is a type layer.
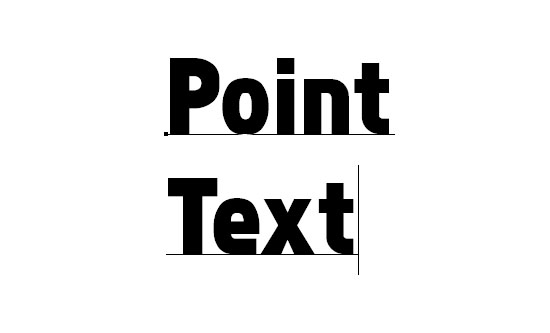
In order to add line breaks, you need to press the Enter (Win) / Return (Mac) key on the keyboard.
Moving Point Text Around
You can move the text using the Move Tool, but you’ll need to get out of the Type Tool, pick the Move Tool, and then reposition the text.
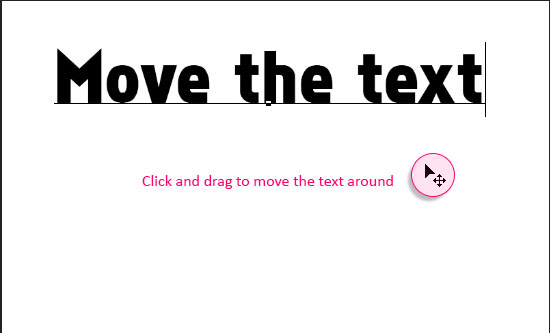
To move the text while creating it, place the mouse somewhere outside the text, and when the cursor shape changes into the Move Tool, you can click and drag to change the text’s position.
You can then release the mouse button, and continue typing.
The Point Text is the common way of adding text in Photoshop. It works best for small amounts of text, and for fixed formatted text. Changing the font or font size might split the text or join it in an undesired manner, since all the line breaks are added manually. So keep that in mind when you add the text.
Paragraph Text
The Paragraph Text is the text created into a pre-assigned area (box) that defines the boundaries of that text. Line breaks in Paragraph Text are added automatically whenever a character reaches any of the text box edges.
Creating Paragraph Text
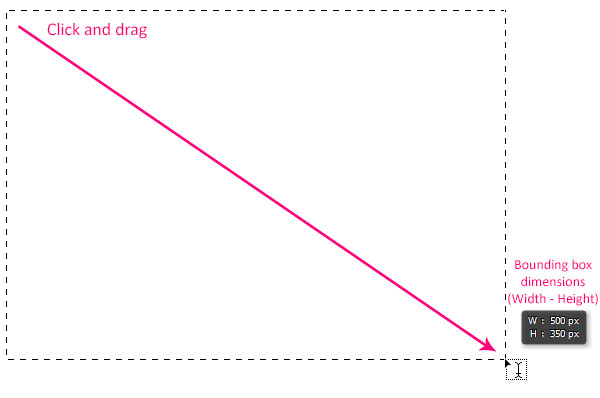
To create Paragraph Text, Click where you want to begin typing in the document, and with the mouse button still held down, drag diagonally outwards, then release the mouse button where you want the text box to end.
Tip: To get a perfect square box, press and hold the Shift key on the keyboard while dragging.
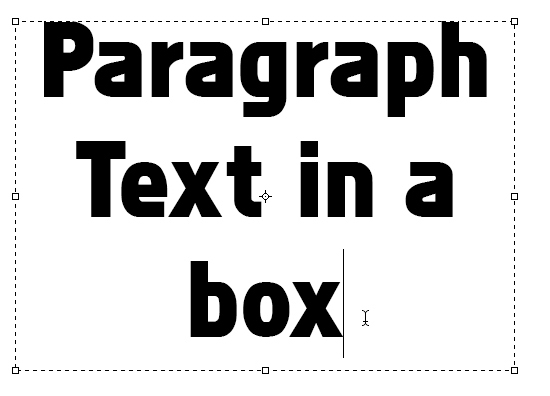
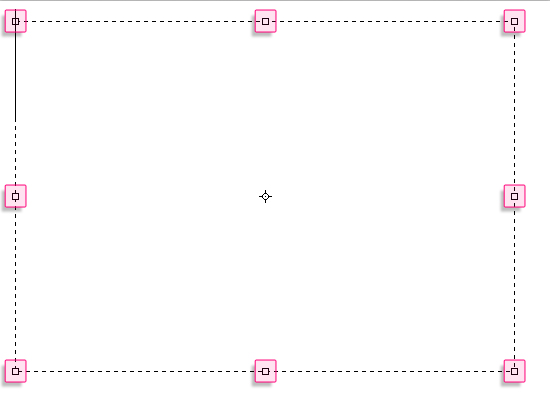
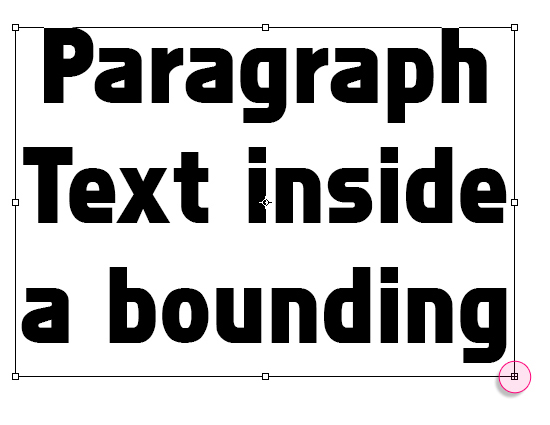
Once the mouse is released, a new Type Layer will be created, and 8 handles (the small squares on the corners and the edges) will appear. The handles control are used to resize the box.
Notice also that the blinking insertion marker will appear inside the area so that you can start typing your text.
If the entered text is too big to fit in the area, a small overflow symbol (plus sign inside the square) appears in the bottom right corner of the box.
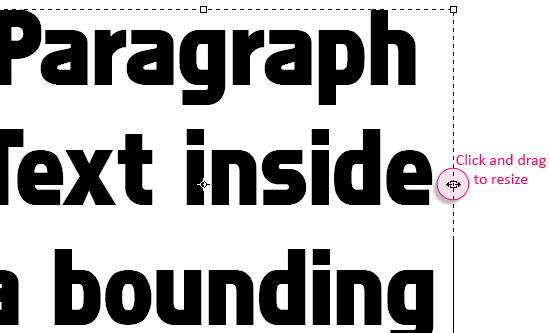
One way to fix that, is to click the overflow symbol (over which the cursor will become a double headed arrow cursor), then with the mouse button still held down, drag the overflow handle to enlarge the text box.

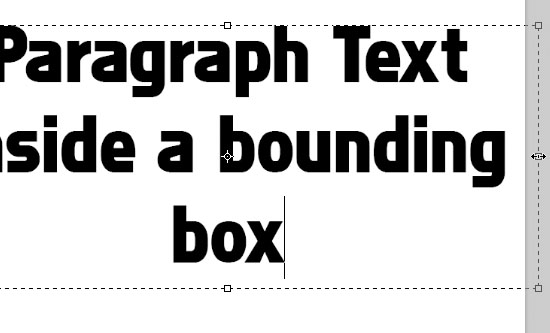
The same thing applies for all the other handles of the text box. Click any handle and drag it to enlarge its side(s) of the box.
The text box edges can be outside the document boundaries as well, but just keep in mind that the whole idea of the Paragraph Text is to keep the text inside the document. So make sure the edges are not floating outside.
Moving Paragraph Text Around
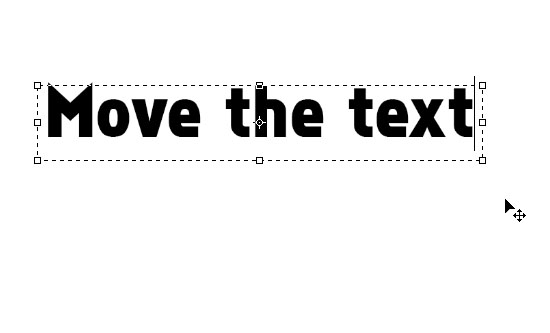
Once again, the Move Tool can be used to do that. But to move the text while creating it, place the mouse somewhere outside the text box, and when the cursor changes into the Move Tool cursor, you can click and drag to move the text to a new location.
When done, release the mouse button, and continue typing.
The Paragraph Text is the better option for large amounts of text, and for the text you want to change its formatting later. It keeps the text neat, and doesn’t mess the line breaks or leads to unnecessary spaces or extra lines.
Converting Point Text to Paragraph Text
If you have Point Text and you want to convert it to Paragraph Text, you don’t need to retype it in a box. You can simply right click the Type Layer, and choose Convert to Paragraph Text.
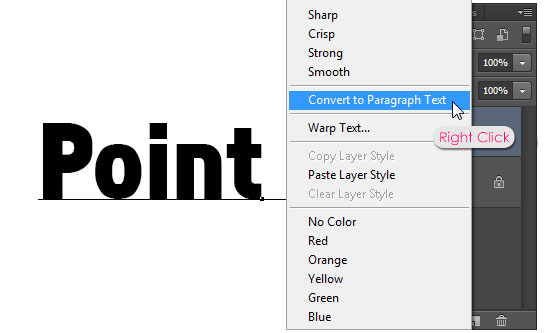
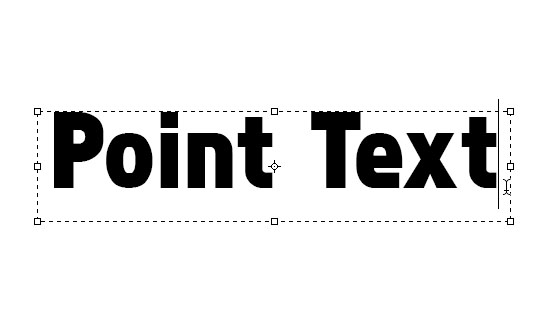
This will create a bounding box based on the original text size. Remember, the box can be resized, and more text can be added anytime.
Converting Paragraph Text to Point Text
The same thing works if you have Paragraph Text that you want to convert into Point Text. Just right click the Type Layer, and choose Convert to Point Text.
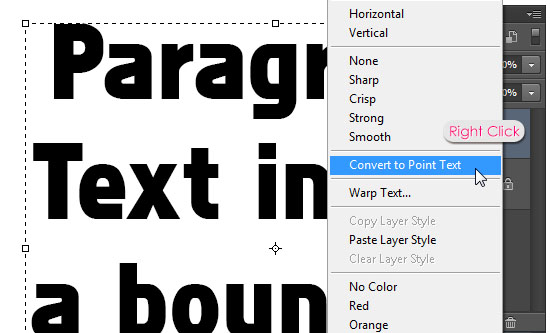
This will remove the bounding box, and add line breaks for each line.

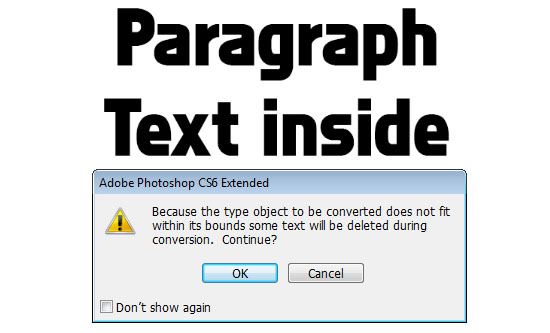
One important thing to keep in mind when converting from Paragraph Text to Point Text, is to make sure that there is no overflow in the Paragraph Text box, and that all the text inside the box is visible (inside the document).
If there is an overflow and some text is not shown, and error message will appear when you do the conversion telling you that any overflow text will be deleted when converted.
Where to Click
Whenever the Type Tool is active (selected) the cursor will instantly change to be the Type Cursor. If there is no text in the document you can click anywhere to start typing.
But if there is an already existing text in the document, however, you should be careful where to click.
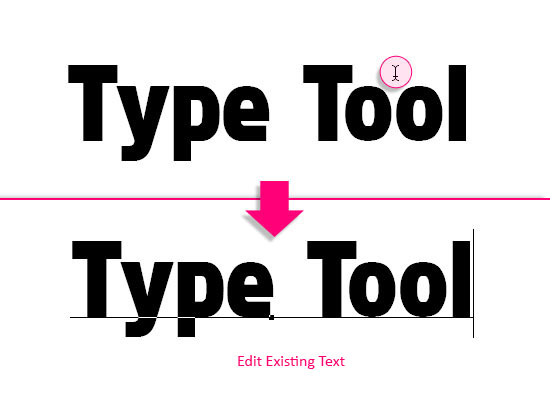
If the mouse is over any existing text, the cursor will change to be an “I-beam” (small I symbol), which means that if you click, you will activate the existing text (and Type Layer) so that you can modify it if you like.
The text is active when it’s underlined, and it has a blinking insertion mark inside it.
(Editing and modifying text will be discussed in the upcoming parts of the series).
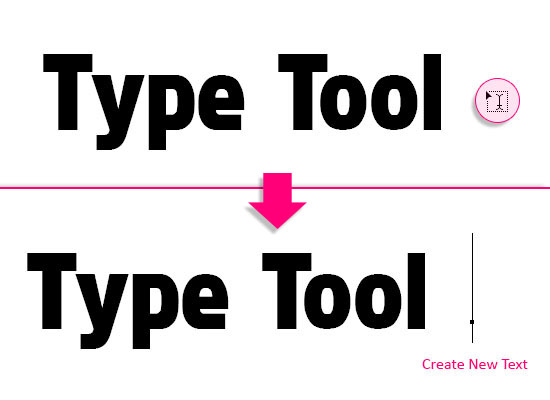
If the cursor is outside the existing text you have, it will look like the default (original) Type Tool cursor. This means that if you click, a new Type Layer will be created so that you can create new text.
Tip: Don’t forget to confirm any changes you make.
A couple of small details you need to pay attention to while using the Type Tool to save your time.
This concludes this part. Next, more about the Type Tool options, highlighting the text to modify it, and creating text-based selections.
Did you enjoy this post? Please consider donating to help us cover our server costs.