
Grass and Dirt Text Effect
This tutorial will explain a very simple and quick way to create a vivid grass and dirt text effect, with the help of Layer Masks, adjustment layers, and some basic Layer Effects.
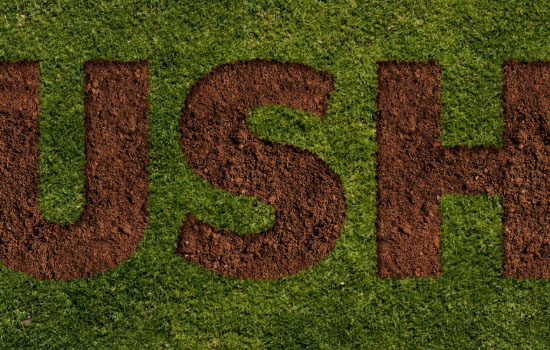
The Final Result

Tutorial Details
- Software Used : Photoshop
- Version : CC 2014
- Time : 0:30 – 0:45
Resources
- SansSerifExbFLF font.
- Soil Pattern 1.0 by Sed-rah-Stock.
- Grass0138 Image 4 – Medium 1600×1067.
- Butterfly 02 by wolverine041269.
Step 1
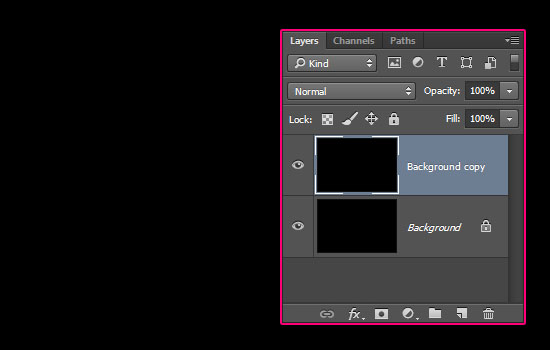
Start by creating a new 1600 x 1064 px document, and duplicate the Background layer.
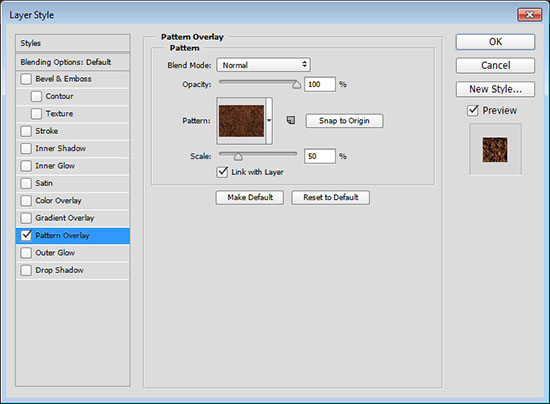
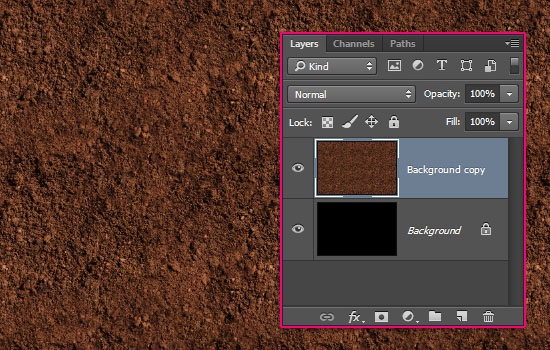
Double click the copy Background layer to apply a Pattern Overlay effect using the Soil Pattern 1.0 pattern, and the Scale value of 50%.
Right click the copy layer and choose Rasterize Layer Style (or group that layer and merge the group for < CS6 versions).
Step 2
Place the Grass0138 image on top of the copy Background layer, and rename its layer to Grass.

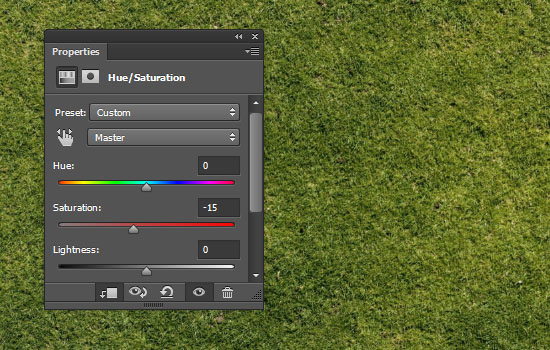
Click the Create new fill or adjustment layer icon down the Layers panel and choose Hue/Saturation. Right click the adjustment layer and choose Create Clipping Mask. This will make sure that the adjustment layer affects the Grass layer only.
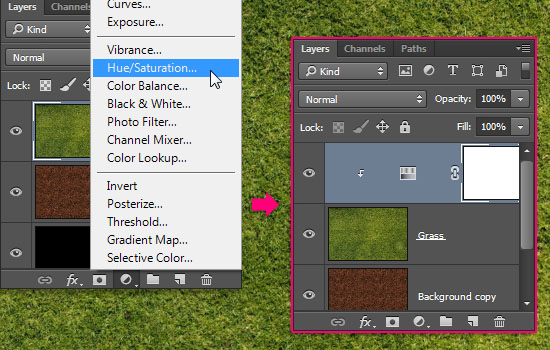
Change the Saturation value to -15.
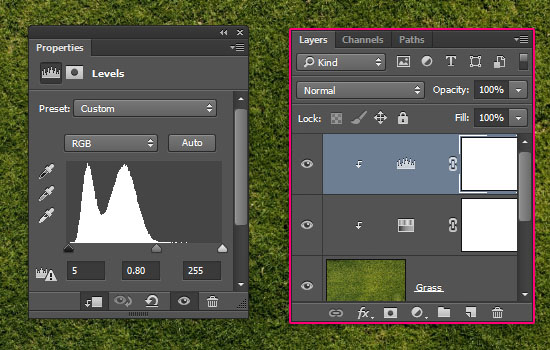
Click the Create new fill or adjustment layer icon again and choose Levels, create a Clipping Mask for the Levels layer, then change the Shadows value to 5 and the Gamma value to 0.80.
Step 3
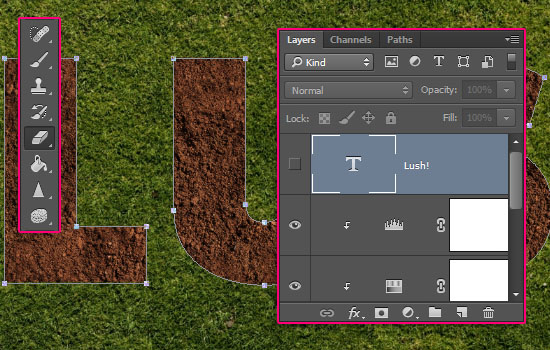
Create the text in All Caps using the font SansSerifExbFLF and the font Size 450 pt.

Ctrl/Cmd + click the text layer’s thumbnail to create a selection, then go to Select > Inverse.
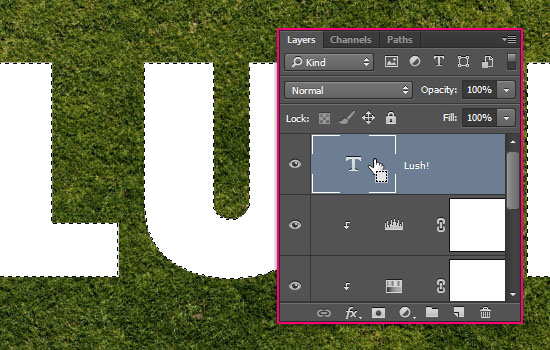
Select the Grass layer then click the Add layer mask icon at the bottom of the Layers panel. This will make the dirt show through the grass based on the text selection.
Step 4
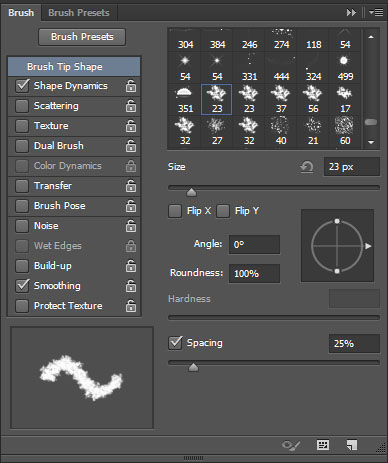
Right click the text layer, choose Create Work Path, then make it invisible by clicking the eye icon next to it. Pick the Eraser Tool and open the Brush panel (Window > Brush).
Choose the Chalk 23 pixels tip, and modify its Settings as shown below:
Brush Tip Shape
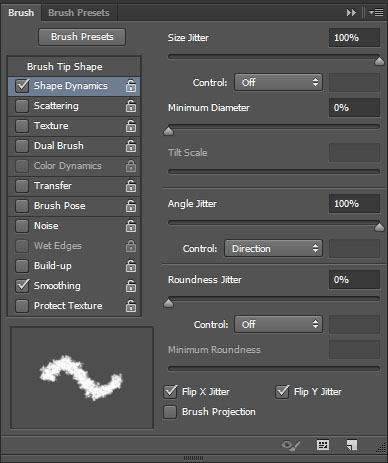
Shape Dynamics
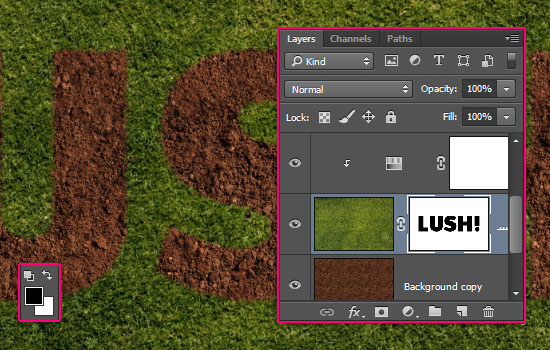
Set the Foreground color to Black, pick the Direct Selection Tool (A), and select the Grass layer mask. Then, right click the work path and choose Stroke Path. Choose Eraser from the Tool drop down menu and click OK. Then, hit Enter/Return to get rid of the work path.
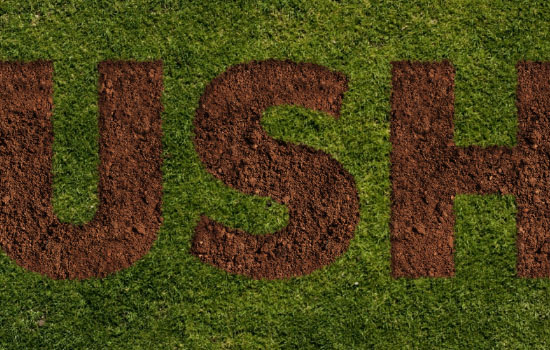
This will create some jagged edges making the text look more realistic.
Step 5
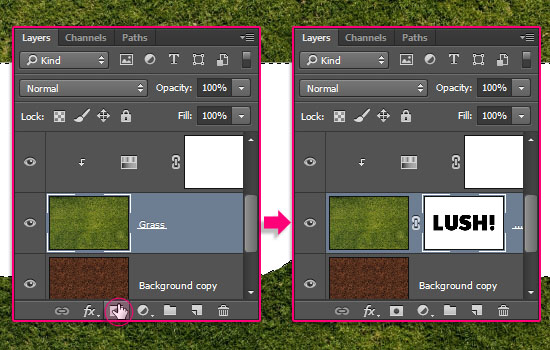
Ctrl/Cmd + click the Grass layer mask, then go to Select > Inverse.
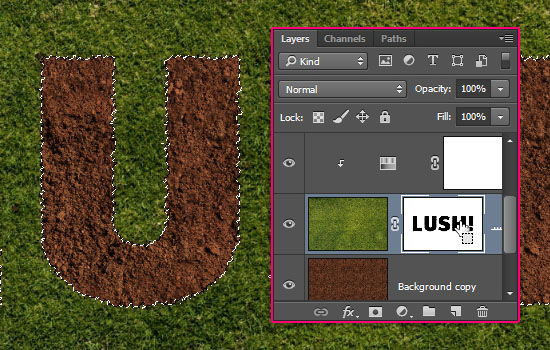
Select the Background copy layer, then press Ctrl/Cmd + J to duplicate the selection in a new separate layer. Rename that layer to Dirt.

Double click the Dirt layer to apply an Inner Shadow effect.
- Opacity : 35%
- Distance : 12
- Size : 3
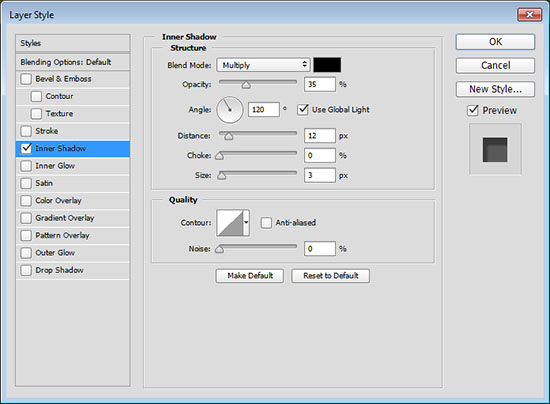
This will create the first layer of shadow.
Double click the Grass layer to apply a Drop Shadow effect:
- Blend Mode : Linear Burn
- Color :
#5c5954 - Opacity : 20%
- Distance : 3
- Size : 7
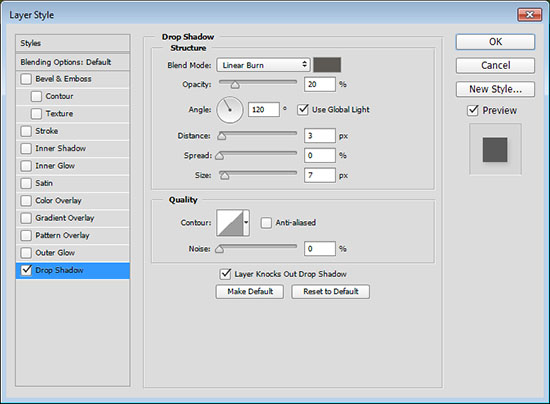
This will create the second layer of shadow, giving depth to the text.
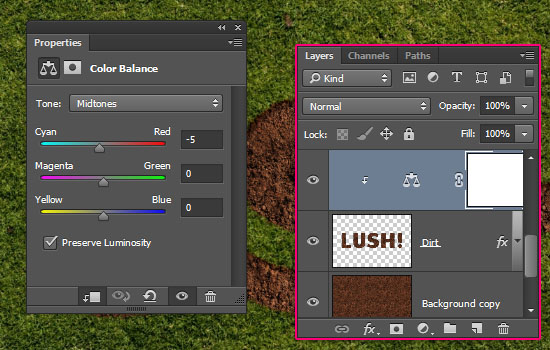
Click the Create new fill or adjustment layer icon and choose Color Balance, create a Clipping Mask, then change the Cyan/Red value to -5.
Step 6
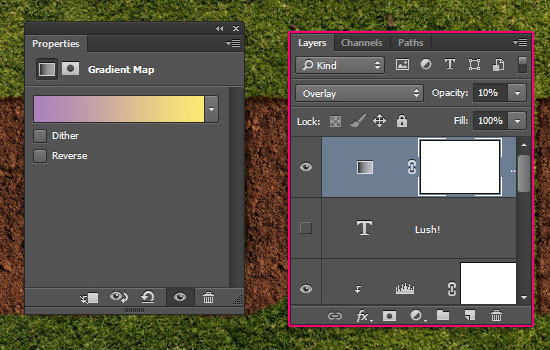
Click the Create new fill or adjustment layer icon one last time and choose Gradient Map. Create the gradient using the colors #ab82bc to the left and #fdea72 to the right. Then change the adjustment layer’s Blend Mode to Overlay and its Opacity to 10%.
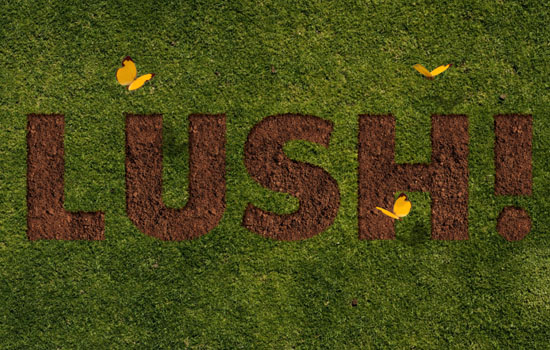
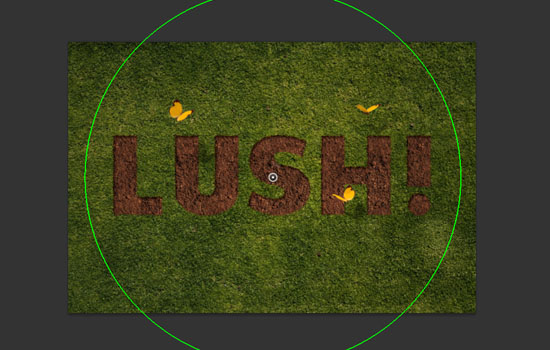
You can then add some of the butterflies from the Butterfly 02 image, change their color, and apply Drop Shadow effects with different Distance values to each of them.
The color here is modified using the Hue/Saturation (Image > Adjustments > Hue/Saturation), by changing the Hue value to -15.
Select all the layers you have, duplicate them, then merge the copy layers (Layer > Merge Layers).
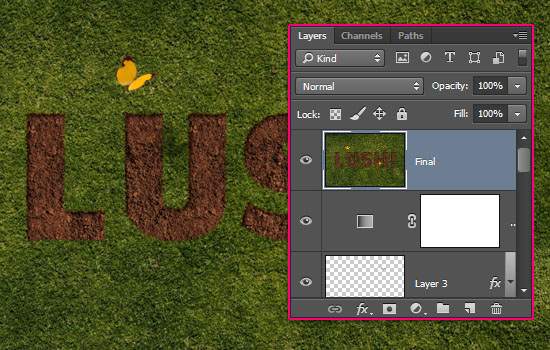
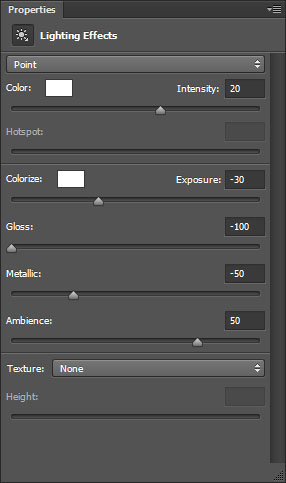
Go to Filter > Render > Lighting, and modify the settings as shown below:
And you’re done!
Hope you enjoyed the tutorial and found it helpful 🙂
Did you enjoy this post? Please consider donating to help us cover our server costs.


Another great tutorial – the thing I take away from this is the subtle settings you use which when all combined give just the right effect. Thanks…
You’re absolutely right! It’s all about the simple details building up the final effect.
Really glad you enjoyed the tutorial and found it useful.
Many thanks for the amazing comment 😀
Very simple, I like it! 🙂
Glad you do 🙂
Thanks a lot for the comment.
very good
Thank you for the comment 🙂
Great…….creative effect text photoshop.
Glad you like it!
Thanks a lot for the comment 🙂
Great text effect! If you need more grass textures you can check out this collection:
http://www.textures4photoshop.com/tex/tags/grass.aspx