
Outline Sketch Text Effect
This tutorial explains a super easy way to create an “outline sketch” effect, using Photoshop CS5 new Painting Brushes.
The Final Result

Tutorial Details
- Software Used : Photoshop
- Version : CS5 Extended
- Time : 0:10 – 0:20
Resources
- Futurama Bold Font font.
Step 1
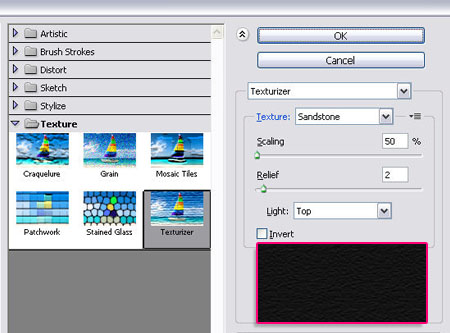
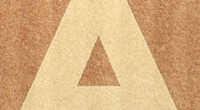
Create a new 1024 x 768 px document. Fill the Background with the color #131313, then go to Filter > Texture > Texturizer, choose Sandstone from the Texture drop down menu, change the Scaling to 50%, the Relief to 2, and choose Top from the Light drop down menu.
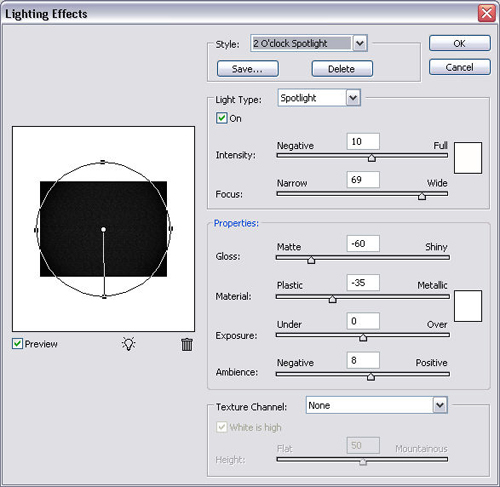
Go to Filter > Render > Lighting Effect, and type in the values below.
Step 2
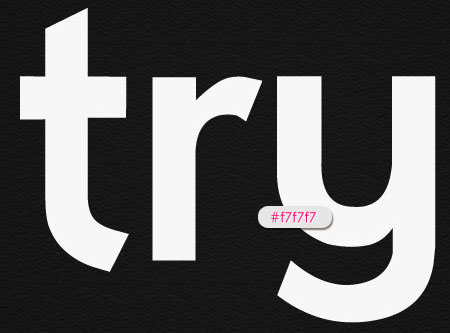
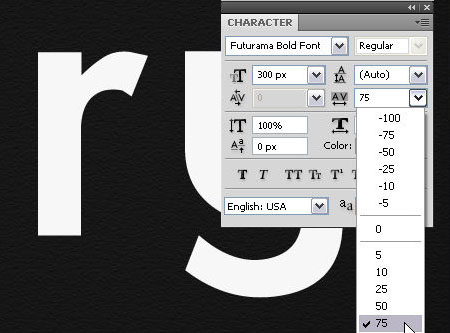
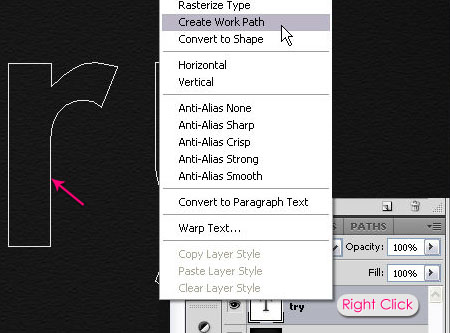
Create your text using the font Futurama Bold Font, the Size 300px, and the color #f7f7f7.
Change the Tracking value to 75 to avoid overlapping.
Right clickthe text layer, then choose Create Work Path.
Step 3
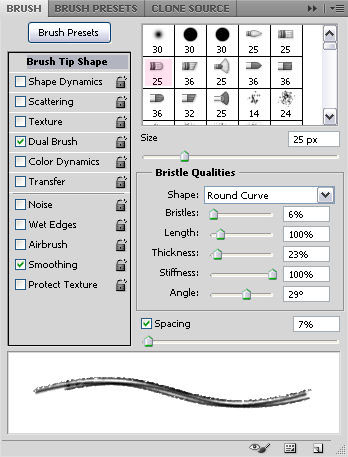
Set the Foreground color to #f7f7f7. Open the Brush panel (Window > Brush), choose the Round Curve Low Bristle Percent brush tip, and type in the values below:
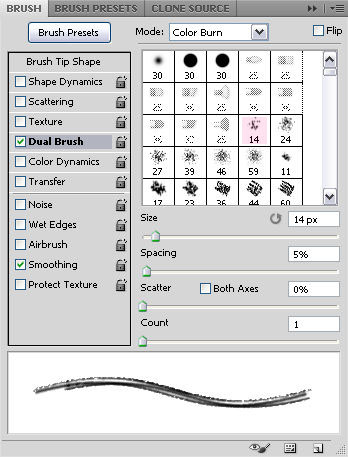
Check the Dual Brush box, and choose the Spatter 14 pixels brush tip. Make sure that the other values are set to their defaults.
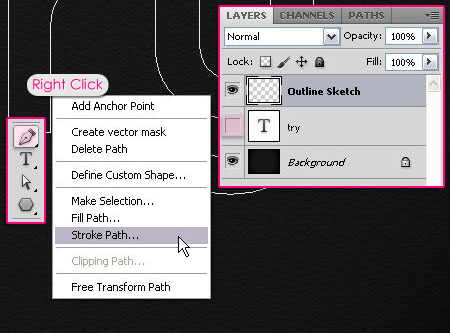
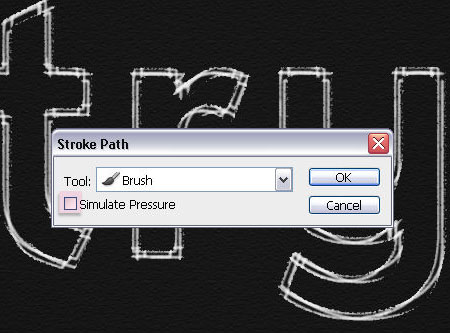
Create a new layer and call it Outline Sketch. Remove the eye icon next to the text layer to make it invisible. Pick the Pen Tool, make sure that the Outline Sketch layer is selected, then right click the path you created, and choose Stroke Path.
Choose Brush from the Tool drop down menu, and un-check the Simulate Pressure box.
And that’s it!
Did you enjoy this post? Please consider donating to help us cover our server costs.


simple and superb
Thank you.
Thanks!! it was very easy!
You’re welcome.
Great tut.
————–
Please visit®ister at http://www.editONLY.net. Great new forum for designers, and all who love Photoshop. Very spec. PS tutorials ! Enjoy
Thanks for the comment, will have a visit soon, hopefully.
thank u…:)
You’re welcome 🙂
here’s my result.. not so perfect but I’m satisfied.. 🙂
http://sarahblo.tumblr.com/post/28186021800/if-happy-ever-after-did-exist-i-would-still-be
Looks lovely.
A bit different because the font size you used seems smaller than the one in the tutorial, so you just need to reduce the brush size a bit. But nice outcome nevertheless.
Thanks a lot for the comment and the link 🙂
LOL its easy! thx
You’re welcome.
Thanks for the comment.
Really nice
Thanks a lot 🙂