
Simple 3D Snow Writing Text Effect
This is a very quick and simple tutorial that will show you how to create a 3D, soft, snowy text effect. You’ll get to use a texture, a couple of layer effects, and a modified brush with some handy techniques to achieve the final effect. Let’s get started.
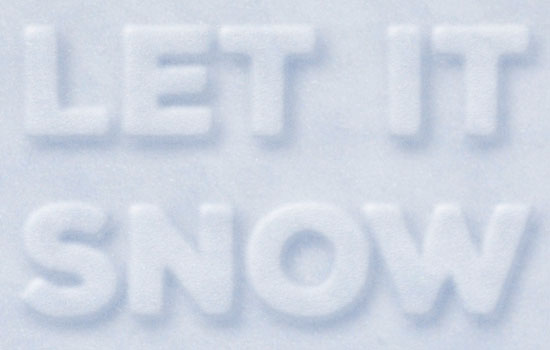
The Final Result

Tutorial Details
- Software Used : Photoshop
- Version : CC
- Time : 0:20 – 0:35
Resources
- Nexa Rust Sans Black font.
- Snow0085_01 Medium – 1600×1067.
- Felt pattern by Atle Mo.
Step 1
Open the Snow0085_01 image, then go to Image > Image Rotation > 90° Counter Clockwise.
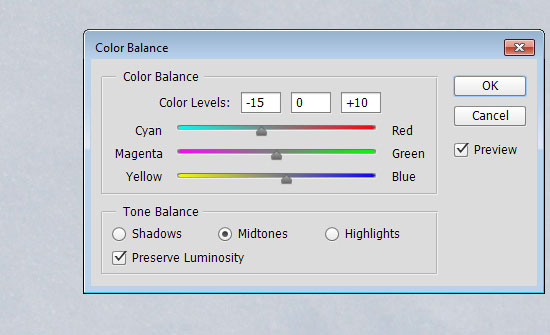
Then go to Image > Adjustments > Color Balance. Make sure that the Midtones option is selected, then change the Color Levels to -15, 0, and 10.
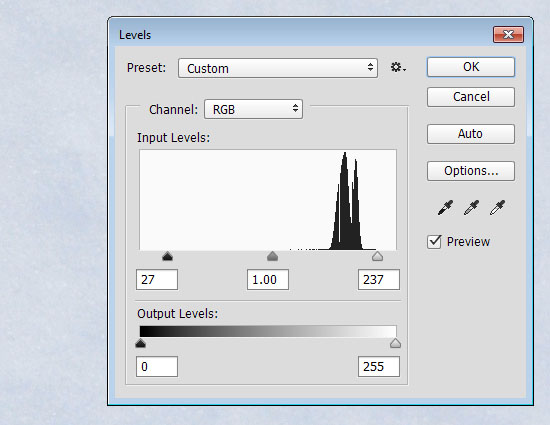
Go to Image > Adjustments > Levels. Change the Shadows value to 27 and Highlights value to 237.
Step 2
Create the text in White using the font Nexa Rust Sans Black and the Size 200 pt.

Cmd/Ctrl + click the text layer’s thumbnail to create a selection.

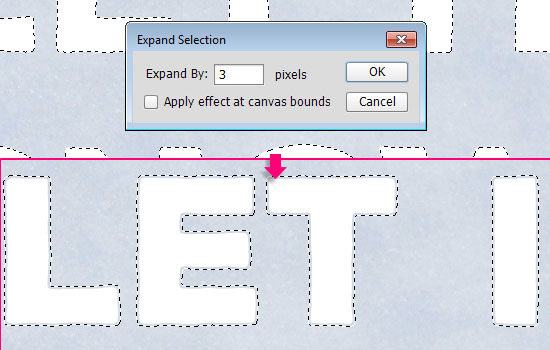
Go to Select > Modify > Expand, and expand the selection by 3 px.
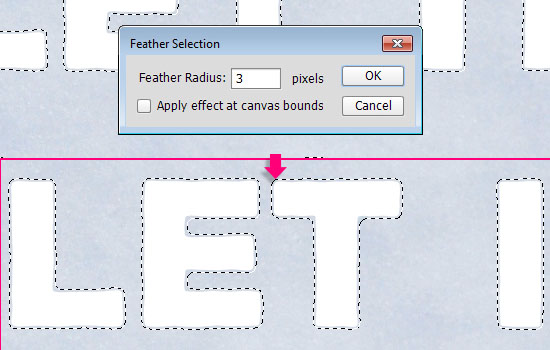
Go to Select > Modify > Feather. This is the part that controls how soft the effect will be. So smaller values will result in a hard, more defined effect, while bigger values will create a more soft, feathered out effect.
The value used here is 3.
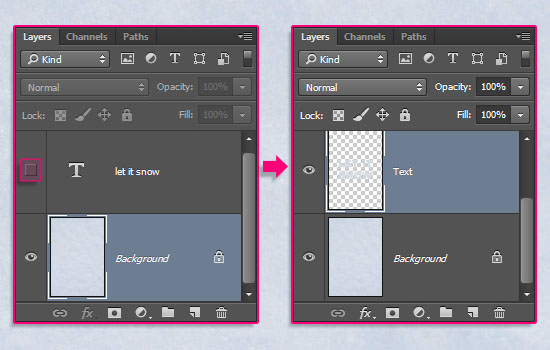
Make the text layer invisible by clicking the eye icon next to it, then select the Background layer.
Press Cmd/Ctrl + J to duplicate the selection in a new layer, and rename that layer to Text.
Step 3
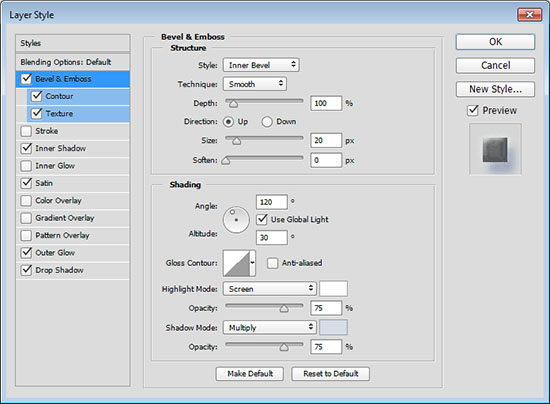
Double click the Text layer to apply the following Layer Style:
– Bevel and Emboss
- Size : 20
- Shadow Mode – Color :
#d7dde7
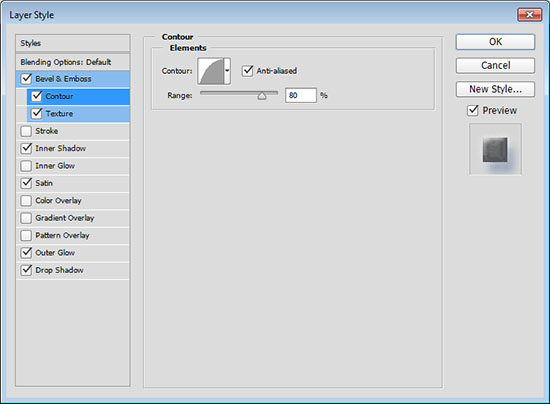
– Contour
- Contour : Half Round
- Check the Anti-aliased box.
- Range : 80%
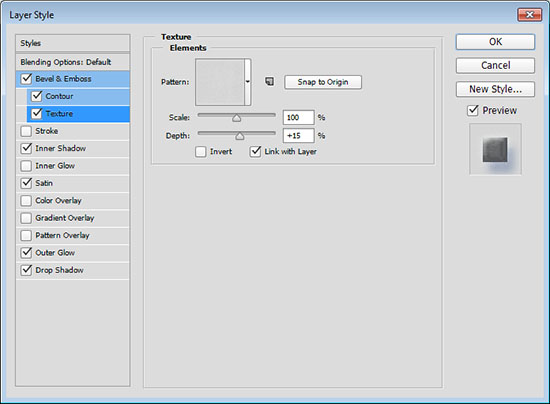
– Texture
- Pattern : Felt
- Depth : 15%
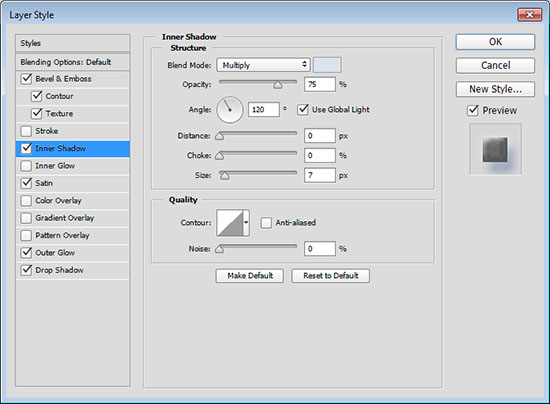
– Inner Shadow
- Color :
#d9e4ef - Distance : 0
- Size : 7
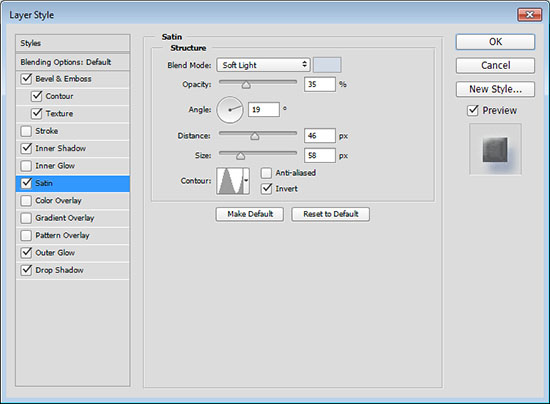
– Satin
- Blend Mode : Soft Light
- Color :
#d3dbe7 - Opacity : 35%
- Contour : Ring
– Outer Glow
- Opacity : 35%
- Noise : 34%
- Color :
#bcc6d6 - Size : 10

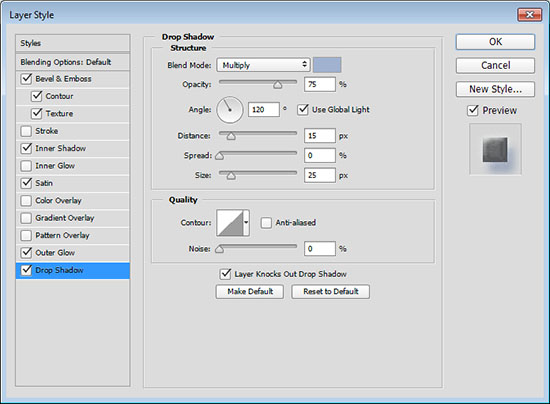
– Drop Shadow
- Color :
#a0b2cf - Distance : 15
- Size : 25
This will style the text.
Step 4
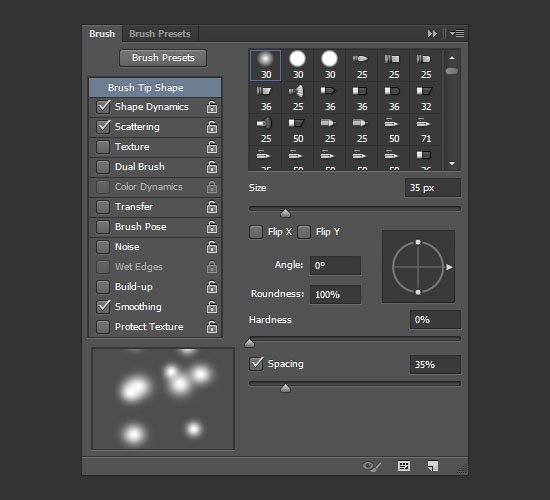
Pick the Eraser Tool and open the Brush panel (Window > Brush). Pick a soft round tip and change its Settings as shown below:
Brush Tip Shape
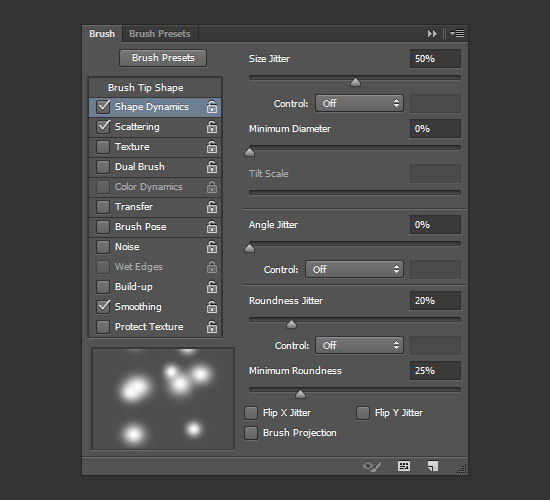
Shape Dynamics
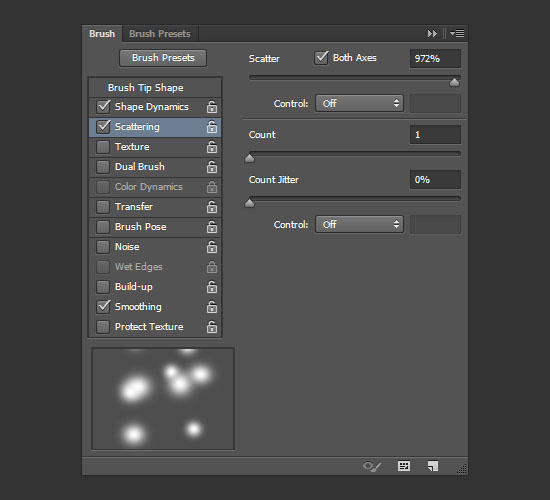
Scattering
Step 5
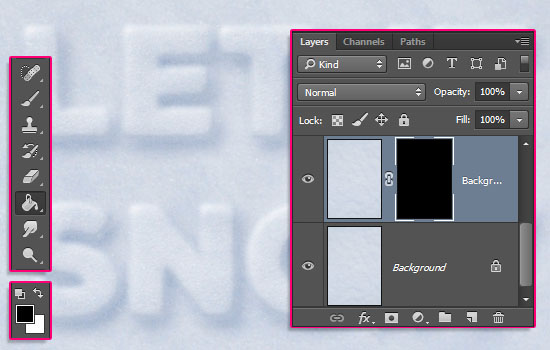
Duplicate the Background layer, then click the Add layer mask icon at the bottom of the Layers panel.
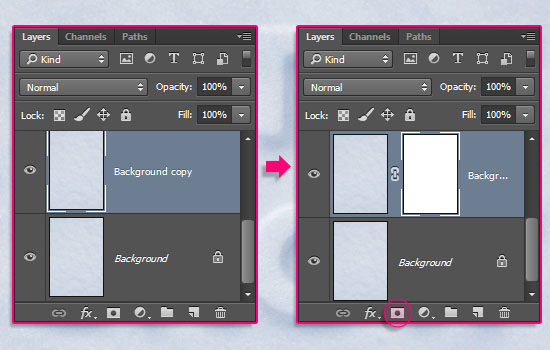
Set the Foreground color to Black, then use the Paint Bucket Tool to fill the layer mask (just as if you were filling the document itself but with the layer mask thumbnail selected instead of the actual layer’s thumbnail).
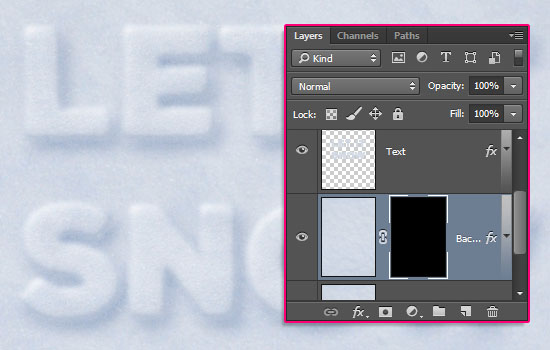
Right click the Text layer, choose Copy Layer Style, then right click the Background copy layer, and choose Paste Layer Style.
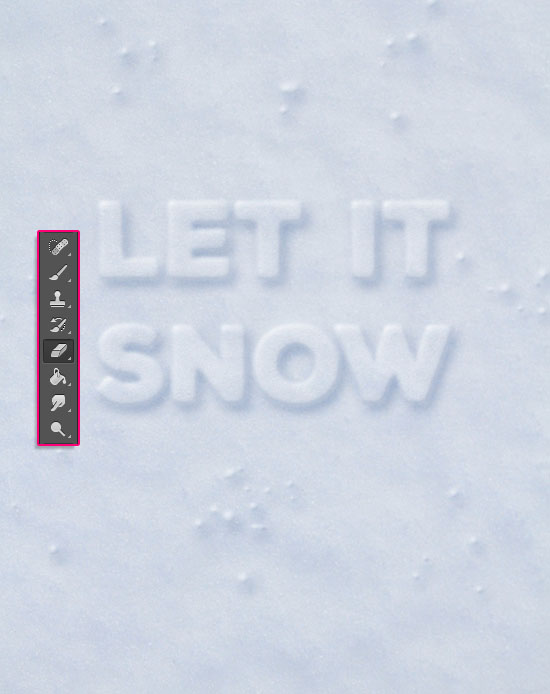
With the Eraser Tool selected, as well as the layer mask’s thumbnail, start clicking, and slightly dragging pretty quickly, to scatter some snow around the text.
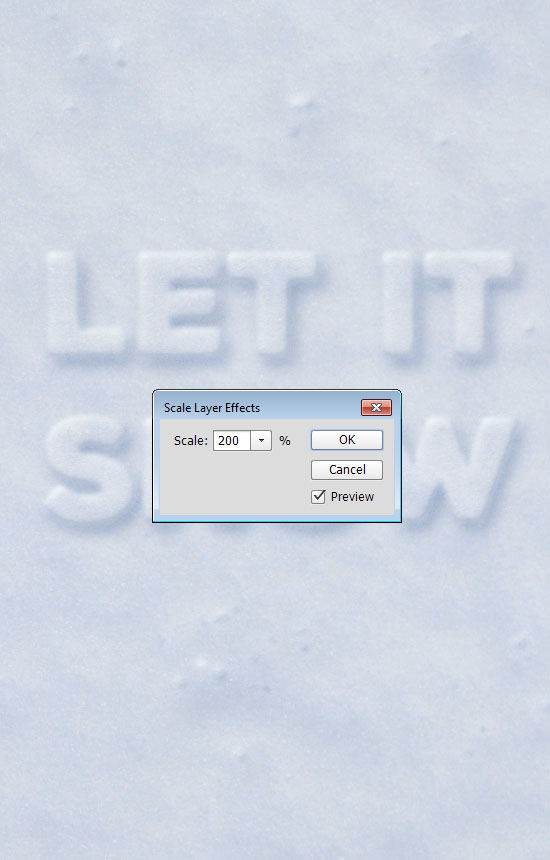
Right click the Layer effects (fx) icon to the right of the Background copy layer, and choose Scale Effects. Change the Scale value to 200%, or any other value you like and think looks good.
Step 6
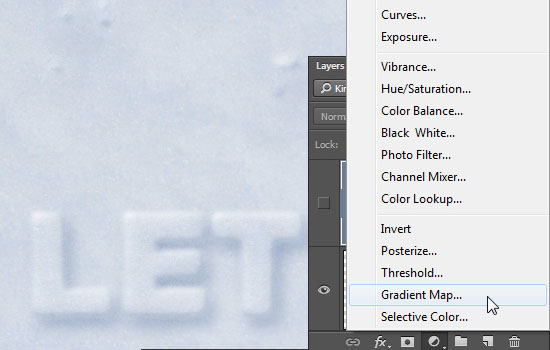
Click the Create new fill or adjustment layer icon at the bottom of the Layers panel and choose Gradient Map.
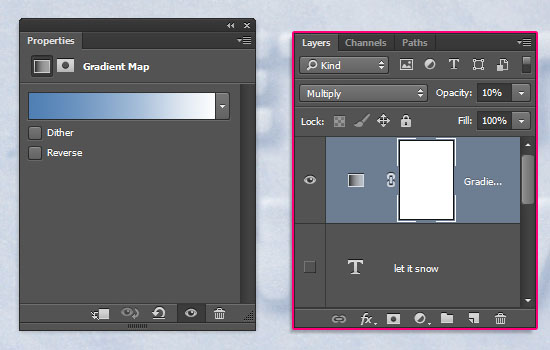
Create the gradient using the colors #507fb4 to the left and #ffffff to the right. Then place the adjustment layer on top of all layers, change its Blend Mode to Multiply and its Opacity to 10%.
And you’re done! Already feels like Winter doesn’t it? 😉
Hope you enjoyed the tutorial and found it helpful.
Did you enjoy this post? Please consider donating to help us cover our server costs.

this is my outcome~!
Very Cute outcome!
Thanks a lot for sharing your work 🙂