
Simple Bronze Text Effect
Using Layer Styles is one of the easy ways to create great text effects. This tutorial will show you how to use two Layer Styles to create a simple, yet sophisticated, bronze text effect in a couple of minutes.
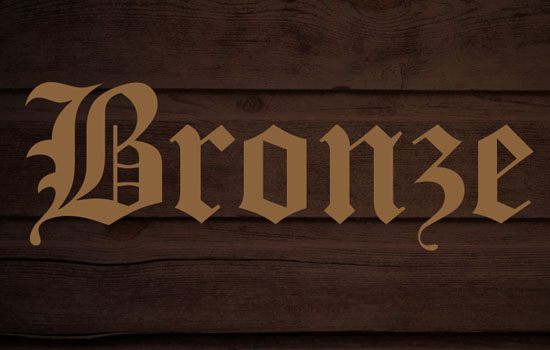
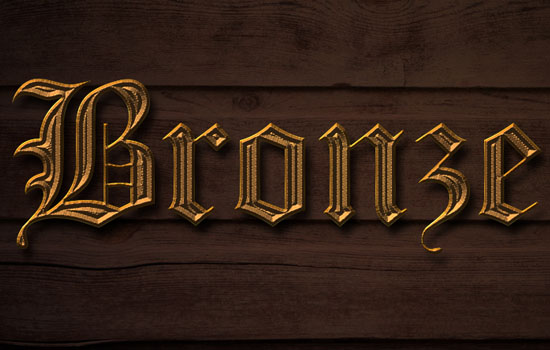
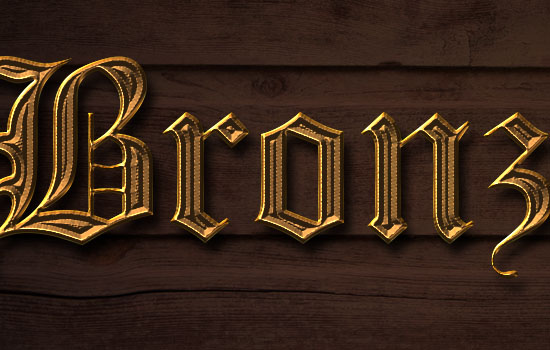
The Final Result

Tutorial Details
- Software Used : Photoshop
- Version : CC
- Time : 0:15 – 0:25
Resources
- Old London font.
- Old Wooden Planks Texture by goodtextures.
- Iron Grip pattern by Tony Kinard.
- Gold Gradients GRD by IsPSD.
- Free Floral & Swirls Designs.
Step 1
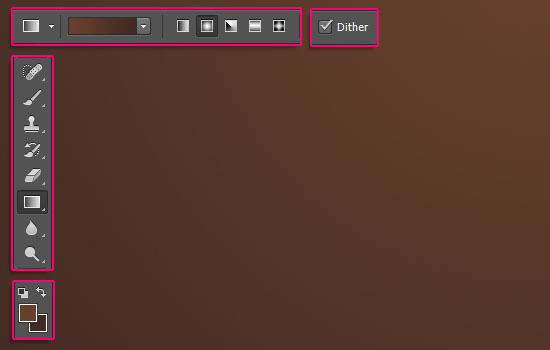
Create a new 1200 x 800 px document, and set the Resolution value to 200. Set the Foreground color to #67402c and the Background color to #412a24. Pick the Gradient Tool, choose the Foreground to Background gradient fill, and click the Radial Gradient icon.
Then, click and drag from the top right corner of the document to the left bottom corner to create the background gradient.
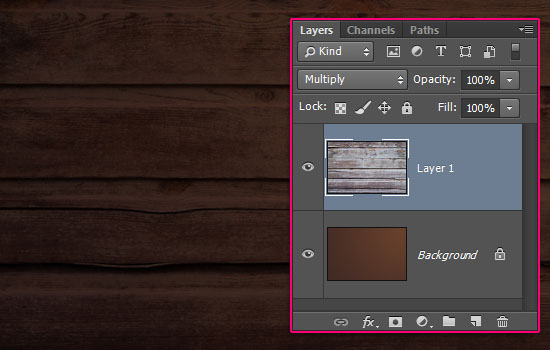
Place the Old Wooden Planks Texture image on top of the Background layer, then change its layer’s Blend Mode to Multiply.
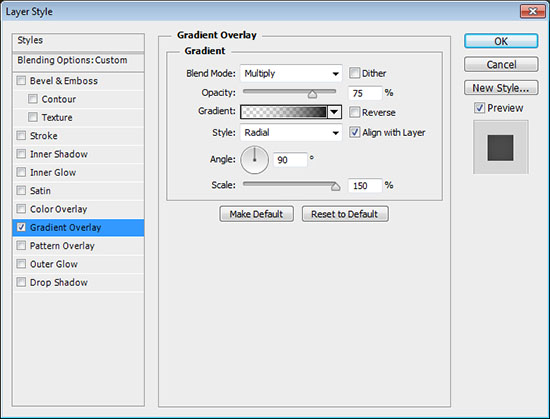
Double click the wood texture layer to apply a Gradient Overlay effect.
- Blend Mode : Multiply
- Opacity : 75%
- Style : Radial
- Scale : 150%
- Use a Transparent to Fill Color, White to Black, gradient.
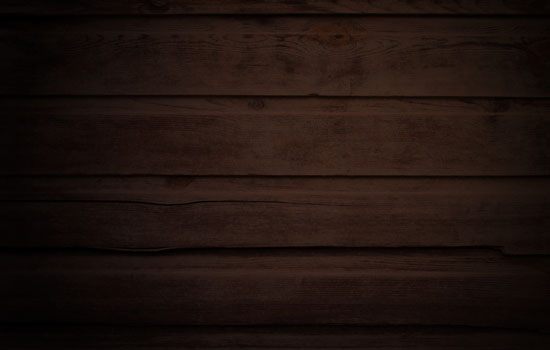
This will add a simple vignette to the wood texture.
Step 2
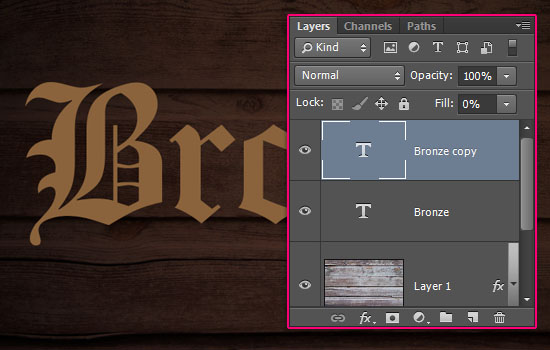
Create the text using the font Old London. The color is #8a623b and the Size is 100 pt.
Duplicate the text layer and change the copy’s Fill value to 0.
Step 3
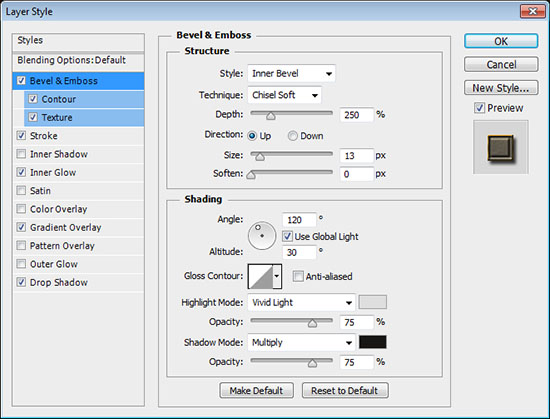
Double click the original text layer to apply the following Layer Style:
– Bevel and Emboss
- Technique : Chisel Soft
- Depth : 250
- Size : 13
- Highlight Mode : Vivid Light
- Color :
#dedede - Shadow Mode – Color :
#171514
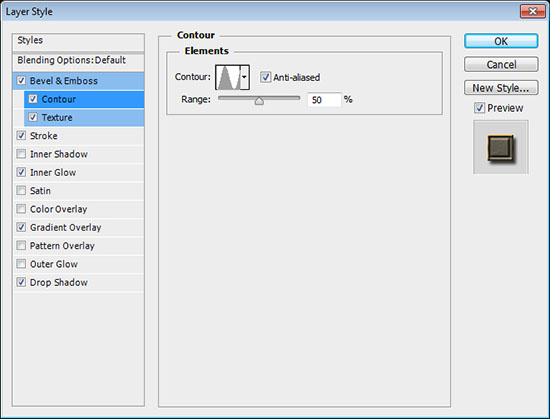
– Contour
- Contour : Ring
- Check the Anti-aliased box.
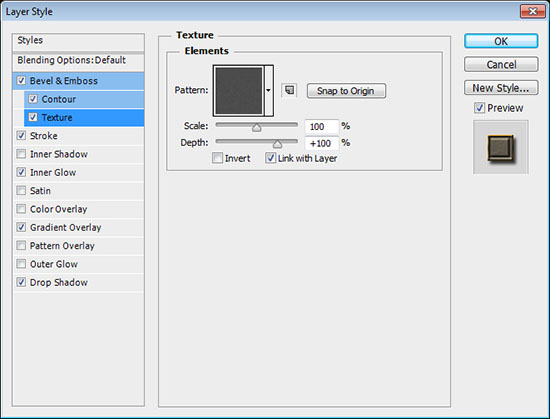
– Texture
- Pattern : Iron Grip
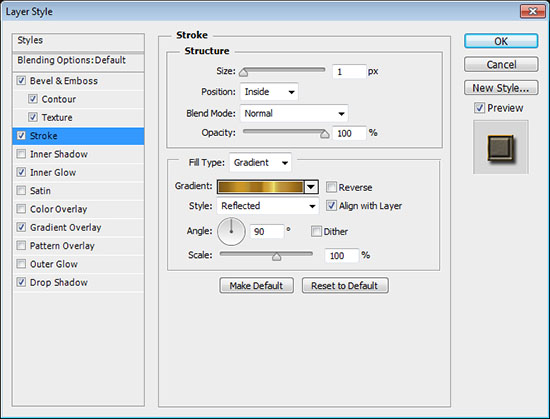
– Stroke
- Size : 1
- Position : Inside
- Fill Type : Gradient
- Style : Reflected
- Angle : 90
- Use the Gold Label 230w gradient.
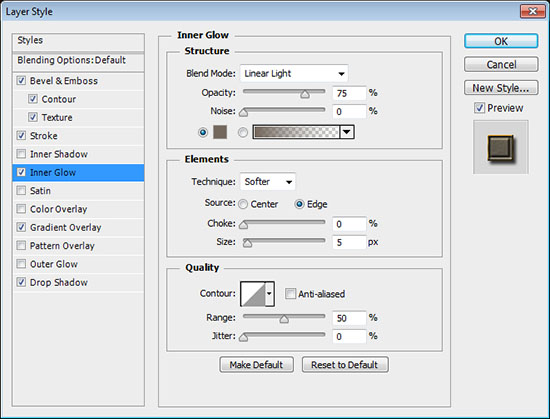
– Inner Glow
- Blend Mode : Linear Light
- Color :
#74675b
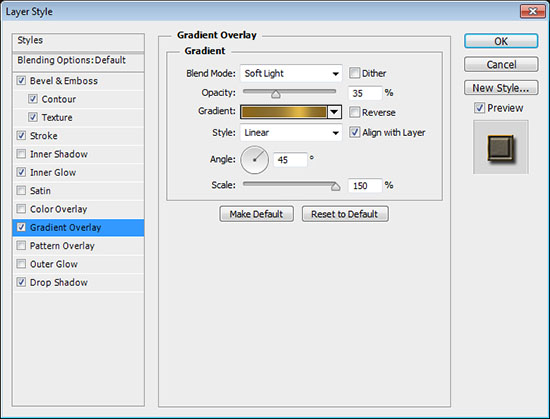
– Gradient Overlay
- Blend Mode : Soft Light
- Opacity : 35%
- Angle : 45
- Scale : 150%
- Use the Gold 24k – 20L gradient.
– Drop Shadow
- Distance : 14
- Size : 10
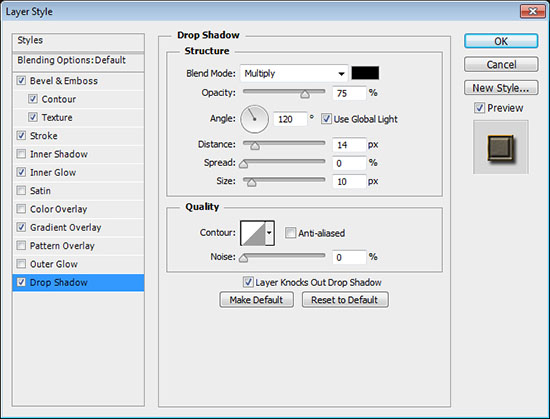
This will create the main textured part of the text.
Step 4
Double click the copy text layer to apply the following Layer Style:
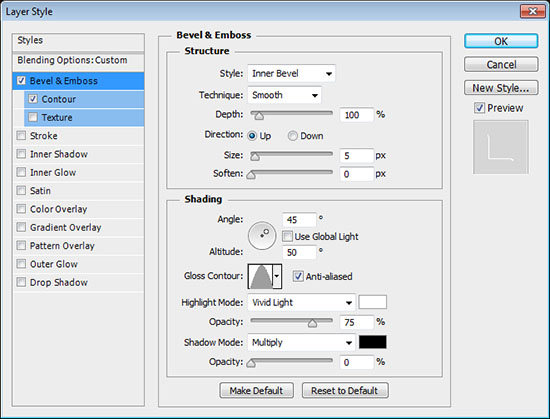
– Bevel and Emboss
- Uncheck the Use Global Light box
- Angle : 45
- Altitude : 50
- Gloss Contour : Cone
- Check the Anti-aliased box
- Highlight Mode : Vivid Light
- Shadow Mode – Opacity : 0%
– Contour
- Check the Anti-aliased box.
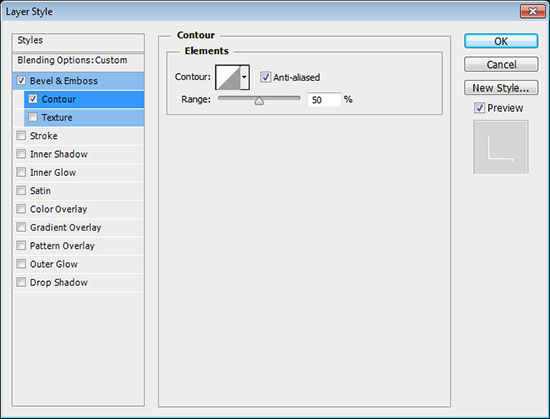
This will style the second layer of the effect, which adds brightness and sharpness to the first one.
You can also apply the same Layer Styles to any of the decorative brushes from the Free Floral & Swirls Designs pack to finish off the text effect.
Hope you found this really simple tutorial helpful 🙂
Did you enjoy this post? Please consider donating to help us cover our server costs.


Thanks for this tutorial! Really helped with figuring out how to make metallic effects on text.
That’s awesome to know!
Many thanks for the comment 🙂
thanks a lot 🙂
Awww, you’re very welcome 🙂
Thanks for the lovely comment 🙂
Hello Very Nice and Easy 2 Follow Tutorial,Thanks For The Great Great Tutorial……
Awesome outcome!
Thanks a lot for the kind comment and for sharing your work 🙂