
Simple Studded Text Effect
This is a quick tutorial that will show you how to create a studded text effect, by creating and modifying a simple brush, creating some work paths, and applying a couple of Layer Effects. You can then use the techniques to add the amazing studs to whatever you like!
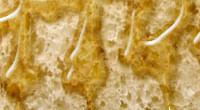
The Final Result

Tutorial Details
- Software Used : Photoshop
- Version : CS6 Extended
- Time : 0:30 – 0:45
Resources
- Existence Light font.
- Texture Fabric 2 pattern by DreamArt-Stock.
Step 1
Create a new 1250 x 680 px document, place the Texture Fabric 2 image on top of the Background layer, then resize it to fit within the document.
You might need to use different dimensions if you’re using longer text.
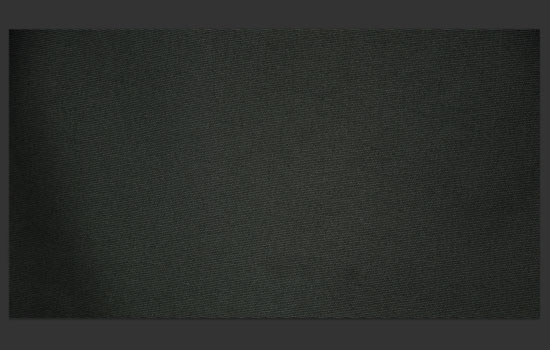
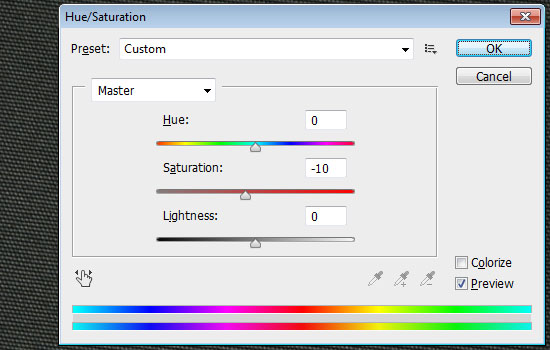
Go to Image > Adjustments > Hue/Saturation, and change the Saturation value to -10.
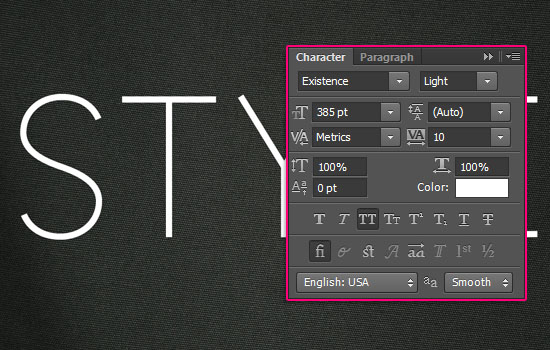
Create the text in All Caps using the font Existence. The color is White, the font Size is 385 pt, and the Tracking value is set to 10.
Step 2
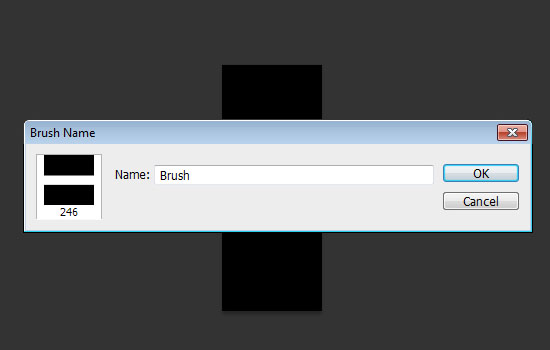
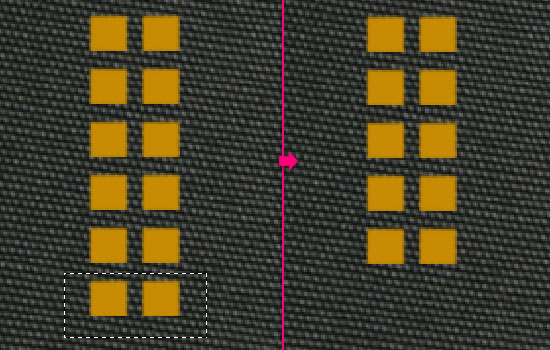
Create a new 100 x 246 px document with a White background, pick the Rectangular Marquee Tool, and click the Add to selection icon in the Options bar.
Then click and drag to create a 100 x 100 px square selection at the top of the document, and another one at the bottom.
Fill the selection with Black (using the Paint Bucket Tool), then go to Select > Deselect.
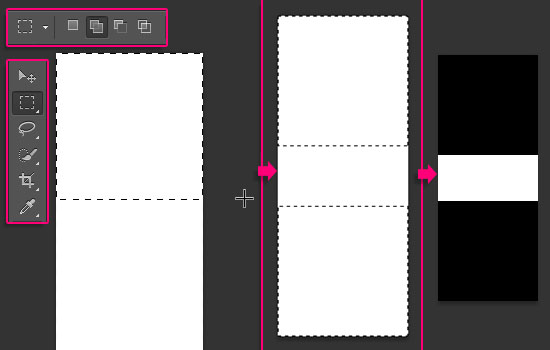
Go to Edit > Define Brush Preset, and type in a name for the brush.
After that, you can go back to the original document.
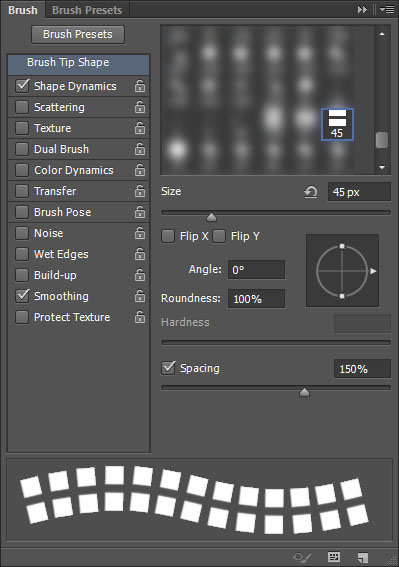
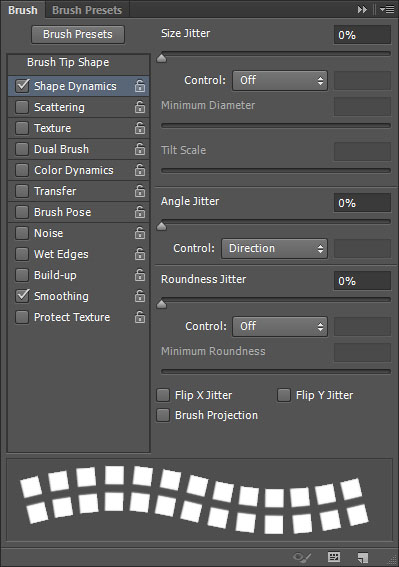
Open the Brush panel (Window > Brush), then click the new brush tip you created, and modify its Settings as below:
Brush Tip Shape
Shape Dynamics
Set the Angle Jitter Control to Direction. This will make the brush tip rotate along the paths it strokes.
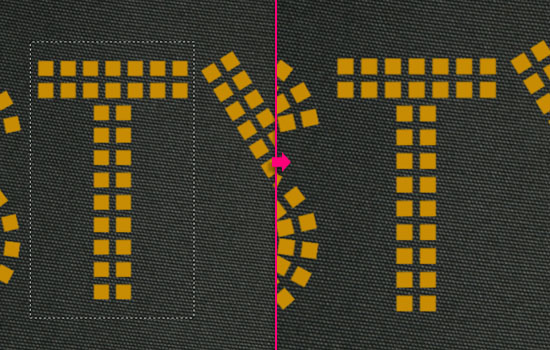
Next, we’ll be applying the brush to the text. There are three main parts of the letters: Straight, diagonal, and curved. While the straight parts will be stroked manually, the diagonal and curved ones will need creating paths.
Step 3
Start with the curved letters you have.
Pick the Pen Tool, and choose the Path option in the Options bar. Click once to add anchor points, and click and drag to create curves. Use the text as a reference to add the path. You don’t need to follow it exactly or make it perfect, as we’ll work on that next.
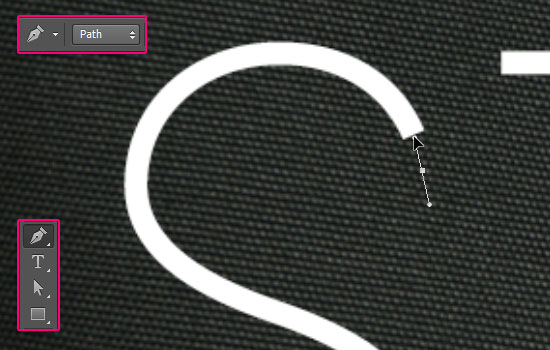
You can create the work paths for all the curved parts you have at the same time. To separate them when doing so, press and hold the Ctrl/Cmd key and click once outside each path when you’re done creating it.
After creating all the work paths, pick the Direct Selection Tool, then start modifying them.
You can click and drag an anchor point to move it around, or you can click the Direction Points at the end of the two Direction Handles, then move them around to change the orientation of the curve, or drag them outwards and inwards to make the curve wider or narrower.
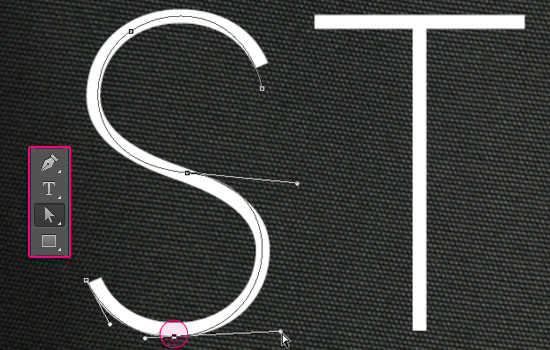
Once you’re done, pick the Brush Tool, set the Foreground color to #c78c04, then hit the Enter/Return key to stroke the path(s). Make the text layer invisible by clicking the eye icon next to it so that you can see the stroke clearly.
If you don’t like the result you get, you can play around with the brush Size and Spacing values, undo the stroke you created and stroke the path again, until you like the outcome.
When you do, pick the Direct Selection Tool (A), and hit the Enter/Return key one more time to get rid of the work path(s).
Step 4
Make the text layer visible once again by clicking the empty box next to it where the eye was.
For the straight lines, you’ll need to place the brush tip at the beginning of each one, click, and before you release, press and hold the Shift key, then drag to the end of the line, and release all.

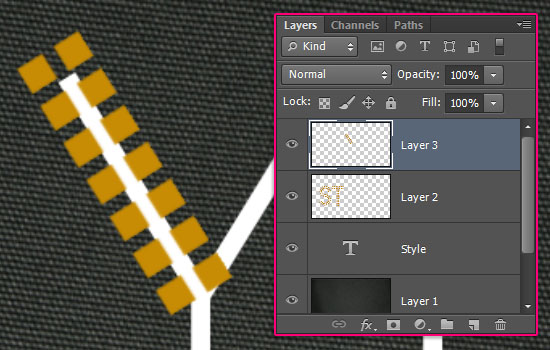
For the diagonal parts, you’ll need to create work path lines. But you should pay attention to the letter itself before creating all the lines.
For example, for the letter Y, the studs will overlap if you create work paths for both sides. So instead, we’re going to stroke one side, duplicate it, then modify the copy.
So start by creating a work path for the left side.

Create a new layer, stroke the path, and get rid of it just like you did before.
Duplicate the new layer, then go to Edit > Transform > Flip Horizontal.
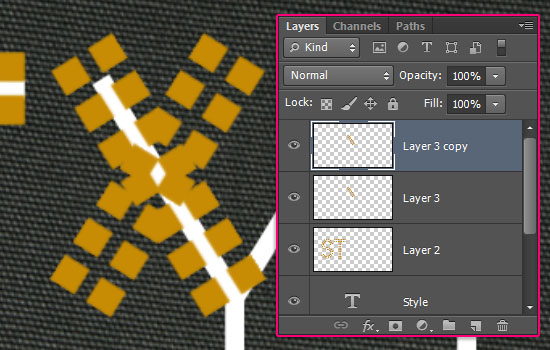
Pick the Move Tool, and use the Right Arrow key to move the copy until it overlaps with the other part at the bottom as shown below.
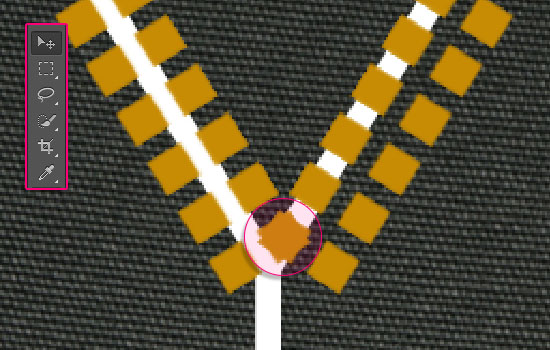
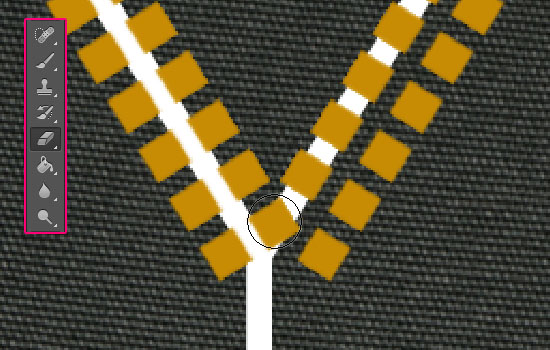
Use the Eraser Tool, with a hard round brush tip, to erase all the overlapping parts of the copy layer.
Repeat those steps to stroke the remaining letters.
As you can see in the screenshot below, it’s not necessary to follow the original text exactly, It’s just a reference.

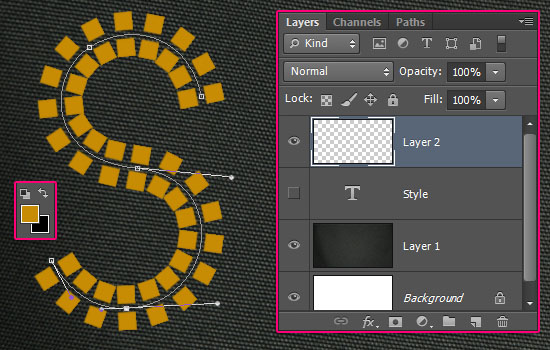
Step 5
Once you’re done, make the text layer invisible, and select all the stud layers you have, by clicking the one at the top, then Shift + clicking the one at the bottom.
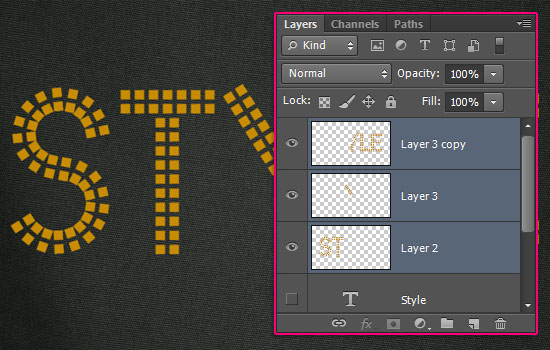
Go to Layer > Merge Layers, and rename the merged layer to Studs.
You can now modify the text you have, by deleting any extra parts, adding the missing one, moving the letters, etc.
For example, the letter T here is a bit longer and placed higher than the other letters, so the extra parts will be selected and deleted (using the Rectangular Marquee Tool, then hitting the Delete button).
Then the whole letter will be selected, and moved downwards using the Move Tool.
Make sure to finish modifying your text until you like the result you get.

Step 6
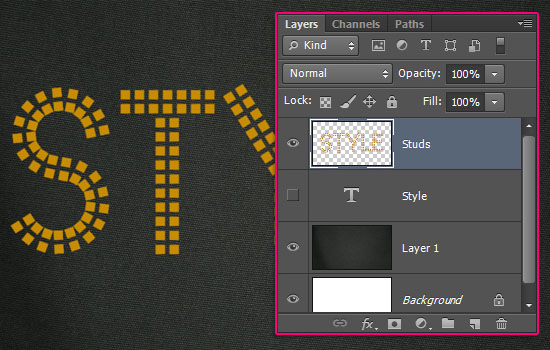
Double click the Studs layer to apply the following Layer Style:
– Bevel and Emboss
- Technique : Chisel Hard
- Size : 15
- Check the Anti-aliased box
- Highlight Mode : Linear Light
- Opacity : 50%
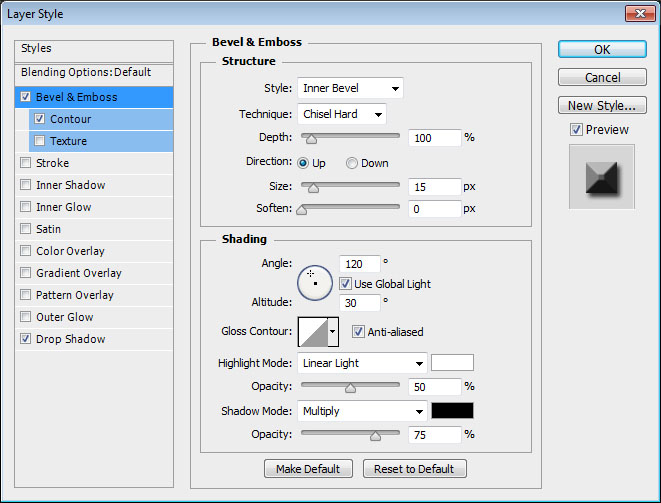
– Contour
- Check the Anti-aliased box.

– Drop Shadow
Use the default values.
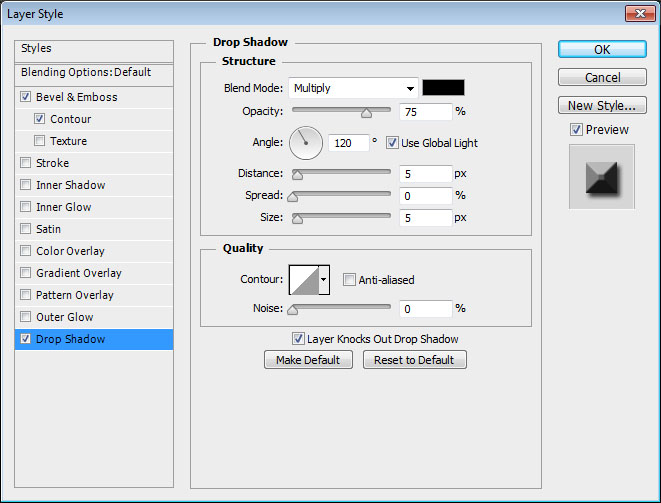
This will style the studs.
You can play around with the colors and the values to get different results as well.

And you’re done! A bit time consuming in the work paths part, but super easy nonetheless.
Hope you enjoyed the tutorial and found the technique helpful 🙂
Did you enjoy this post? Please consider donating to help us cover our server costs.


I like all your tutorials and have been following them up since long time. Thanks for taking time to create and publish them here. I wish you can also give the source files to apply, when we completely get stuck.
Thank you very much! Really glad you’re enjoying the tutorials 🙂
The source files have been available for purchase at some point, but there were a couple of problems with the store, and I was thinking of making them available in packs instead of individual files.
You can always, however, leave your questions here, and I always try my best to answer them and help with any issues.
I really appreciate your kind words and your suggestion, hopefully I’ll be able to work on the source files issue some time soon.
Many thanks once again 🙂