
Number Candles Text Effect – Part 2
This is Part 2 of the tutorial. Part 1 went through the details of creating the background, the basic candle shape, the flames, and some basic lighting.
In this part, the cupcake will be added, with some more shading and lighting effects, and applying a simple action to the final result.
The Final Result

Tutorial Details
- Software Used : Photoshop
- Version : CS6 Extended
- Time : 0:30 – 0:45
Resources
- happy birthday cupcake image by katherinebaker.
- Rust ‘n Grunge by Ryan2006.
- JJ’s Holiday Special Gift by ImperioLuna.
- Yellowtail font.
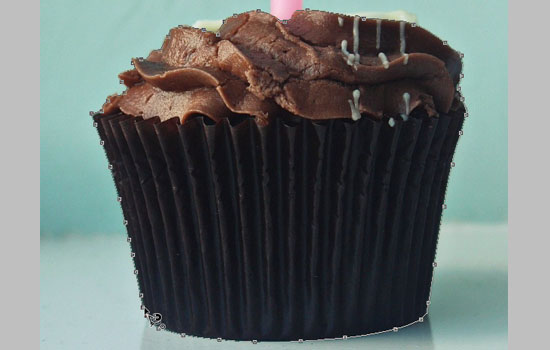
Step 16
Open the happy birthday cupcake image, then pick the Magnetic Lasso Tool. In the Options bar, set the Width to 10, the Contrast to 10%, and the Frequency to 57.
Click anywhere on the cupcake’s edge, then start dragging the selection, staying as close as possible to the shape you’re selecting. Also, make sure that the movement is not very fast, just slow enough for the points to be added precisely.
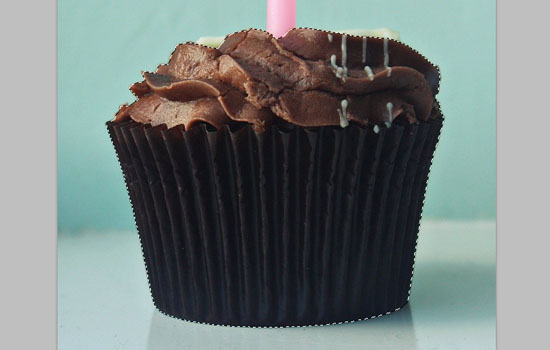
You can click once to add a point where needed if it wasn’t added automatically, then continue dragging.
You can as well press the Backspace key to get rid of any unwanted points, one at a time.

Make sure to exclude the candle and the white parts. When you get back to the starting point, the tool will have a small circle next to it, indicating that if you click here, a selection will be created.
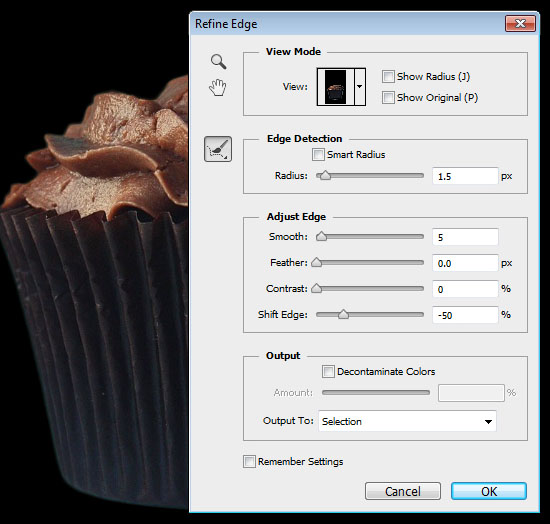
Once you have the selection, go to Select > Refine Edge.
This will open up a small window, where you can enhance the selection. Choose the On Black View option. Change the Radius to 1.5, the Smooth to 5, and the Shift Edge to -50. Then click OK.
Go to Edit > Copy, then open the Candles document.
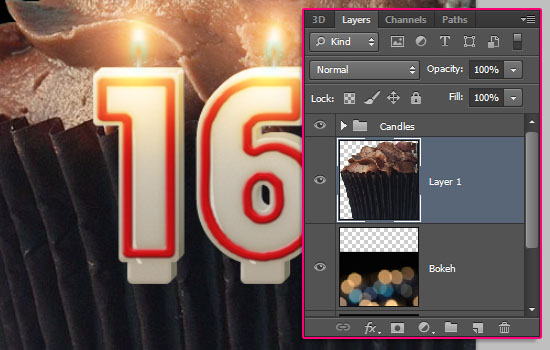
Step 17
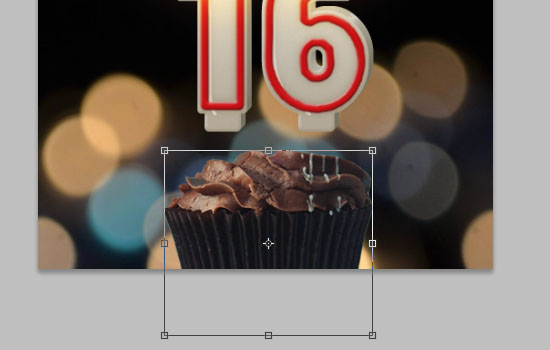
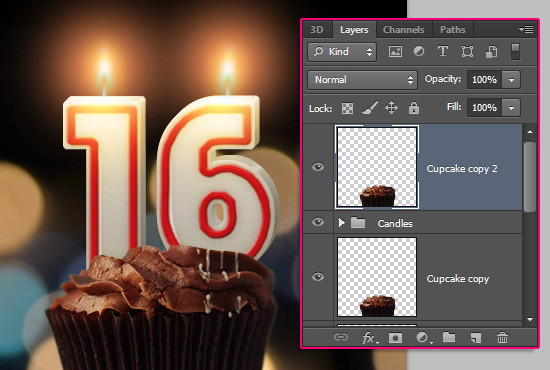
Go to Edit > Paste, then place the cupcake image layer below the Candles group.
Go to Edit > Free Transform (Ctrl/Cmd + T), then resize the cupcake down. You can press and hold the Shift key while resizing to constrain the proportions.
Stop whenever you like the cupcake’s size, then hit the Enter\Return key to accept the changes and get out of the Free Transform Mode.
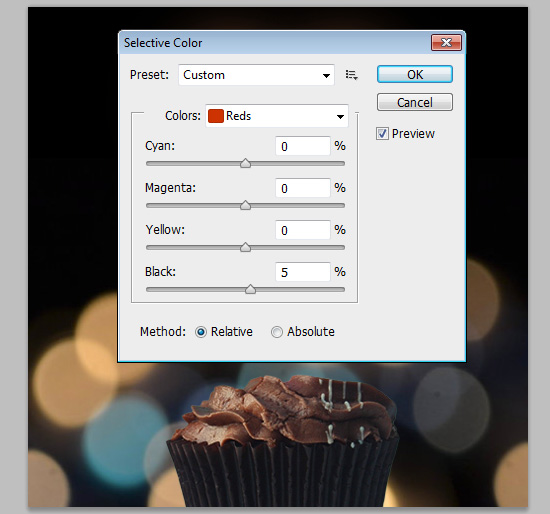
Next, we’re going to adjust the coloring of the cupcake. So go to Image > Adjustments > Selective Color.
From the Colors menu, choose Reds, then change the Black value to 5.
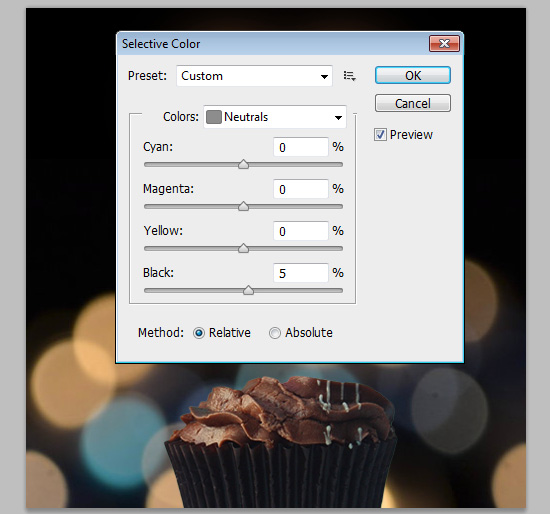
Do the same for the Neutrals.
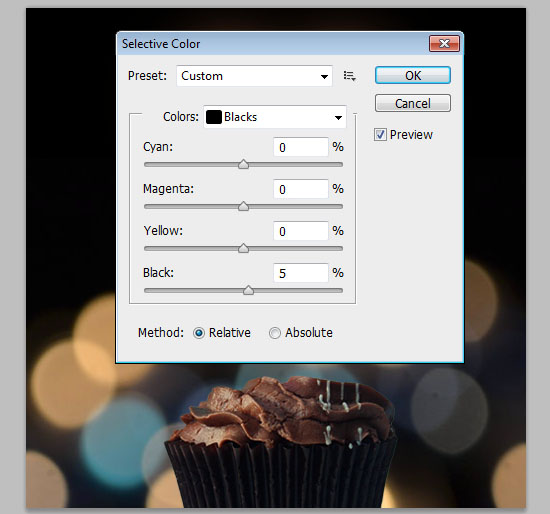
And for the Blacks as well, then click OK.
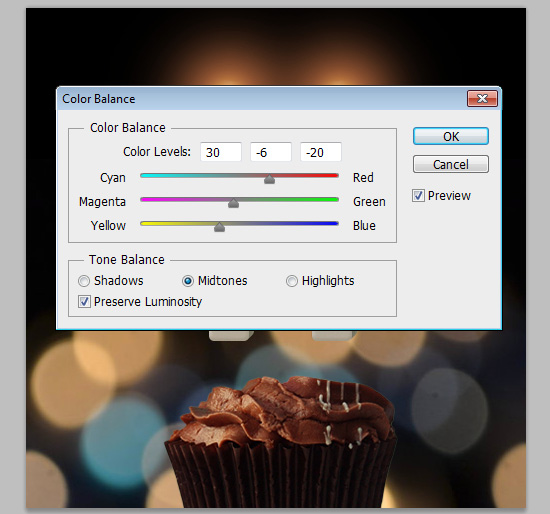
Go to Image > Adjustments > Color Balance. Make sure that the Midtones option is selected at the bottom, then change the Color Levels to 30, -6, and -20.
Step 18
Duplicate the cupcake layer then make it invisible by clicking the eye icon next to it. This will keep the original cupcake image available if needed anytime later on.
Pick the Blur Tool, choose a soft round brush, and set the Strength to 50% in the Options bar. Reduce the brush Size to a value around 35 px, then blur the cupcake’s sides. Just the very edges where it seems to blend with the background.
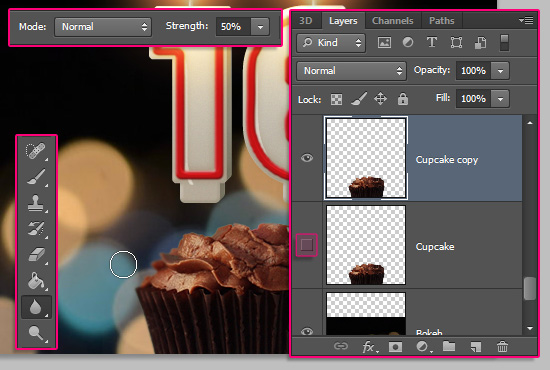
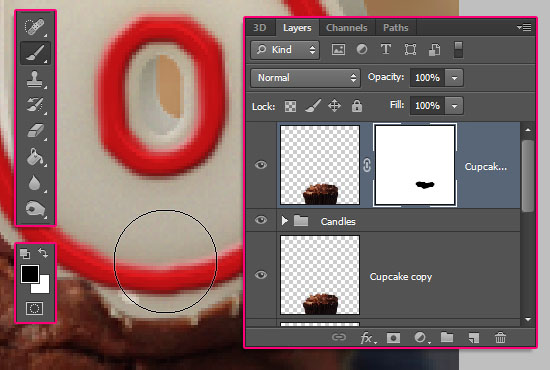
Duplicate the cupcake layer once more, then move the copy on top of the Candles group.
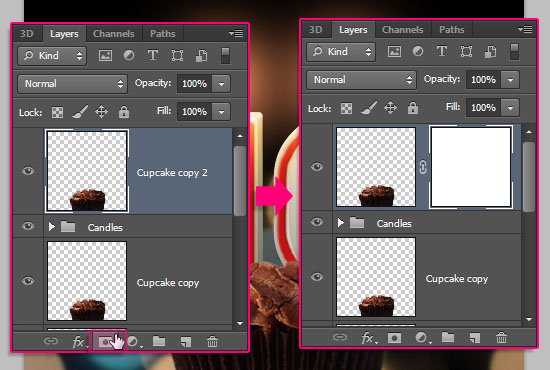
Click the Add layer mask icon down the Layers panel to add a mask.
Pick the Brush Tool, and choose a hard round brush. Set the Foreground color to Black, then start painting over the unwanted parts of the cupcake in order to delete them.
Make sure to follow the original image’s edges when deleting, so that the result doesn’t look unnatural.
To un-erase any parts, set the Foreground color to White, then paint them back in. This is where the layer mask comes in handy.
Just always make sure to click the layer mask before erasing or painting back any parts.
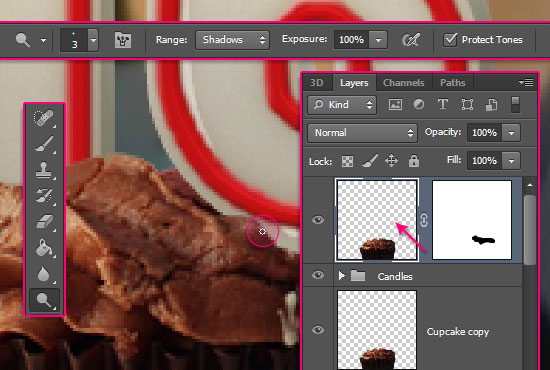
Once you’re done erasing the unwanted parts, click the layer’s thumbnail. Then, pick the Dodge Tool, choose a 3 px round soft brush, set the Range to Shadows, and the Exposure to 100%.
Click and drag the Dodge Tool brush over the new edges to make them a bit brighter. Don’t go over the same part more than once, to avoid any extra bright or orangy results.
Step 19
Ctrl/Cmd + click the Candle layer’s thumbnail to create a selection.
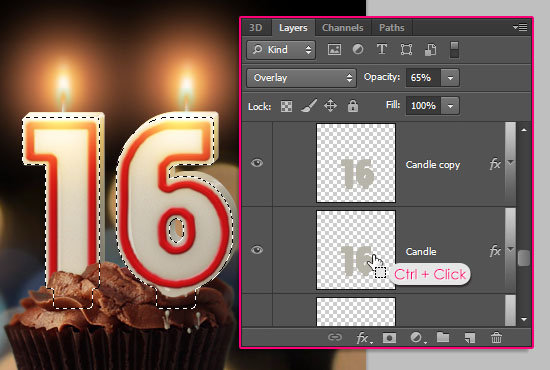
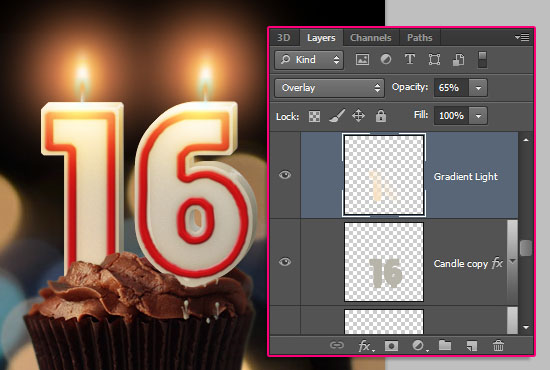
Pick the Gradient Tool, set the Foreground color to #f8e2c3, choose the Foreground to Transparent gradient fill, and click the Linear Gradient icon.
Create a new layer on top of the Candle copy layer and call it Gradient Light. Click and drag inside the selection, following the cupcake lighting diagonally from left to right, bottom to top.
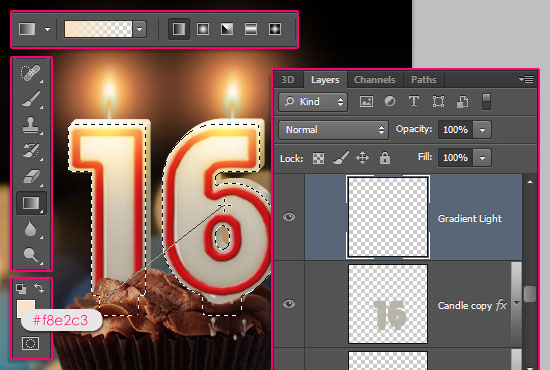
Change the Gradient Light layer’s Blend Mode to Overlay, and its Opacity to 65%. Then go to Select > Deselect to get rid of the selection.
Ctrl/Cmd + click the Candle Extrusion layer’s thumbnail to create a selection. Set the Foreground color to #998675. Create a new layer on top of the White Dots layer and call it Grunge, then change its Blend Mode to Multiply.
Use one of the Rust ‘n Grunge pack brushes to add a subtle grungy effect near the candles’ base.
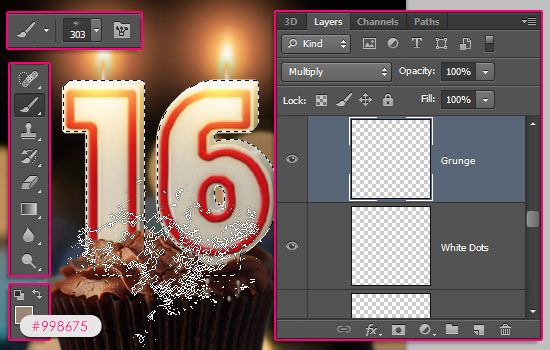
This will cover the base with very subtle chocolate traces.

Create one more layer below the Light 1 layer, call it Gradient Shadow, and change its Blend Mode to Multiply.
Keep the Gradient Tool‘s previous Settings, but change the Foreground color to #c8bbac. Then click and drag from the bottom to a point slightly below the top of the selection.
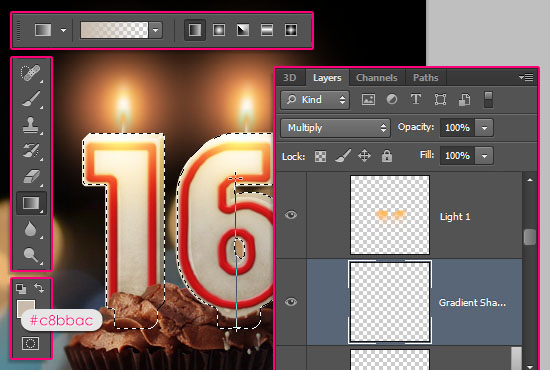
This will add even more shadow. Go to Select > Deselect to remove the selection.

Step 20
Double click the original cupcake layer to apply the following simple Layer Style:
– Inner Shadow
- Color :
#5e2811 - Opacity : 100%
- Distance : 0
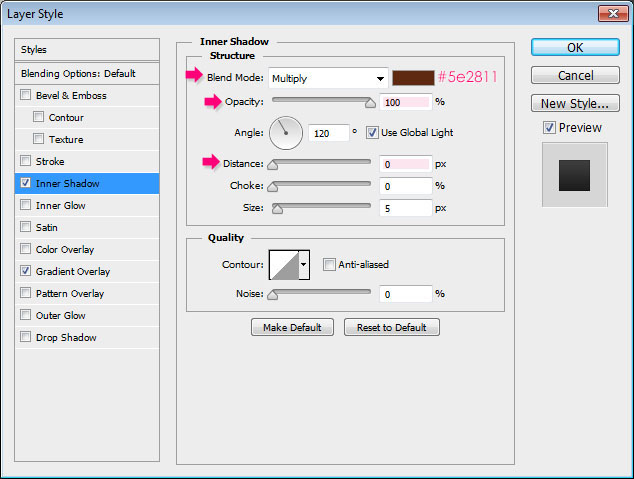
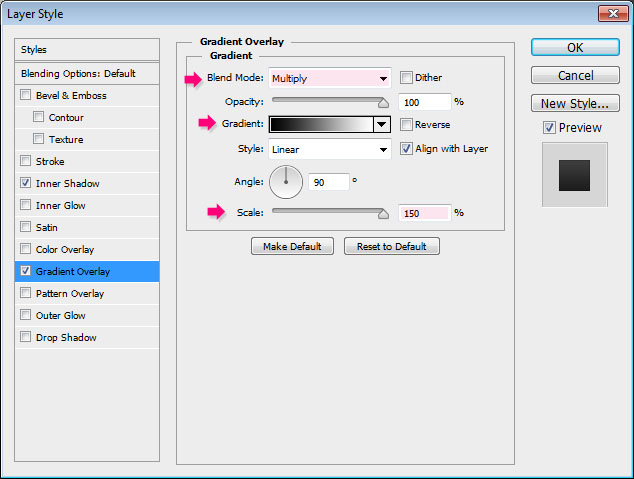
– Gradient Overlay
- Blend Mode : Multiply
- Scale : 150%
- Choose the Black to White gradient
Right click the original cupcake layer, choose Copy Layer Style, then right click the cupcake copy layer, and choose Paste Layer Style.
This will darken the cupcake gradually from top to bottom.

Step 21
Create a new layer on top of the cupcake copy layer, call it Cupcake Shadow, and change its Blend Mode to Multiply. Pick the Brush Tool and set the Foreground color to #a1a1a1.
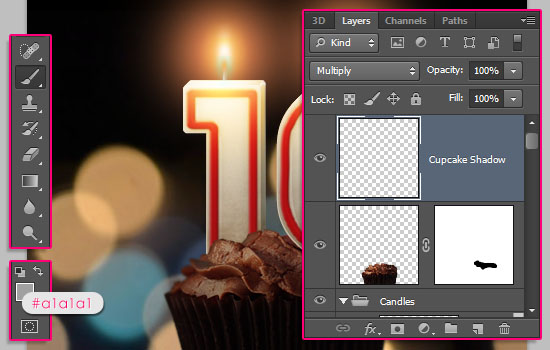
Go to Layer > Create Clipping Mask, so that the changes affect the cupcake only. Then, using a soft round, quite big, brush, click once to darken the cupcake’s sides some more.
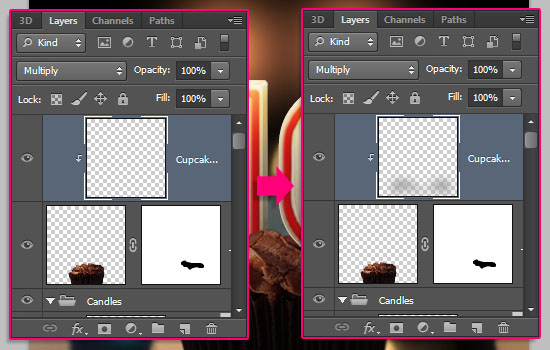
This should emphasize the center of the cupcake and the candles.

Step 22
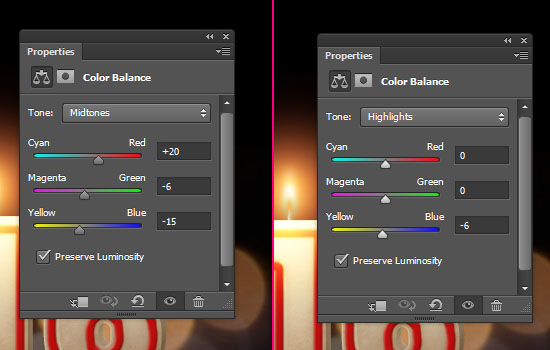
Click the Create new fill or adjustment layer icon down the Layers panel, and choose Color Balance.
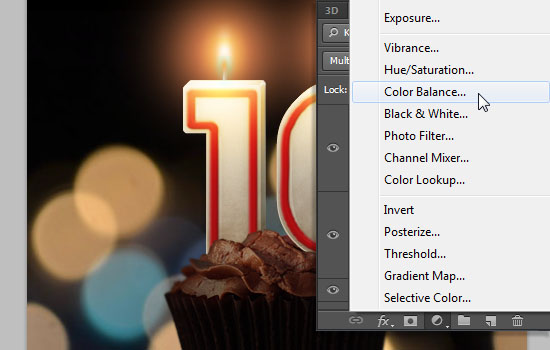
Choose Midtones from the Tone drop down menu, and set the values to 20, -6, -15. Then choose Highlights, and change the last value to -6.
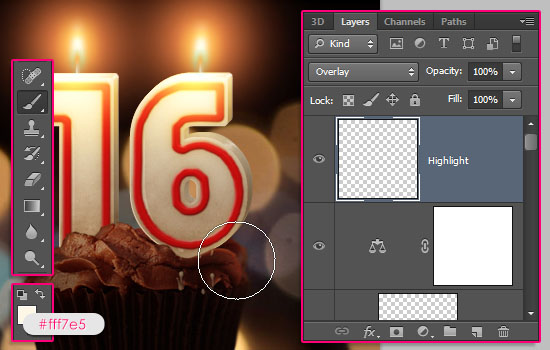
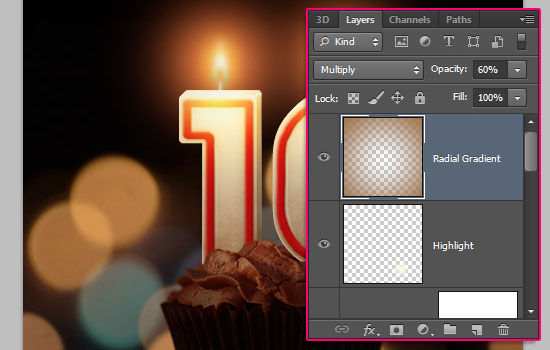
Pick a big soft round brush, set the Foreground color to #fff7e5, Create a new layer on top of all layers, call it Highlight, change its Blend Mode to Overlay, then add some light spots where needed.
Double click the cupcake copy layer, then change the Inner Shadow effect’s Opacity to 60%, or any other value you think suits the scene at this stage.

This will make the cupcake a bit brighter. Continue adding any finishing touches where necessary. And that should be it for the cupcake part.

Step 23
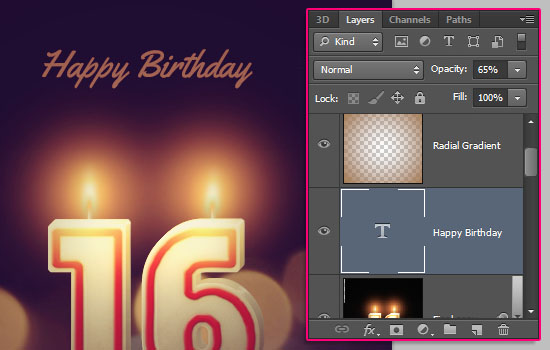
Create a new layer on top of all layers and call it Radial Gradient. Set the Foreground color to #a67c52, pick the Gradient Tool, choose the Foreground color to Transparent fill, click the Radial Gradient icon, and check the Reverse box in the Options bar.
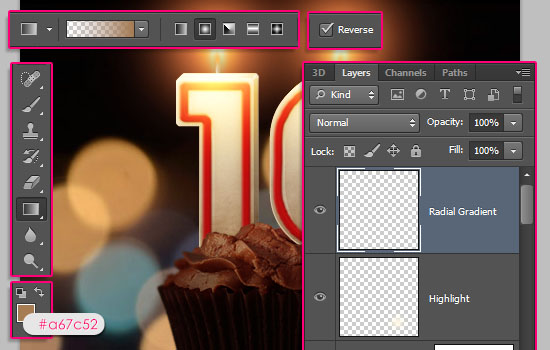
Click and drag from the center of the canvas to one of the corners.
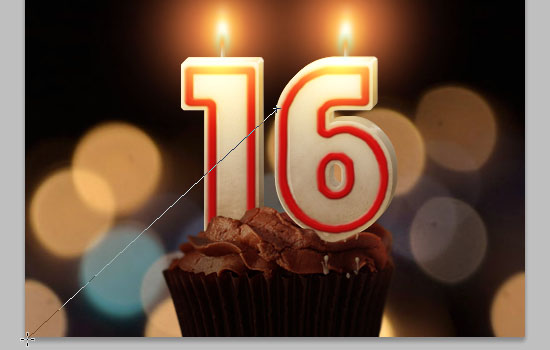
This will be used to darken the corners.

Change the Radial Gradient layer’s Blend Mode to Multiply, and its Opacity to 60%.
Step 24
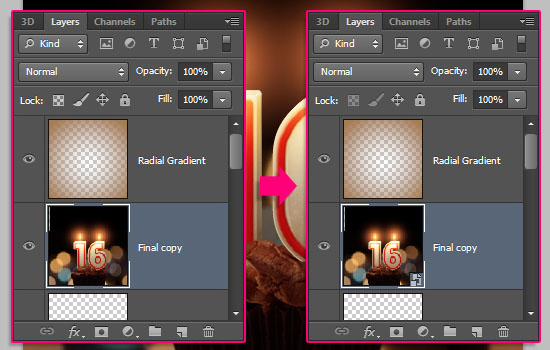
Select all the layers except for the Radial Gradient layer (click the Background layer, then press the Shift key, and click the Highlight layer). Duplicate the selected layers, then go to Layer > Merge Layers.
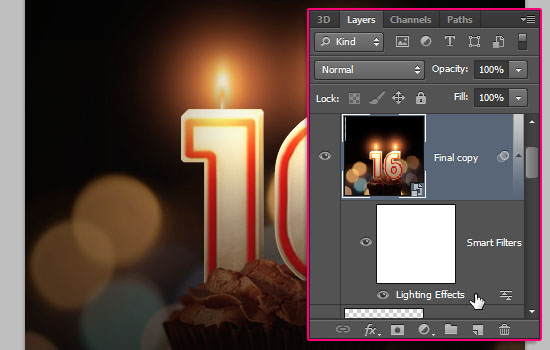
With the merged layer still selected, go to Filter > Convert for Smart Filters, and click OK.
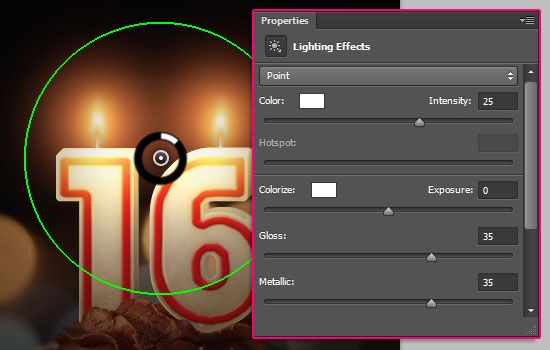
Go to Filter > Render > Lighting Effects. Choose the Point Light from the drop down menu, and place the center of the light between the flames near the top of the candles (by clicking and dragging the point in the center).
Then, change the other values as below. You can also go ahead and try your own values if you like.
Scale the light down by clicking and dragging the circle’s perimeter inwards. (Place the mouse over the perimeter, and when it turns yellow, click and drag).
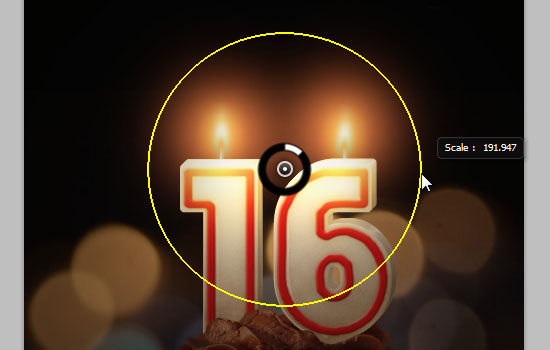
Click OK to check out the result.

Because of the Convert for Smart Filters step, you can expand the filters list (by clicking the arrow to the right of the layer), then double click the filter’s name to modify its Settings if you want to.
Go to Filter > Noise > Add Noise, and use the Settings below:

Step 25
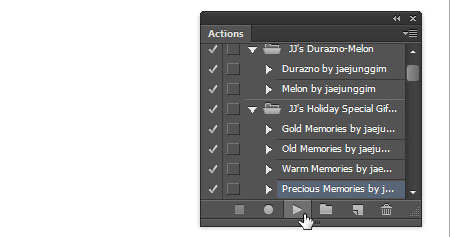
Create a new 500 x 500 px document, and load the JJ’s Holiday Special Gift Actions by jaejunggim.atn file from the JJ’s Holiday Special Gift 2011 by jaejunggim pack.
Open the Actions panel (Window > Actions), then click the Precious Memories by jaejunggim action’s name, and click the Play selection icon down the panel.
This will apply the action, and put all of its layers in a group.
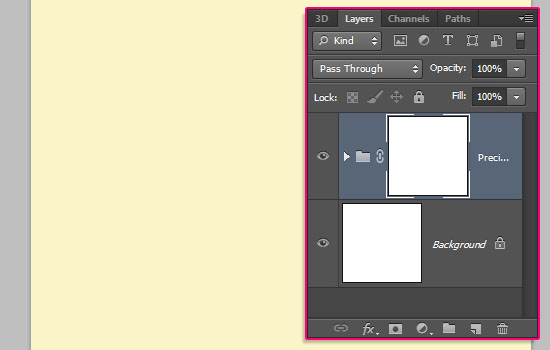
Select the group, then go to Layer > Duplicate Group, and choose the name of the original candles document from the Document drop down menu, then click OK.
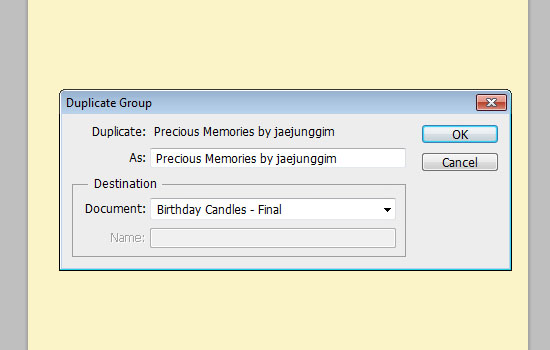
Go back to the original candles document, and make sure that the action’s group is on top of all layers.
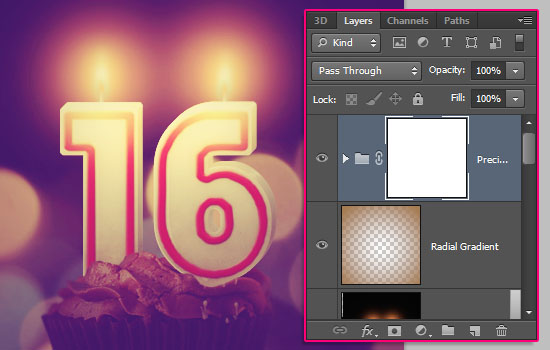
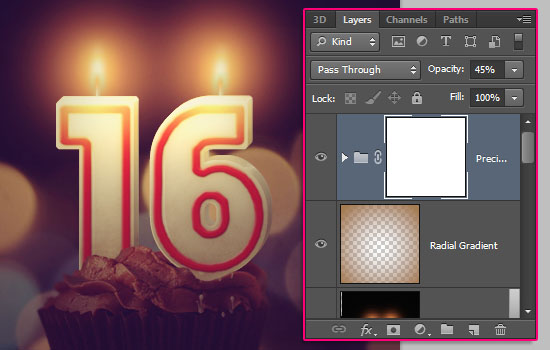
Change the group’s Opacity to 45%.
Happy Birthday text here is created using the font Yellowtail, the font Size 9 pt, and the color #c57c55.
And your Birthday number candles card is ready! Hope you enjoyed the tutorial as much as I enjoyed writing it, and hope you found it helpful as well.
Did you enjoy this post? Please consider donating to help us cover our server costs.


WOW! That was amazing 😀
I love this tut 🙂
Very glad you do 😀
Thanks a lot for the comment 🙂
Waaw, nice work textuts 🙂
awesome design.
Glad you liked it!
Thanks a bunch for the awesome comment 😉
Hello, i’m Wanda. and I’m a Beginner in Photoshop…
I love this tut so much ! You make me inspired with your cool result !
Keep up the good work, sir ! Thank you for sharing to us !
Your’s truly,
Wanda.
P.S: do you have a Facebook/Twiter account ? I need your help and advice to solve my problems with my Manipulation… Can you tell me ? 🙂 Thank you !
Hello Wanda,
Thank you very much for your kind words, they truly mean a lot!
Our twitter account is @textuts, but you can use the Contact form as well.
Regards,
Rose
Wow, this was an incredible tutorial. I’m amazed at how involved it is, how absolutely thorough your instructions were, and I appreciated when you explained WHY a particular action was being taken, that’s what helps us grow more. The amount of detail and the many layers was astounding, and I learned a lot from this. Mostly how incredibly complex and nuanced graphic design/photo manipulation is. Thanks a lot, I really appreciated your tutorial.
I really don’t know how to thank you enough for this absolutely precious comment! I’m very glad you found the tutorial helpful, and enjoyed all the details in there.
Thank you so very much, I really appreciate all the support, always means a lot.
Have a wonderful day 🙂
Love itttttt thank you very much for sharing this i made one for My Gf birthday but i change the numbers to her name letter and the results are awesome i will post it on her wall in her Birthday thanks again
Awwwww! That’s so sweet!
Hope she likes it ^_^
A very Happy Birthday to her 🙂
Thanks a lot for the comment.
Great tutorial so far. Straightforward steps. Thanks
Glad you found it easy to follow.
Thanks a lot for the kind comment.
that was really awesome 😡
Thanks a lot! 🙂
Great tut, thanks for sharing!
Glad you like it!
Thanks a lot for the comment 🙂
Great work!
Thank you very much for sharing it 🙂