
Simple New Year Typographic Wallpaper
This mini-tutorial will explain how to use simple text and a filter to create a nice new year’s typographic wallpaper.
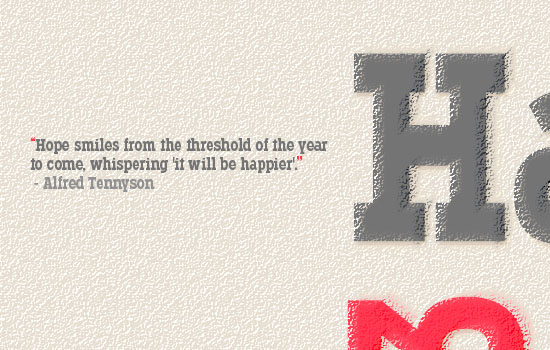
The Final Result

Tutorial Details
- Software Used : Photoshop
- Version : CS6 Extended
- Time : 0:30 – 0:45
Resources
- Typodermic font.
Step 1
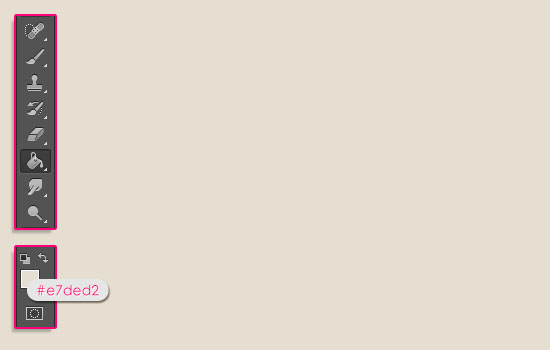
Create a new 1152 x 864 px document, and fill the background with the color #e7ded2 using the Paint Bucket Tool.
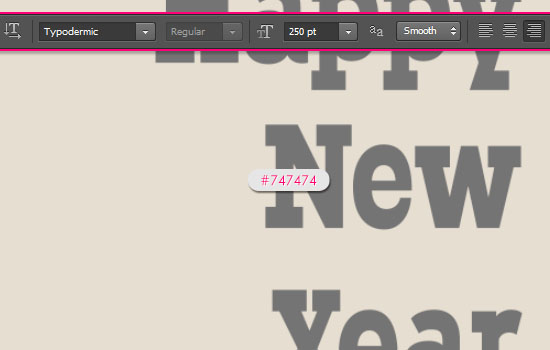
Create the text in the color #747474 using the font Typodermic. Set the font Size to a value around 250 pt, and click the Right align text icon in the Options bar (the Type Tool should still be active).
For this design, the words “Happy New Year” will be created each in a separate line, and then add the “2013” later.
Step 2
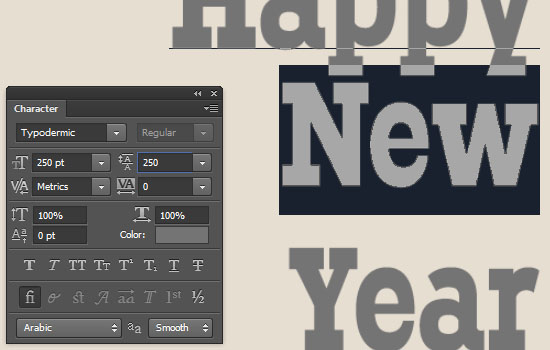
Open the Character panel (Window > Character) to modify the Leading values. The Leading controls the space between the lines. You can enter a value for all the lines at once, or you can select the lines and set a different value for each one of them, which is what we’re going to do.
So start by highlighting the second line, then set the Leading value to 250.
Then, highlight the third line, and set the Leading value to 203. You might need to use different values if you are using a different text or font Size. The idea is to have evenly spread lines of text.
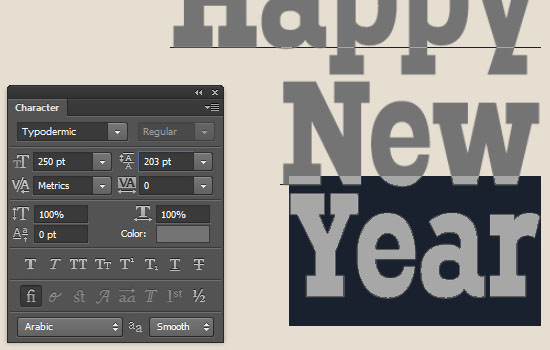
Once you’re done modifying the Leading values, use the Move Tool (V) to reposition the text to the right side of the document.

Step 3
Create the second part of the text (the 2013) using the same font and font Size, but set its color to #ff3b52.

Go to Edit > Transform > Rotate. Then press and hold the Shift key, and rotate the text 90° counterclockwise. Hit Enter/Return to accept the changes then use the Move Tool to place the new text to the left of the already existing text.

Step 4
Double click the first text layer to apply a simple Drop Shadow effect by changing the color to #ede6dc and the Size to 0.
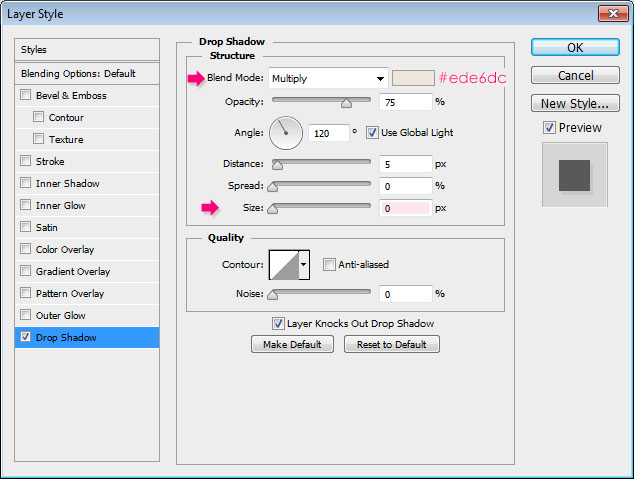
This will apply a subtle shadow to the text.

Apply the same Drop Shadow effect to the other text layer(s) you have.

Step 5
Select all the layers you have in the Layers panel (click the first layer, press and hold the Shift key, then click the last layer), then duplicate them (to keep a copy of the original ones).
With the duplicated layers still selected, go to Layer > Merge Layers, so that you have them all in one layer only.

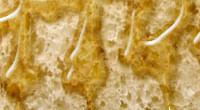
Now go to Filter > (Filter Gallery) > Artistic > Rough Pastels. Change the Stroke Length and Stroke Detail values to 4, the Texture to Sandstone, the Scaling to 100%, the Relief to 15, and the Light to Top Left.
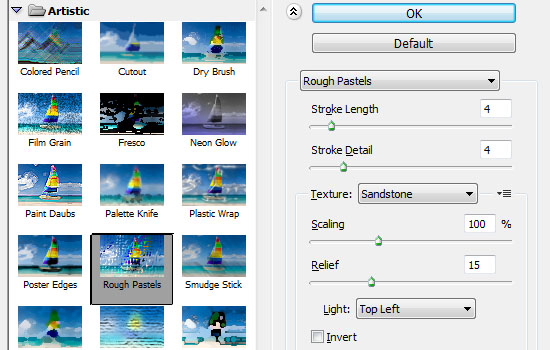
This will add a nice “artistic” finishing touch.

Finally, you can add a nice quote of your choice somewhere in the document.
Hope you enjoyed this tutorial. This will be the last tutorial for 2012, see ya in 2013 y’all!
Don’t forget that you can use any other colors and fonts you like. If you create your own wallpapers feel free to share them with us in the comments below.
Have an incredibly amazing 2013 everyone 😀
Did you enjoy this post? Please consider donating to help us cover our server costs.


Nice tutorial…..
Thank you 🙂
Where the heck is the paint bucket!!!
In the Tools Panel (Window -> Tools) to the left of the screen. It’s shown in the screenshot as well.
If the icon looks different (like a gradient icon), you’ll need to click and hold that icon for a little while to get a list of the other tools, and the Paint Bucket Tool is one of them. Click it and you’re ready to go.
Hope this helps. Please feel free to add a reply if the problem still exists.
You are my fav Artist ! 😀
Awww! That means a lot 🙂
Thank you very much for the support 😀
A little simple. But nice 😀
Thanks a lot 🙂
amazing
really useful
Glad you found it so!
Thanks for the comment.
Nice….simple, but very useful.
Glad you found it useful.
Thanks for the comment.
great very very nice!
thanks
Glad you like it.
Thanks for the comment.