
3D Skyscraper Text Effect in Photoshop CS5 – Part 2
This is Part 2 of this tutorial, and it will explain how to add some elements to the 3D object created in Part 1, like Filters, Brushes, and Adjustment Layers, in order to achieve the final result.
The Final Result

Tutorial Details
- Software Used : Photoshop
- Version : CS5 Extended
- Time : 0:30 – 0:45
Resources
- Light Beams + Rays Brushes by redheadstock.
- Reflected Clouds brush.
- Leaves brush.
- Scattered Leaves brush.
- Clouds brush.
Step 1
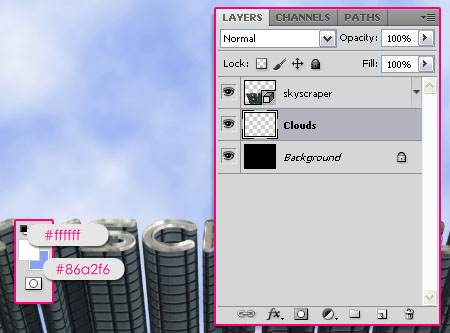
Open the file you created in Part 1, and create a new layer right below the 3D text layer, and call it Clouds.
Set the Foreground color to #ffffff and the Background color to #86a2f6, then go to Filter > Render > Clouds.
Go to Filter > Sketch > Water Paper, and set the values as shown below:
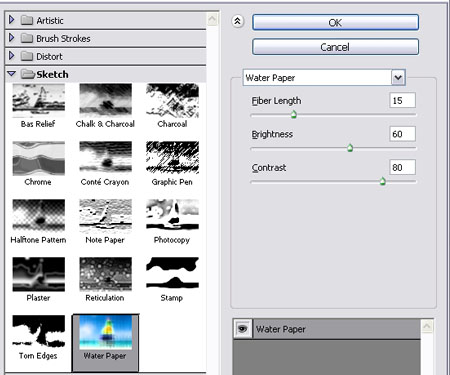
This should add a bit of contrast to the clouds.
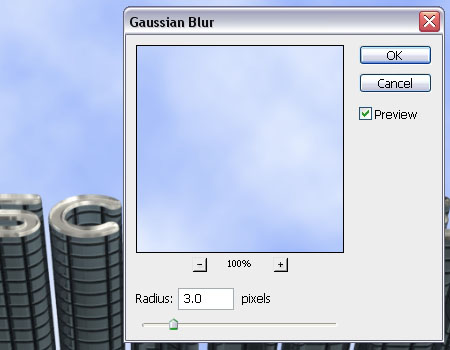
Now go to Filter > Blur > Gaussian Blur, and apply a 3 px blur to get rid of the noise.
Step 2
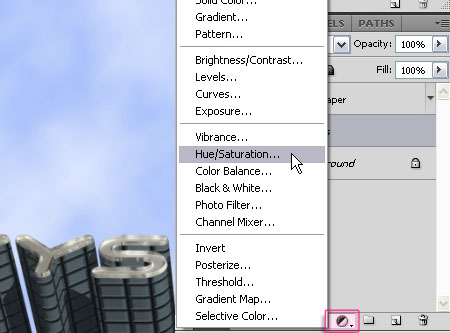
Click the Create new fill or adjustment layer icon down the Layers panel, then choose Hue/Saturation.
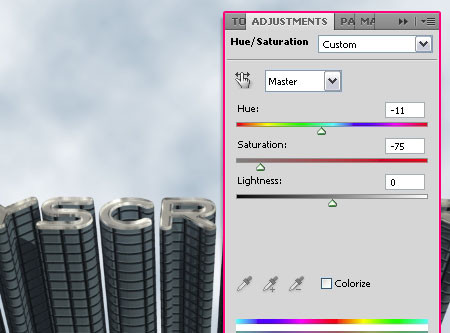
Change the Hue value to -11 and the Saturation value to -75.
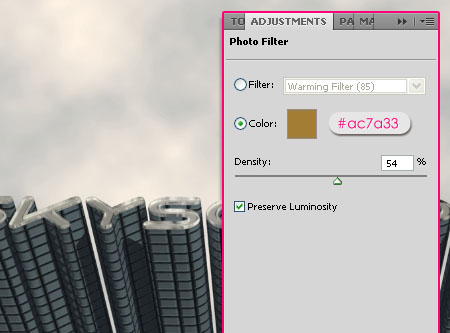
Once again click the Create new fill or adjustment layer icon, but this time choose Photo Filter, and use the color #ac7a33 with a Density of 54%.
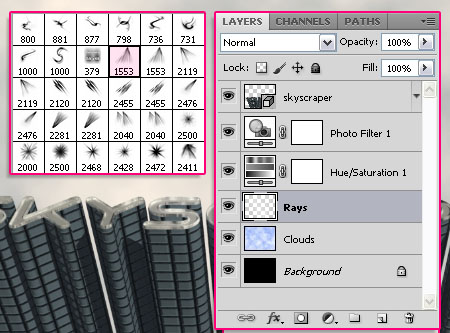
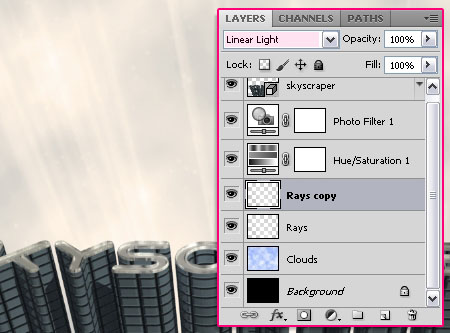
Load the Light Beams + Rays Brushes and set the Foreground color to White. Create a new layer right on top of the Clouds layer and call it Rays. Add one or more of the Light Beams brushes to create nice shiny rays behind the text.
* You might need to rotate the brushes, you can do that under the Brush Tip Shape in the Brush panel (Window > Brush).
Duplicate the Rays layer and change its Blend Mode to Linear Light.
Step 3
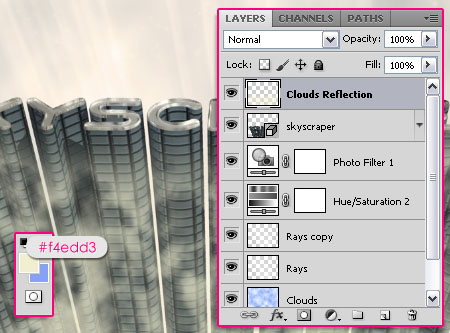
Set the Foreground color to #f4edd3, create a new layer on top of all layers and call it Clouds Reflection. Then use the Reflected Clouds brush to cover the text area.
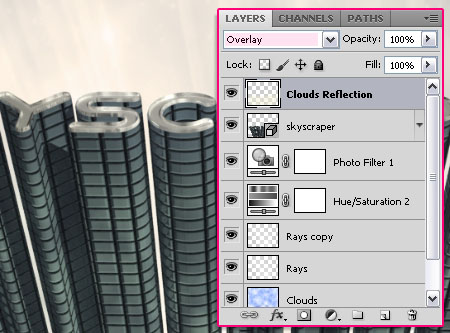
Change the layer’s Blend Mode to Overlay.
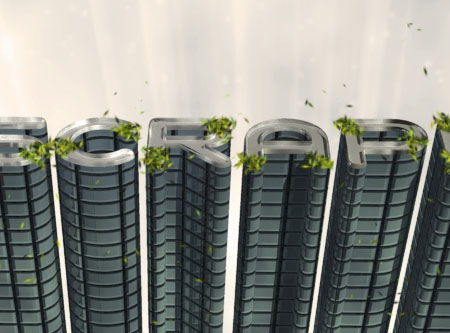
Set the Foreground color to #777d00 and the Background color to #425f29, then create a new layer on top of all layers and call it Leaves.
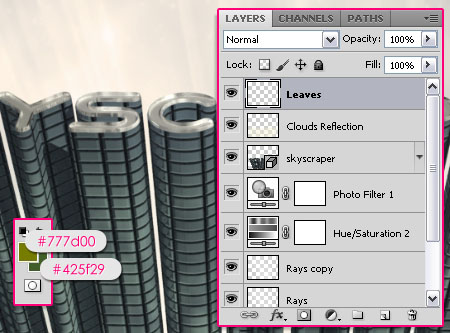
Use the Leaves brush to add some leaves on the top of the text. Paint short strokes in different directions when using the brush.
Then, use the Scattered Leaves brush to add some nice scattered leaves around the text. Keep it simple and evenly spread.
When you’re done, you might need to change the Hue/ Saturation values (Image > Adjustments > Hue/Saturation). Here, both values are set to -5.
Step 4
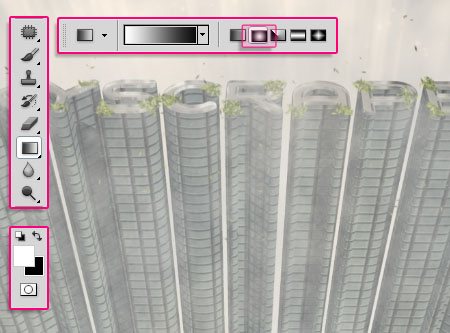
Set the Foreground color to #e3dcd2 and the Background color #e5e5e5, then create a new layer on top of all layers and call it Bottom Clouds.
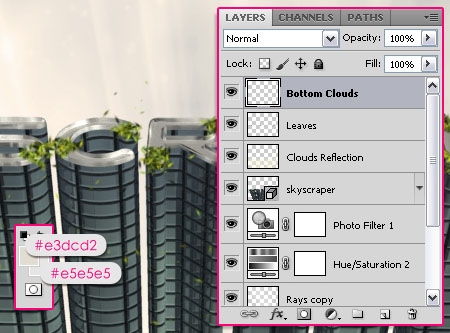
Use the Clouds brush to paint all over the text.
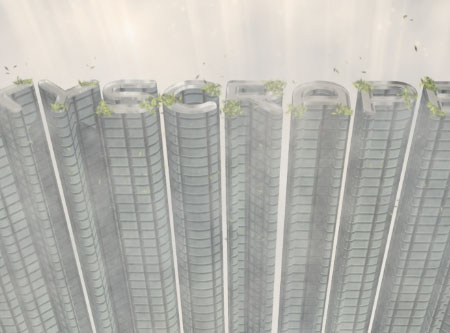
Once you’re done, click the Add Layer Mask icon at the bottom of the Layers panel to create a mask.
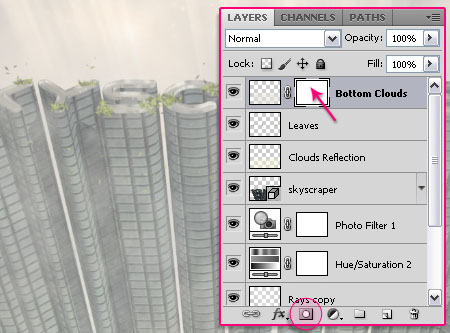
Click the mask to select it, and make sure that the Foreground and the Background color are set to White and Black. Pick the Gradient Tool and choose the Foreground to Background Radial Gradient.
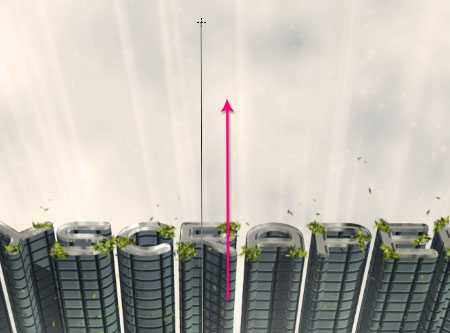
Drag the gradient from the bottom of the document to a point near the top.
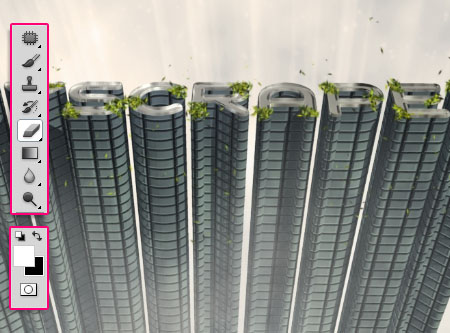
Pick the Eraser Tool to erase any additional areas, or switch the Foreground and Background colors to un-erase any areas.
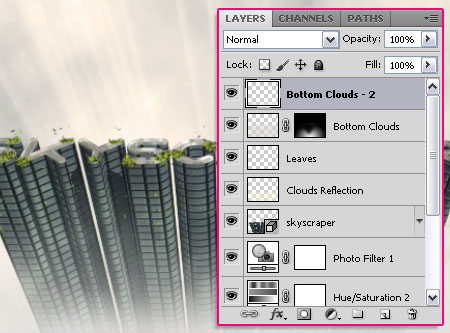
Create a new layer on top of all layers and call it Bottom Clouds 2. Make sure that the Foreground and Background colors are still as in Step 4, use the Clouds brush to add more clouds at the bottom.
And that’s it!
Did you enjoy this post? Please consider donating to help us cover our server costs.


Thanks.
You’re welcome.
Which text you are using
Do you mean the font? It’s mentioned in Part 1 of this tutorial. It is Geometry Soft Pro.
Hope this helps.
i love your tuts, thank you 🙂
So glad you do 😀
Thanks a lot for the comment 🙂
Thanks, I somewhat figured it out for CS6, Only issue I had was in the final rendering, Ray tracing totally removed the the glass panel look in the final render, But in the actual 3D model it look like glass panels, so instead I went ahead and used the 3D model version instead of the Ray traced version for the final art. Link below..
http://madstyle1972.com/footage/anm.jpg
Do you mean the part at the top?
Many things can cause that, like different camera or light angles. But I like the way you worked around the problem 🙂 I can see the result looks awesome too!
I’m in the process of recreating it for CS6, so I’ll try to keep the issue in mind as I render the final result.
Thanks a lot for the comment and for the link.
No I meant the side of the buildings aka Glass paneles, Here is what the Ray traced version looked like.
http://madstyle1972.com/footage/anmcreative3dfile.jpg
I see what you mean. Is the mesh snapped to the Ground Plane? Did you try changing the light angles?
I’m trying to get the updated version published sometime before the 25th of August. So hopefully that’ll help solve the problem.
But if you try to change the lighting and have any new queries, please feel free to add them in a reply.
Regards 🙂
Just wanted to note you that the updated version is already published here.
Please take a look at it, and if you still have a problem, please feel free to add a reply on the new post 🙂
to tell you the truth… i was so Amaze of your work…. 🙂
That means a lot 😀
Thank you very much.