
3D Skyscraper Text Effect in Photoshop CS5 – Part 1
This tutorial will explain how to create a nice 3D skyscraper text effect in Photoshop CS5, and will cover a couple of basic 3D concepts in the Photoshop 3D environment.
** Update: If you are using Photoshop CS6, you can check the updated version of this tutorial to create the 3D part.
This part (Part 1) will explain how to create the basic 3D scene, apply the different needed materials, and adjust the lights for rendering. The next part (Part 2), will explain the remaining steps needed to get the final result.
The Final Result

Tutorial Details
- Software Used : Photoshop
- Version : CS5 Extended
- Time : 1:30 – 2:45
* The tutorial will explain the basic steps, but won’t get into the details, as the details are already covered in the previous 3D tutorials. But feel free to ask about any unclear steps or concepts.
Resources
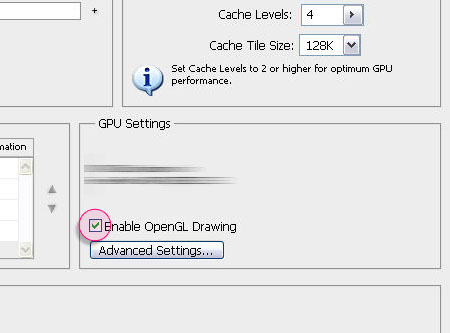
* Enabling OpenGL
The Repoussé will not work unless OpenGL is enabled. So go to Edit > Preferences > Performance, and make sure Enable OpenGL Drawing (under GPU Settings) is checked.
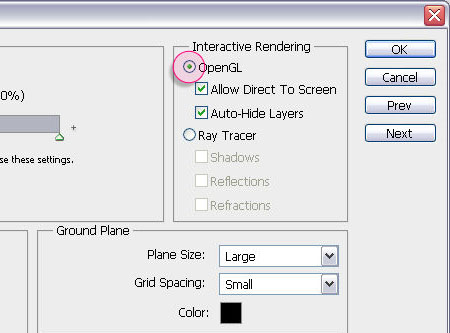
Also, go to Edit > Preferences > 3D, and make sure OpenGL (under Interactive Rendering) is enabled.
Step 1
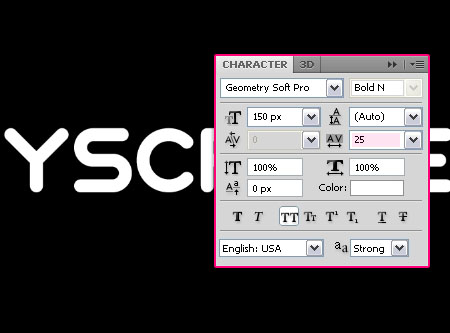
Create a new 1024 x 768 px document. Start with a Black Background, and create your text in White. The font used is Geometry Soft Pro, the Size is 150 px (you’ll be able to scale the 3D text anytime though), set the Tracking value to 25 to leave more space between the letters, and click the All Caps button.
Go to 3D > Repoussé > Text Layer.
A dialog box will appear telling you that this will rasterize the type layer, and you will no longer be able to modify your text. If you are sure you don’t need to modify your text, click yes and continue.
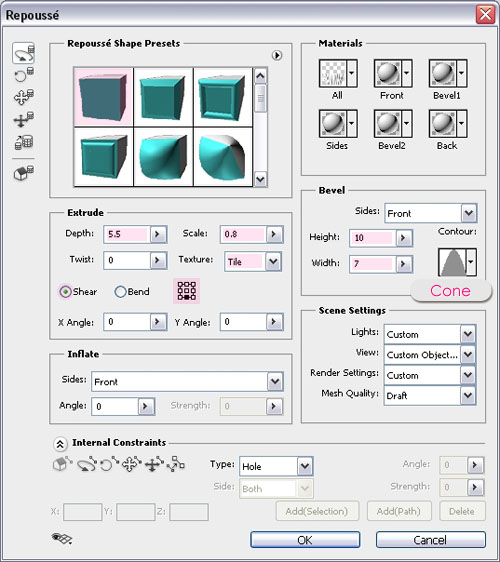
In the Repoussé dialog box, set the Depth to 5.5 or any other value you like depending on the length of extrusion you want. Change the Scale to 0.8, the Texture to Tile, and check the Shear button.
We are also going to add some Bevel to the Front side, so change the Height to 10, the Width to 7, and the Contour to Cone.
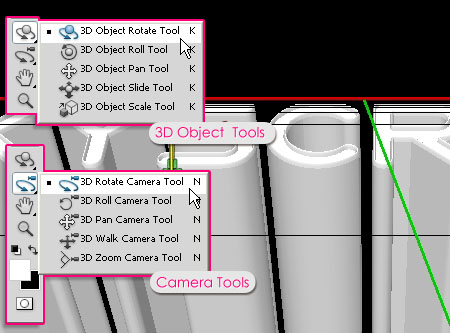
Use the 3D Object tools and Camera tools to resize and position your 3D text as shown below.
(Read more about the 3D Axis and 3D object and camera tools).
Step 2
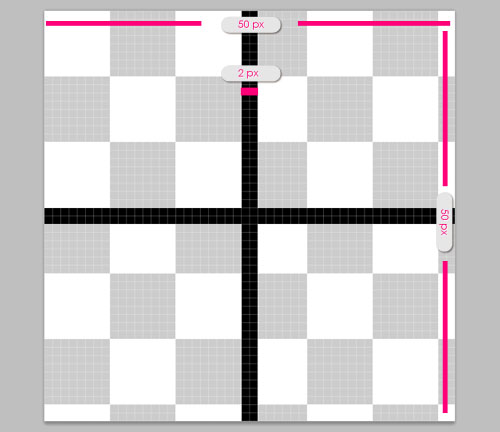
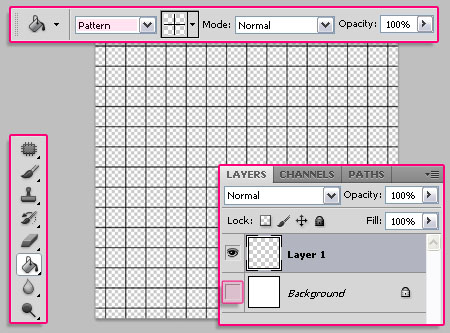
Time to create the patterns we are going to use for texturing. Open a new 50 x 50 px document with a Transparent Background. Create 2 lines, each one 2 px width, as shown below.
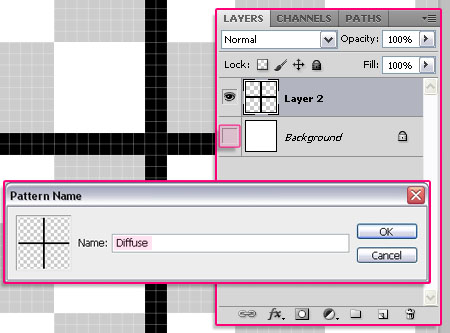
Make sure the Background is transparent, and go to Edit > Define Pattern, and type Diffuse in the Name field.
Create a new layer, fill it with Black, then create the pattern shown below:

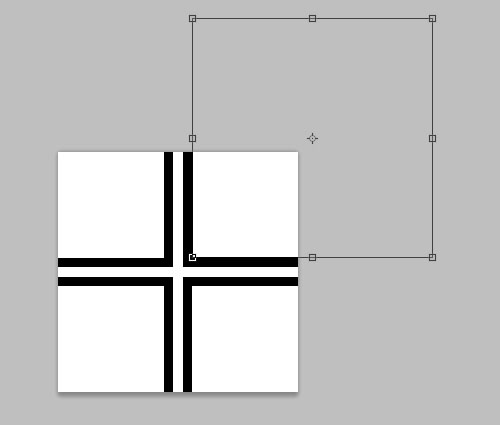
Once you created the pattern, create another new layer on top of it, and fill it with White.
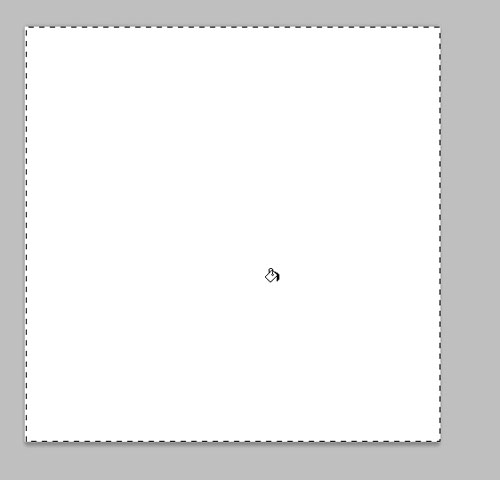
Press Ctrl/Cmd + T and move the white fill to one of the corners so that it covers the white part below it only as shown below. Hit Enter/Return to confirm.
Double click th White fill layer to apply an Inner Shadow, just change the Distance value to 0.
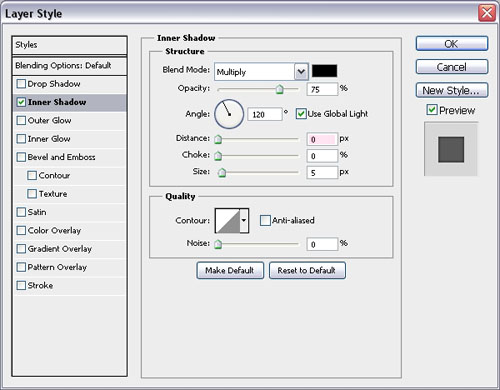
This should apply a soft shadow on the inner corner.
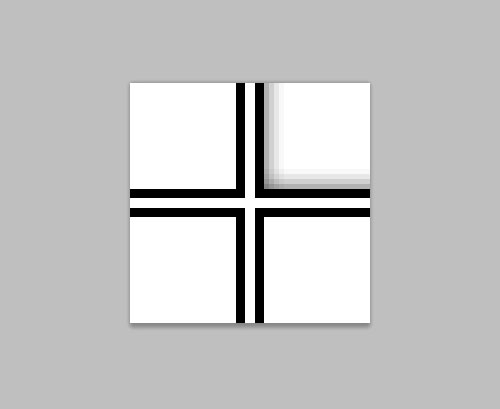
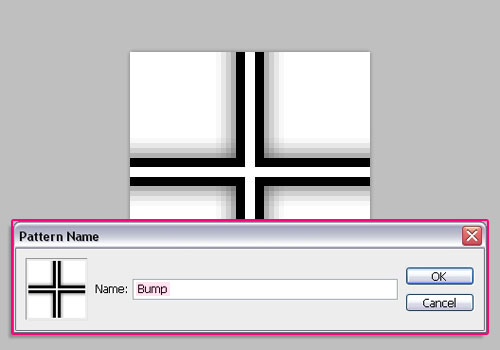
Repeat that for the remaining corners, (you might as well duplicate the layer and move it around over each corner), then again go to Edit > Define Pattern, and type Bump in the Name field this time.
Step 3
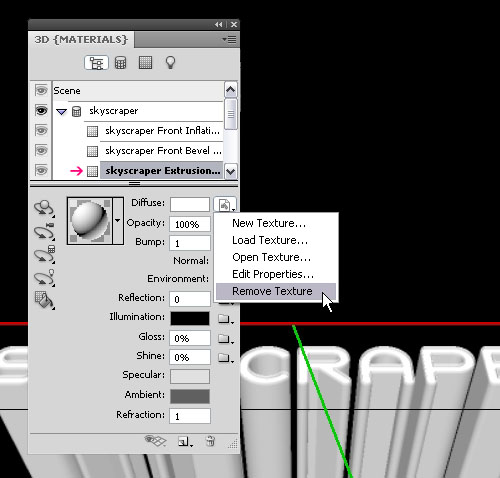
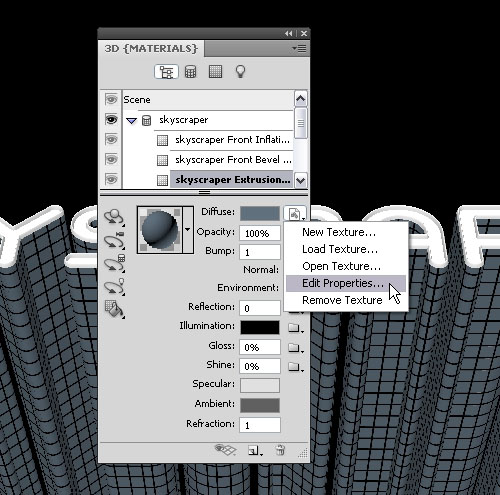
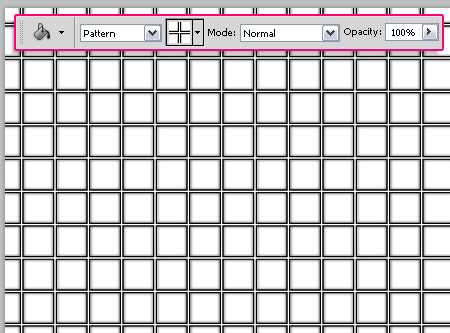
Back to the original document, open the 3D panel (Window > 3D), and select the Extrusion Material. Remove the Diffuse texture.
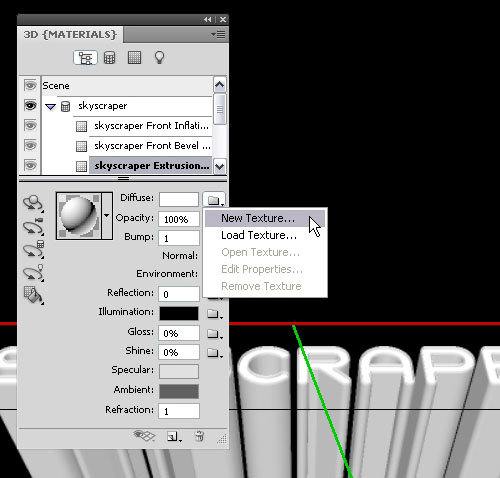
Now click New Texture to add one.
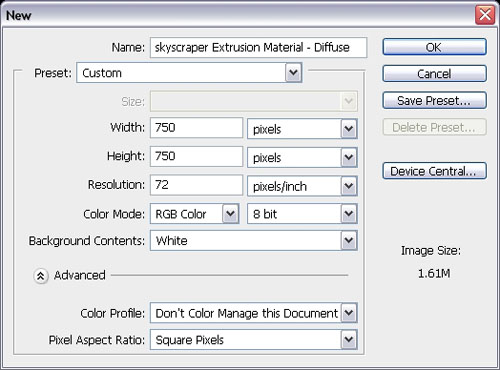
Type in 750 for both the Width and Height values.
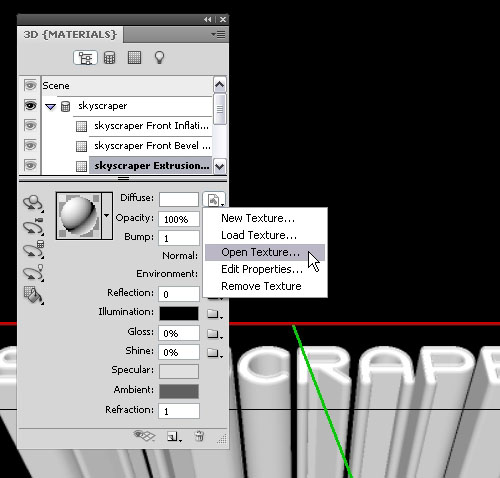
Click Open Texture to modify it.
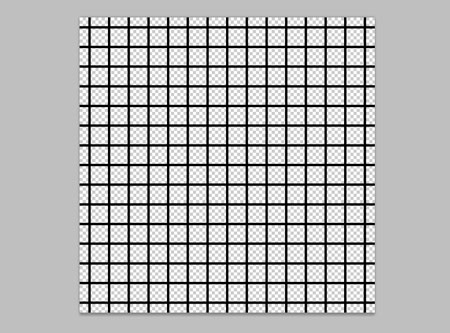
Create a new layer and make the Background invisible (click the eye icon next to it), and fill the new layer with the Diffuse pattern.
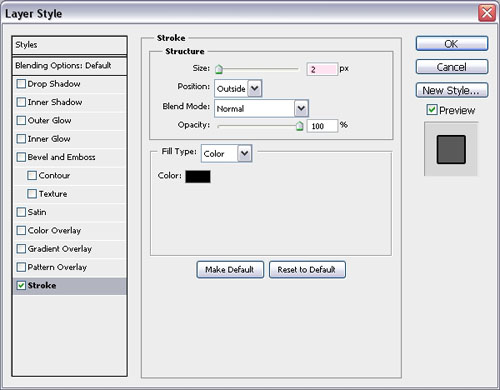
Double click the layer and add a 2 px Stroke to make the pattern a bit thicker.
Save your work and close the texture file.
Back to the original document, change the Diffuse color to #5d727e.
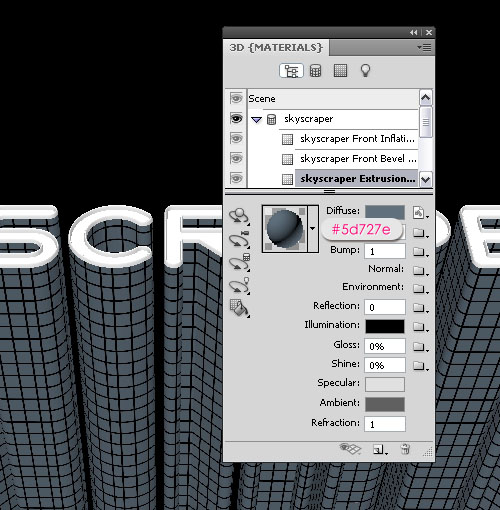
Click Edit Properties to modify the scaling of the pattern.
You can play around with the values to see how the texture changes, or you can use the values shown below to get the same result in this tutorial.
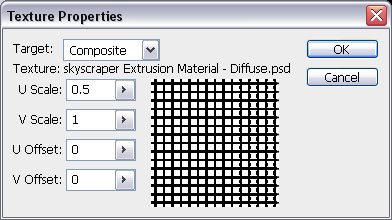
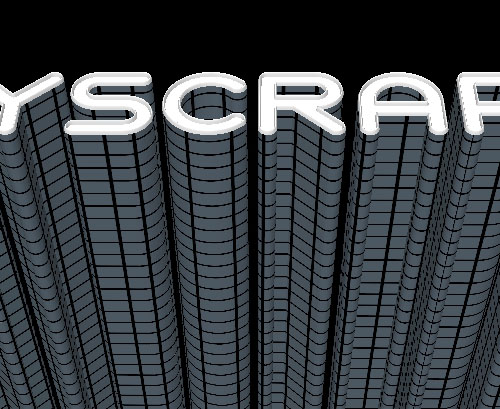
You can see how the values changed the texture without the need to modify it.
Step 4
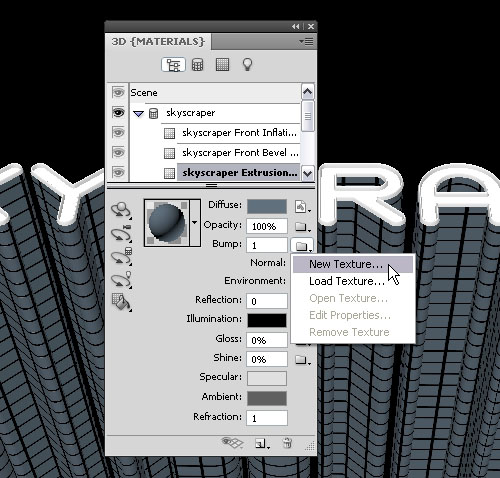
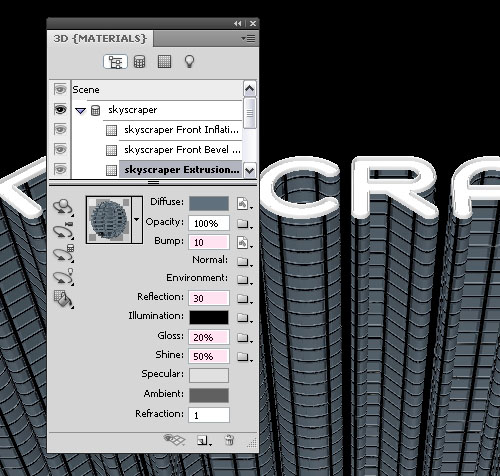
Create a new texture for the Bump the same way you did for the Diffuse, and open it to modify it.
Fill the texture with the Bump pattern, save and close the file.
Change the Properties so that they have the same values as the Diffuse texture. Change the Bump value to 10. You can see now how the Bump adds more depth to the texture.
Also, change the Reflection to 30, the Gloss to 20%, and the Shine to 50%. This will add the Glossy look to the extrusion.
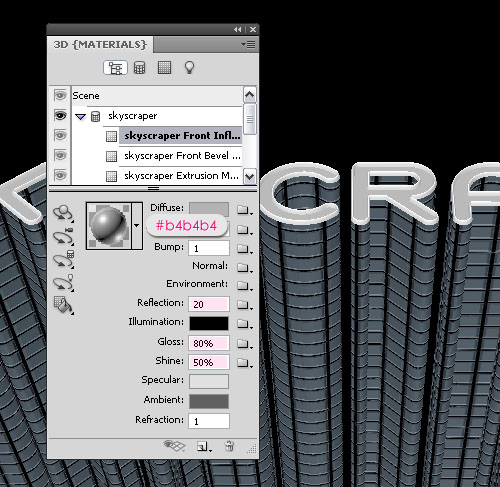
Now select the Front Inflation Material to modify its settings. Change the Diffuse color to #b4b4b4, the Reflection to 20, the Gloss to 80%, and the Shine to 50%.
Step 5
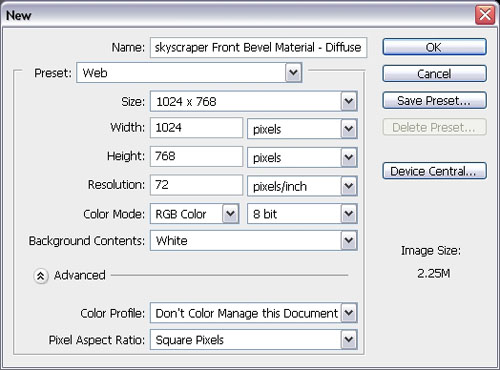
Finally, select the Front Bevel Material, and create a new 1024 x 768 px Diffuse texture. Open the texture to edit it.
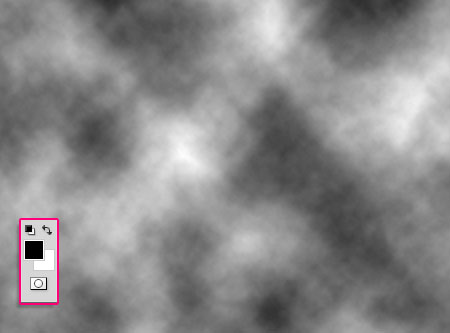
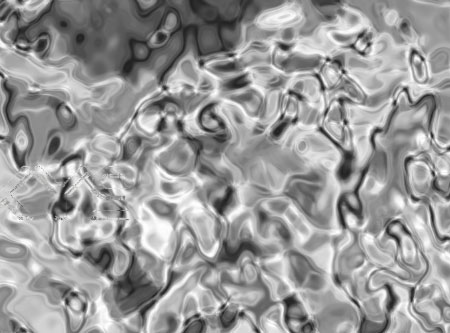
Set the Foreground and Background colors to Black and White, then go to Filter > Render > Clouds.
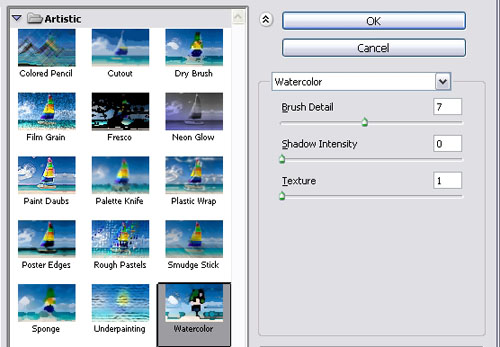
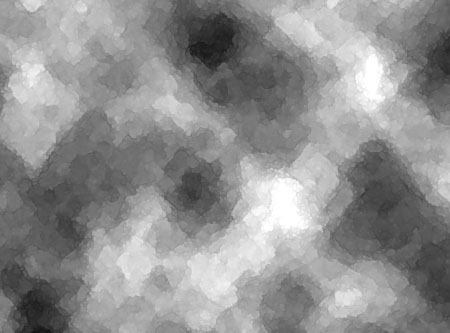
Go to Filter > Artistic > Watercolor, and change the values as shown below:
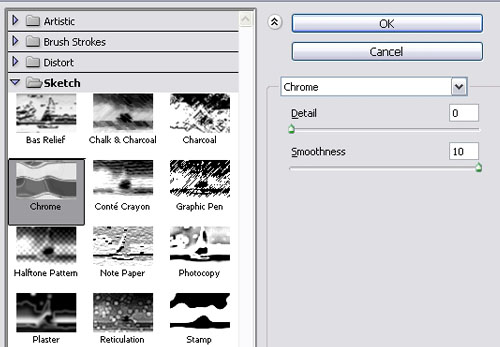
Go to Filter > Sketch > Chrome, and change the values as shown below too:
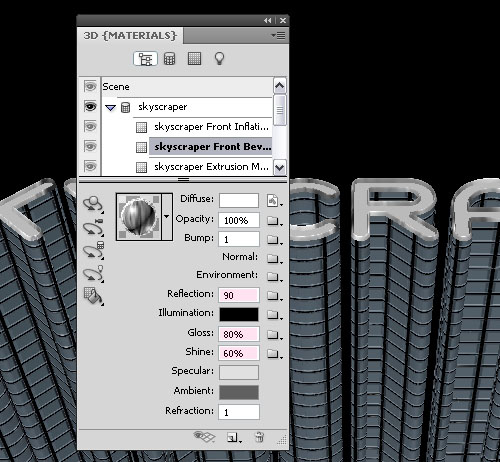
Save the work and go back to the original document. Change the Reflection to 90, the Gloss to 80%, and the Shine to 60%.
That’s it for the texturing and materials part!
Step 6
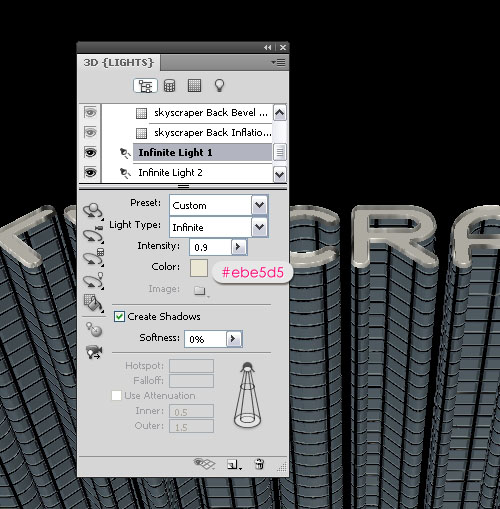
Select the Infinite Light 1, and change its color to #ebe5d5.
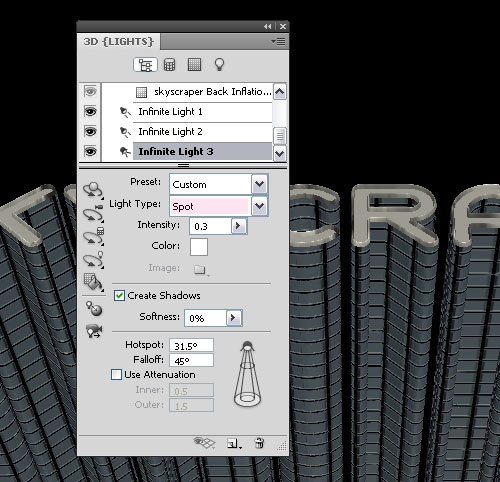
Select the Infinite Light 3, and change the Light Type to Spot.
Finally, select Scene at the top of the 3D panel, and choose Ray Traced Final from the Quality drop down menu.
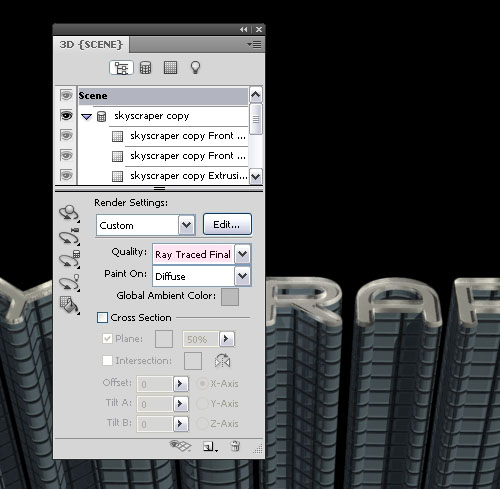
Save your work after the rendering is finished (this might take some time).
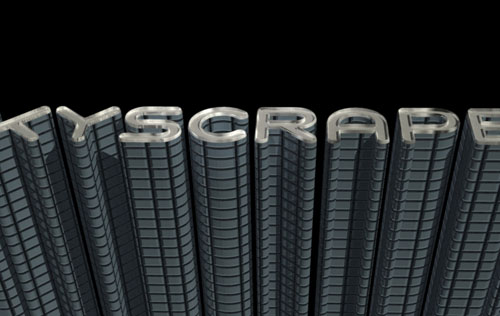
This is the final result for this part, see you in Part 2!

Did you enjoy this post? Please consider donating to help us cover our server costs.


Well, as usual, your amazed your followers. This skycraper thing, honestly, is weird… a good target for a pair of mad airplanes.
Thanks! No airplanes needed though 😉
looks great!!!!
Thank you.
i just fell in love with it AMAZING!
Thank you so much, so glad you like it 🙂
Dude, this is so awesome! Thanks for this. And it totally fits Demi Lovato’s song “Skyscraper” Haha!
Thanks a lot for the comment ^_^
Cheers 🙂
I hate working with 3d in Photoshop, it’s lagging massively for some reason, I’d prefer to make that in 3d software.
PS is sure not as effective as a 3D software, but it’s good for someone who does not have or know how to use one.
Thanks for the comment 🙂
Great tutorial, thanks!
Thanks for the comment.
umm the final product you have looks great but i couldnt get the windows do you have any ideas of what i did wrong?
What windows exactly, or in what step? If you mean the 3D panel, you can get it from Window -> 3D. In fact, all panels are available under the Window menu.
Hope this helps.
Thanks for the comment.
This tutorial demonstrate every part very clearly. I appreciate it. thank you.
That’s great to know!
Thank you very much for the kind words.
Please help, I got stuck at “create a new layer, fill it with black and create the pattern below”. The new black layer covers everything and I’m not sure how to make the pattern without drawing new lines. Thanks.
After you fill it with black, draw the squares inside (using the Rectangular Marquee Tool), then fill them with white.
Hope this helps.
Please feel free to add any other queries you have.
Is there a way you can show this tutorial using CS6? Tnx!
Will try our best to publish updated versions of the 3D tutorials in CS6, as we’ve been getting many requests to do so.
But until then, if you are trying to create the effect in CS6, you can leave any queries you have here, and we’ll make sure to answer them.
Thanks for the suggestion.
Regards.
Hey I was wondering if you got down to doing that Cs6 tutorial , would be an absolute saving grace
Will make sure to schedule an updated version of this tutorial for the next month, so hopefully early or mid August.
Thanks for the request 🙂
Super glad you like the tutorial 🙂
Thanks a lot for the comment.