
Stone Text Effect
This tutorial will explain how to create a stone-like texture using some filters, and a beveled style to place the texture on, in order to create a nice old-looking stone text effect.
The Final Result

Tutorial Details
- Software Used : Photoshop
- Version : CS5 Extended
- Time : 0:30 – 0:45
Resources
Step 1
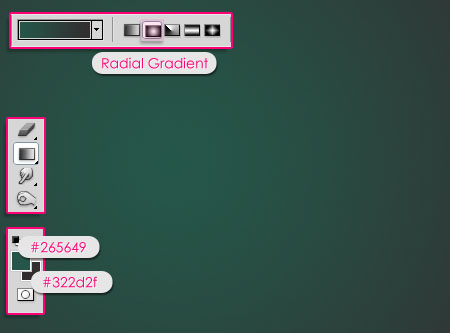
Create a new 1024 x 768 px document. Start by creating a Radial Gradient with the Foreground color set to #265649 and the Background color to #322d2f.
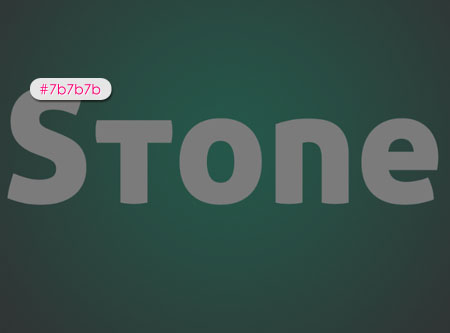
Create the text using the color #7b7b7b. The font used is Aller Display, and the Size is 300 px.
Step 2
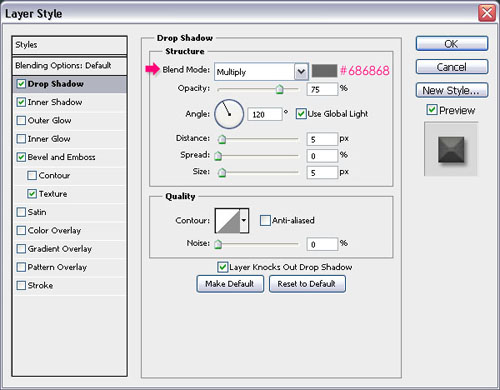
Double click the text layer to apply the following Layer Style:
– Drop Shadow
- Color :
#686868
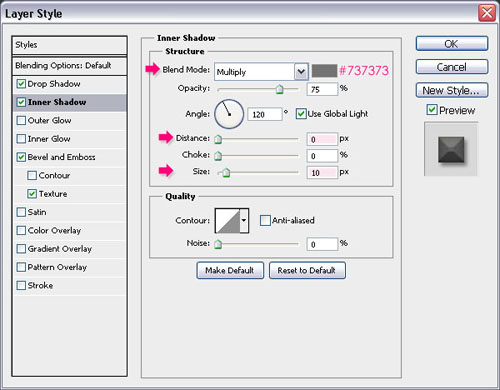
– Inner Shadow
- Color :
#737373 - Distance : 0
- Size : 10
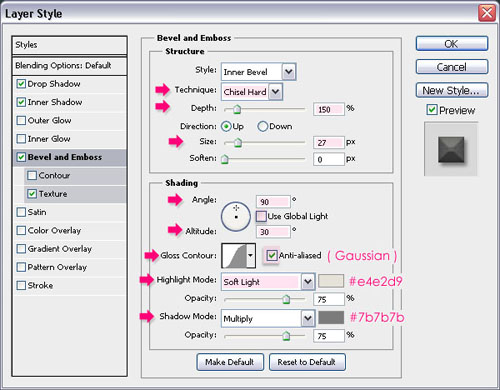
– Bevel and Emboss
- Technique : Chisel Hard
- Depth : 150
- Size : 27
- Uncheck the Use Global Light box
- Angle : 90
- Altitude : 30
- Gloss Contour : Gaussian
- Check the Anti-aliased box
- Highlight Mode : Soft Light
- Color :
#e4e2d9 - Shadow Mode – Color :
#7b7b7b
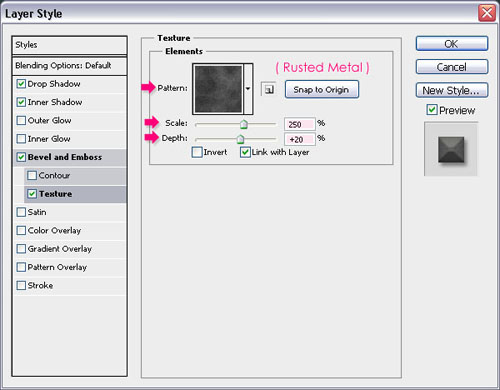
– Texture
- Pattern : Rusted Metal
- Scale : 250%
- Depth : 20%
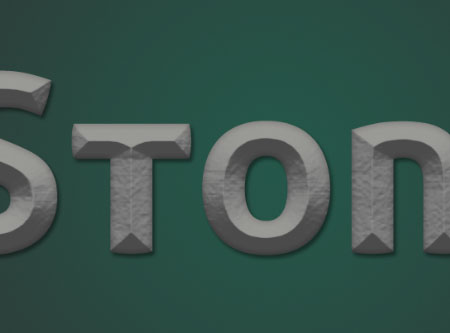
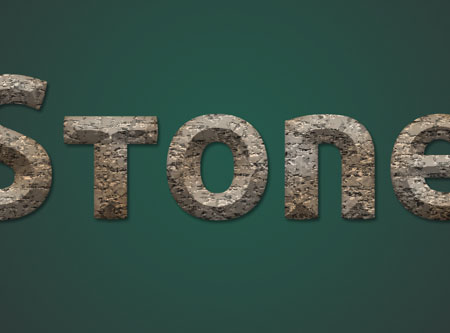
The text should look like this.
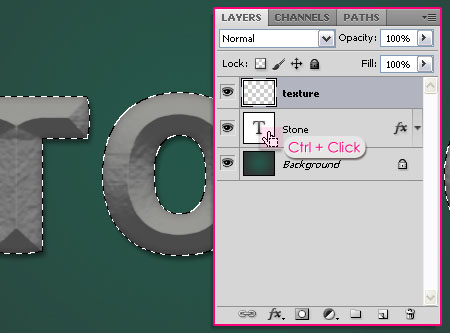
Step 3
Create a new layer on top of all layers, and call it texture. Ctrl/Cmd + click the text layer’s thumbnail to create a selection.
Set the Foreground color to #dadada and the Background color to #7d582e, then go to Filter > Render > Clouds. Press Ctrl/Cmd + D to get rid of the selection.

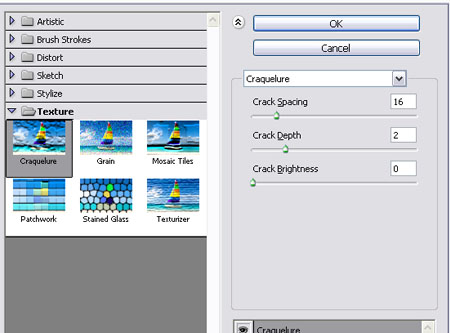
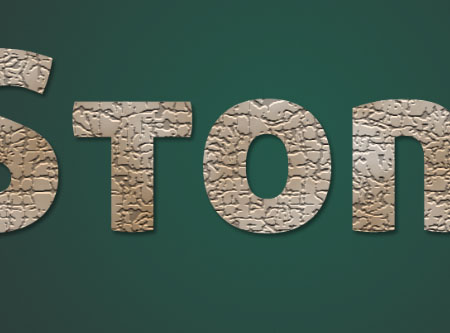
Go to Filter > Texture > Craquelure, change the Crack Spacing to 16, the Crack Depth to 2, and the Crack Brightness to 0.
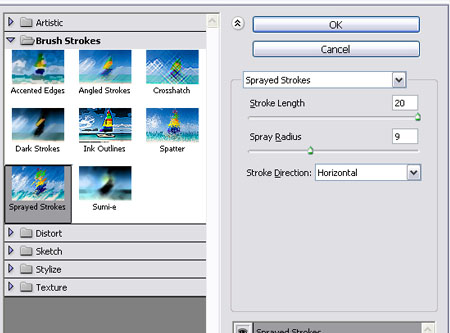
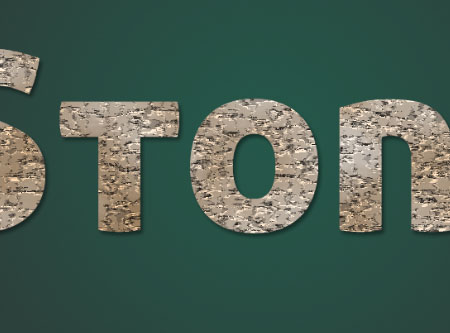
Go to Filter > Brush Strokes > Sprayed Strokes, change the Stroke Length to 20, the Spray Radius to 9, and the Stroke Direction to Horizontal.
Step 4
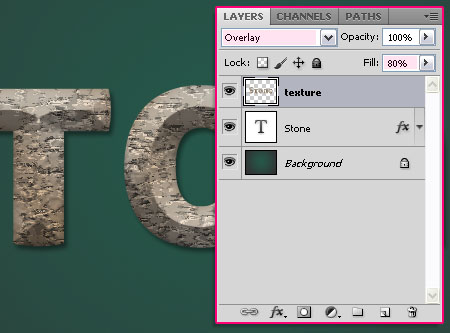
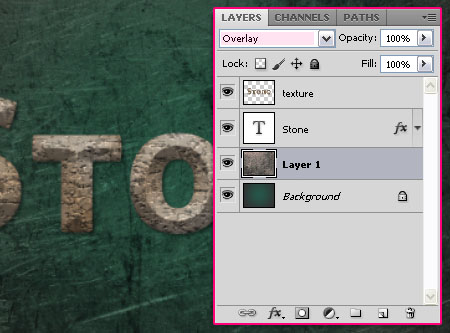
Change the texture layer’s Blend Mode to Overlay, and the Fill value to 80%.
Go to Image > Adjustments > Levels, and change the Shadows value to 15, and the Gamma value to 0.80.
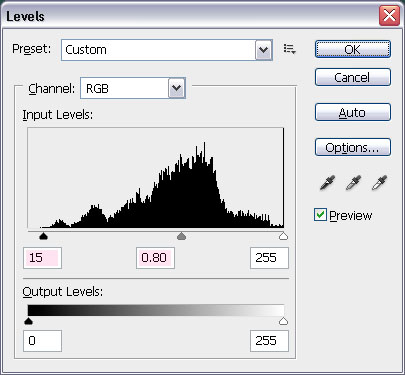
This will darken the colors a bit.
Step 5
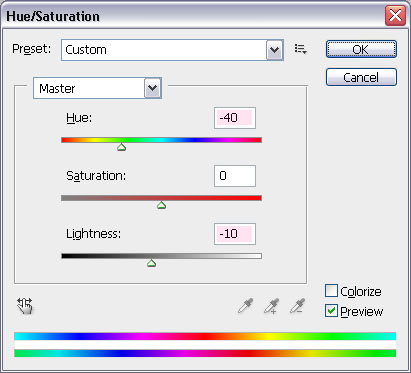
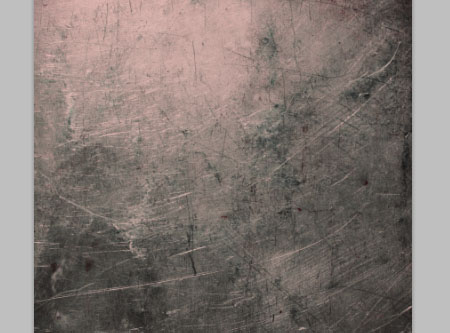
Open the Grungy Texture Background (download the full size image), and go to Image > Adjustments > Hue/Saturation. Change the Hue to -40, and the Lightness to -10.
Duplicate the grungy background to your document, and place it on top of the Background layer. Move it around or resize it as you like, then, change its Blend Mode to Overlay.
Step 6
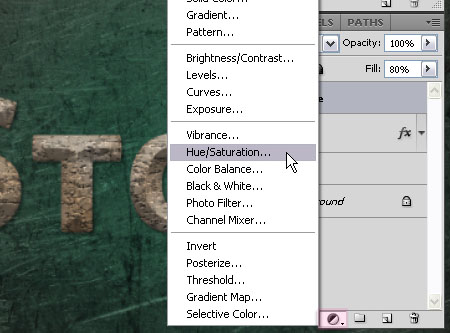
Select the texture layer, and click the New Adjustment Layer icon down the Layers panel, and add a Hue/Saturation adjustment layer on top of all layers.
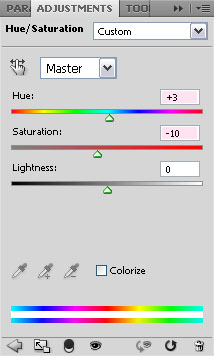
Change the Hue value to 3, and the Saturation to -10. This will tone down the colors a bit.
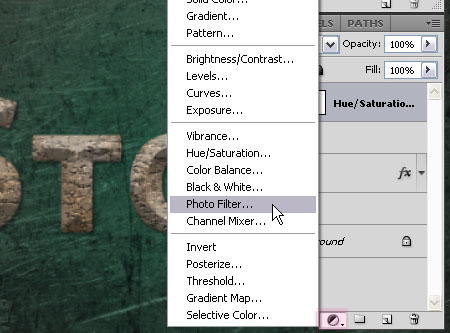
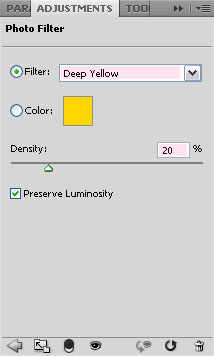
Once again, click on the New Adjustment Layer icon, and this time, add a Photo Filter adjustment layer on top of all layers.
Choose Deep Yellow from the Filter drop down menu, and change the Density to 20, or any other value you like.
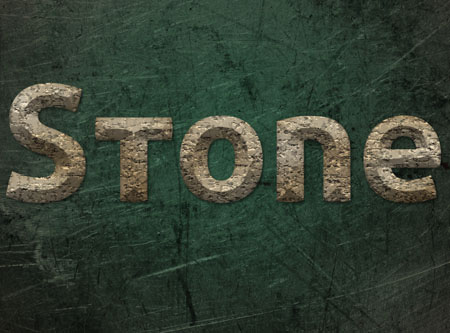
The adjustment layers give a nice color tone to the final image.
Step 7
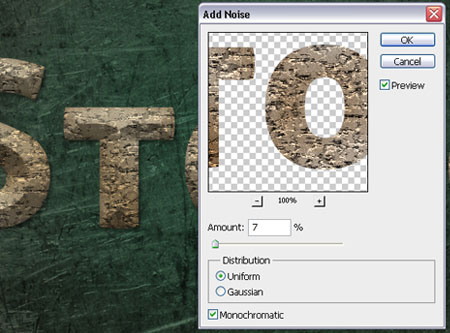
This is optional, but it helps add more texture to the final effect. So select the texture layer once again, and go to Filter > Noise > Add Noise. Change the Amount to 7, the Distribution to Uniform, and check the Monochromatic box.
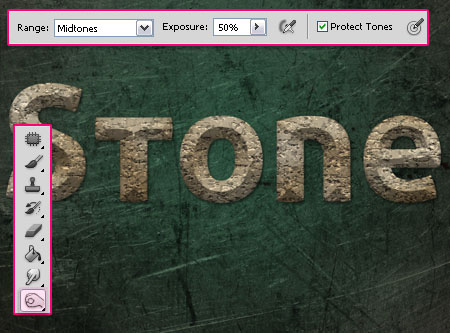
You can also grab the Burn Tool, and darken some areas to add more depth.
And this is the final effect.
Did you enjoy this post? Please consider donating to help us cover our server costs.


I have a blog with digiscrap freebies.
Is is OK for you if i have made an alpha to post it on my blog. Of course with a link to your tutorial.
Hello Bitte,
Yes, you can do that as along as you’re not selling the tutorial itself.
Thanks for asking.
Thanks..^^
You’re welcome.
Tasty! Thanks for the tut!
Thanks for the comment!
This is really nice
Glad you liked it, thanks a lot.
Thanks alot that realy help me
You’re welcome.
Thanks for the comment.
Excellent tutorial.
Very realistic results!
Thank you, glad you liked it.
Happy to have re-found your stone text tut. Definately bookmarked this time.
Also meant to say; your tutorial produces the most realistic ‘stone’ effect than any other I’ve found on the web.
Kudos to you mate!
Happy you did too 😀
Thank you very much for your kind words.
Hope you’ll enjoy the other tutorials as well.
Thanks once again.
thank you, for you tutorial.. clear instructed.. bye.
Thanks for the comment.
wow… its really useful
Glad you found it useful.
Thank you.
Being a newbie how do you? – Foreground color set to #265649 and the Background color to #322d2f. where do you input these numbers?
Hello Mystical,
Check this image please. As you can see, the tow color squares at the bottom left corner of the image represent the Foreground and Background colors. When you click on one of them, the Color Picker dialog box appears. There, you can enter the code (without the #, just the code itself) in the area shown at the bottom and click OK.
Hope this helps.
Great tut as always 🙂 Toda! Shalom Tehillah
Thanks a lot Lilly 🙂
Thanks for the tutorial! This is my result:
http://s294.photobucket.com/albums/mm106/almavez/alma/tutorials/
http://i294.photobucket.com/albums/mm106/almavez/alma/tutorials/StoneTextEffect.jpg
Well done, nice outcome indeed.
Thanks for the link.
I followed this tutorial a few months back and having now just found your site once again I felt a belated “WELL DONE!” needed to be said. In my opinion, the best ‘stone’ tutorial around. Very realistic. Really impressed with your work.
Cheers
Susan
Hello Susan,
Thank you so much for leaving a comment and for your kind words, this really means a lot.
Glad you found the tutorial helpful.
Cheers 🙂
Great! Congratulations!
Thanks a lot 🙂
In step 2 you use a Rusted metal texture, I dont see that in my photoshop ? I have 2 textures. Tie dye and bubbles. Where do I get the rusted metal texture you are using and how do I install it into photoshop ?
Thanks for your help 🙂
You need to go to Edit -> Preset Manager, choose “Patterns” from the “Preset Type” drop down menu. Then, click the little arrow to the right of the Preset Type drop down menu, and click “Patterns” near the bottom of the pop-up menu. When the dialog box appears after that, just click Append, and you’ll get the pattern along with other patterns as well.
Hope this helps.
Thanks for the comment.
Good Tutorial. I like it. Steps are lengthy. If you provide PSD with that post it will be wonderful for all of us. Nevertheless thanks for sharing.
Thanks a lot for the comment.
As for the PSD file, you can download it here for $2 only!
Hope this helps.
When I get to the step to use the filter texture it’s grayed out. What am I doing wrong?
What step? You might need to make sure that the layer “texture” is the selected (active) layer before you apply the filters.
Hope this helps. If the problem still exists please feel free to leave a reply.
Brooklynn, I ran into the same problem…had to change the mode from 16bit to 8 bit before I could select the “Texture” feature. Hope this helps!
Great tutorial…exactly what I was looking for for my new site. Thanks for uploading!
Glad to know that 🙂
Thanks a lot for the tip and the comment.
May I how to do step 3. I Select 2 layer’s and then go in filter there was not any thing are to click.
Why did you select 2 layers? You only need to select one layer that is the “texture” layer. So just make sure this is th only layer selected then go ahead and apply the filters.
Hope this helps. If the problem still exists please feel free to add a reply.
Great text effect! Here you have some useful stone textures to create this effect easily.
http://www.textures4photoshop.com/tex/stone-and-rock/