
Stylish Gold Text Effect
This tutorial explains how to use Layer Layer Style and Filters to create an elegant shiny gold text effect.
FREE PSD source file download link included. –
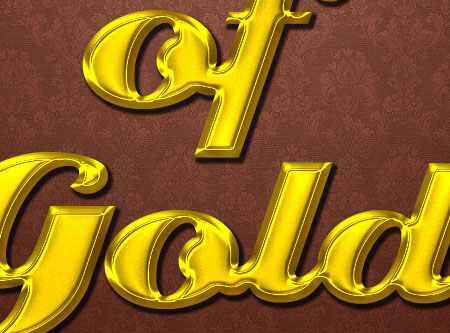
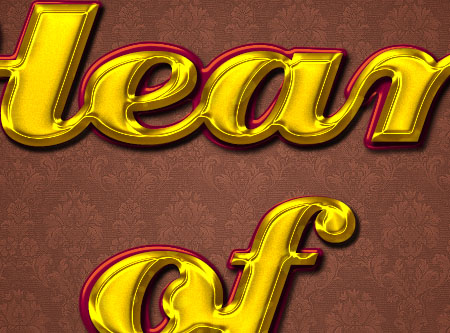
The Final Result

Tutorial Details
- Software Used : Photoshop
- Version : CS5 Extended
- Time : 0:30 – 1:00
Resources
- Creampuff font.
- Damask blueish by TechII.
Step 1
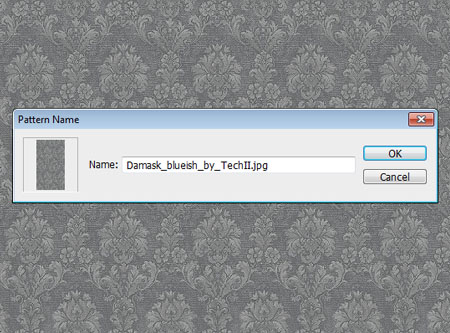
Open the Damask blueish image, then go to Edit -> Define Pattern, and click OK.
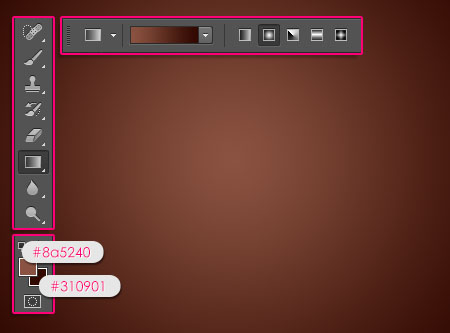
Create a new 1152 x 900 px document. Then, Set the Foreground color to #8a5240 and the Background color to #310901. Pick the Gradient Tool, choose the Foreground to Background gradient, and fill the Background with a Radial Gradient from the center of the document to one of the corners.
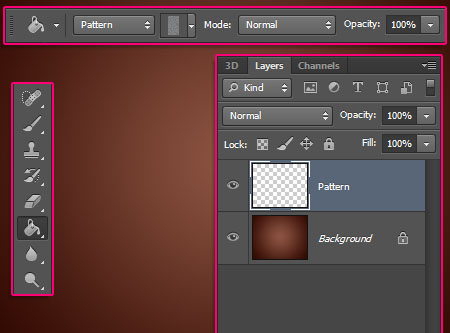
Pick the Paint Bucket Tool and choose Pattern in the Options bar, then choose the pattern you’ve just defined. Create a new layer and call it Pattern then fill it with the selected pattern.
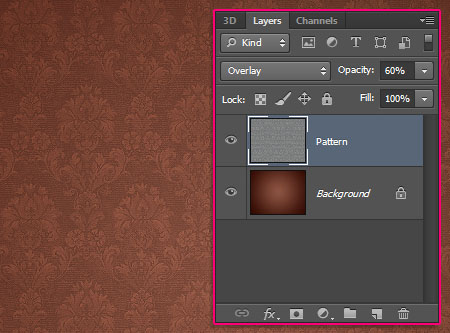
Change the Pattern layer’s Blend Mode to Overlay and the Opacity to 60%.
Step 2
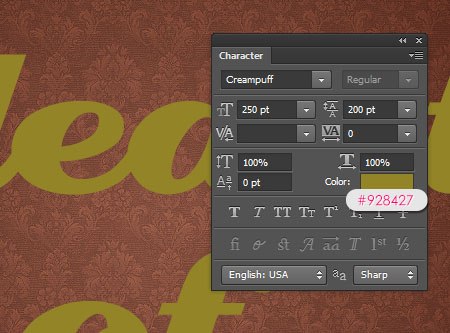
Create the text using the color #928427 and the font Creampuff. Set the Leading value to 200 and the Anti-aliasing method to Sharp.
Double click the text layer to apply the following Layer Style:
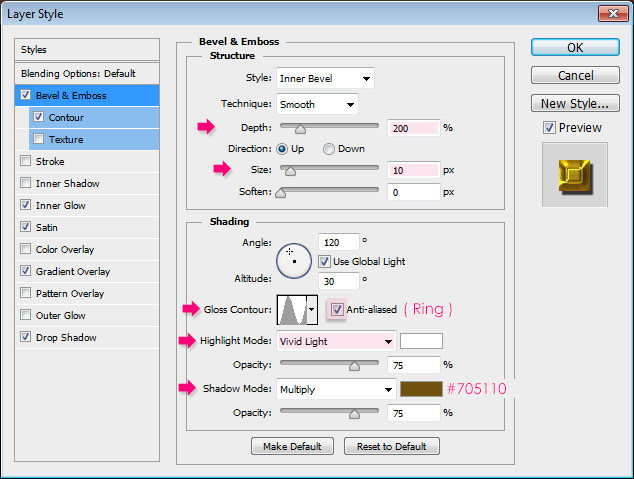
– Bevel and Emboss
- Depth : 200
- Size : 10
- Gloss Contour : Ring
- Highlight Mode : Vivid Light
- Shadow Mode – Color :
#705110
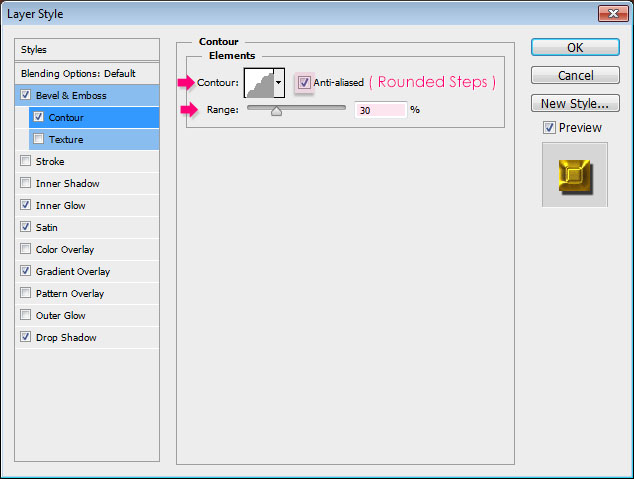
– Contour
- Contour : Rounded Steps
- Check the Anti-aliased box.
- Range : 30%
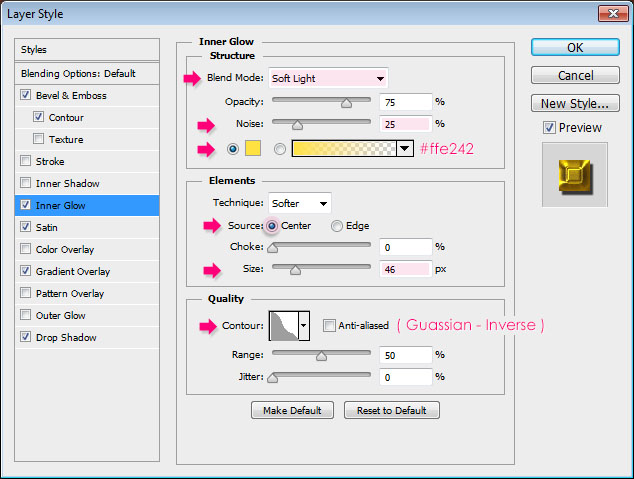
– Inner Glow
- Blend Mode : Soft Light
- Noise : 25%
- Color :
#ffe242 - Source : Center
- Size : 46
- Contour : Guassian – Inverse
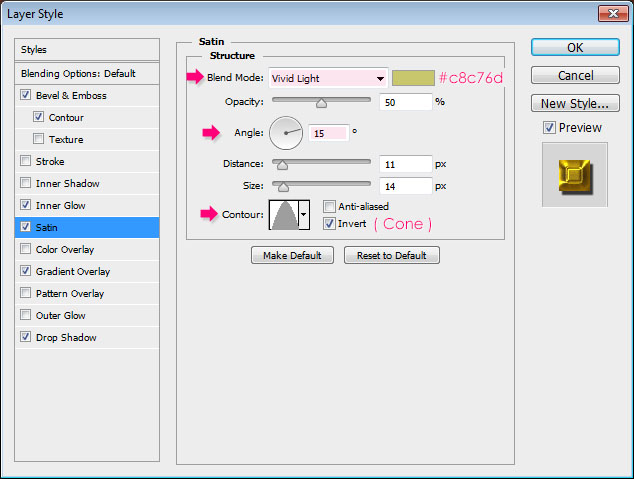
– Satin
- Blend Mode : Vivid Light
- Color :
#c8c76d - Angle : 15
- Contour : Cone
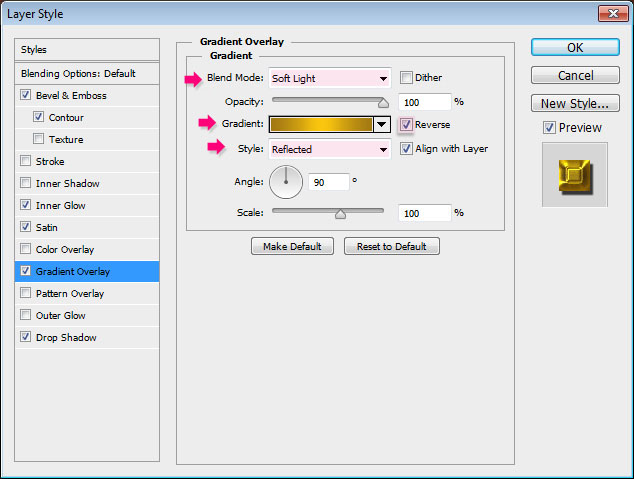
– Gradient Overlay
- Blend Mode : Soft Light
- Style : Reflected
- Check the Reverse box
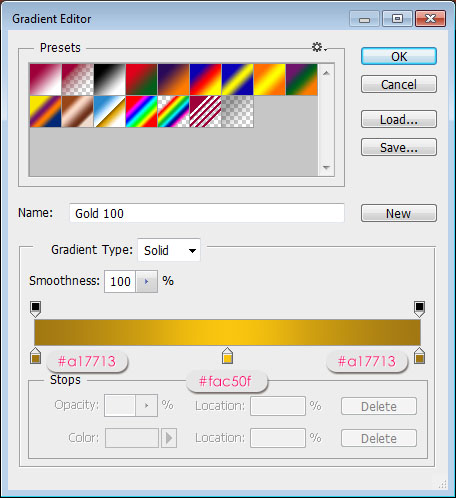
- Click the Gradient box to create the gradient
The gradient uses two colors#a17713 and #fac50f.
– Drop Shadow
- Spread : 40
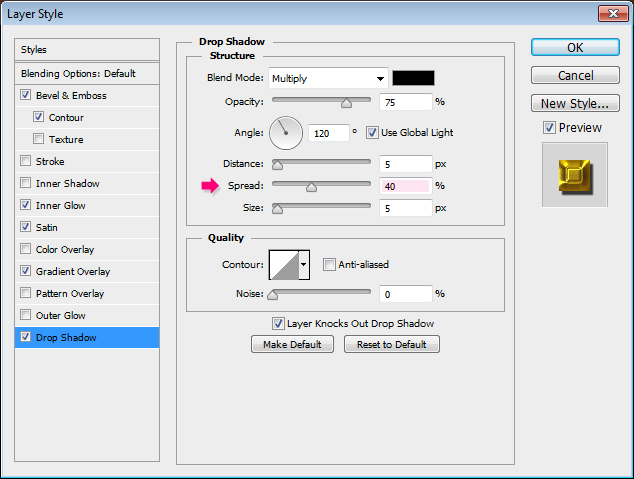
This will create the main “gold” effect.
Step 3
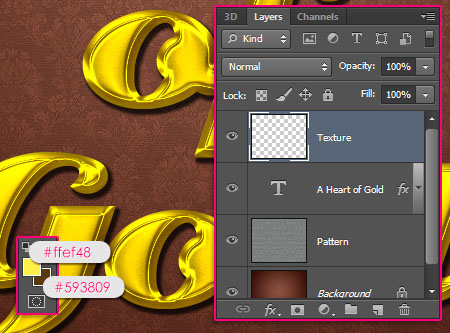
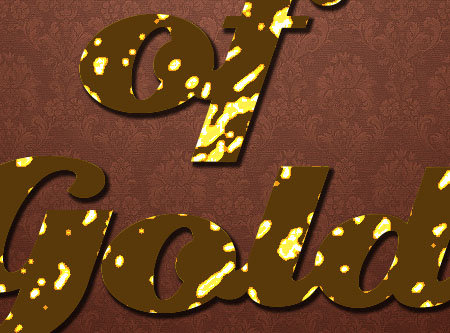
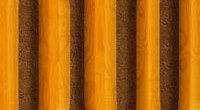
Create a new layer on top of all layers and call it Texture. Then set the Foreground color to #ffef48 and the Background color to #593809.
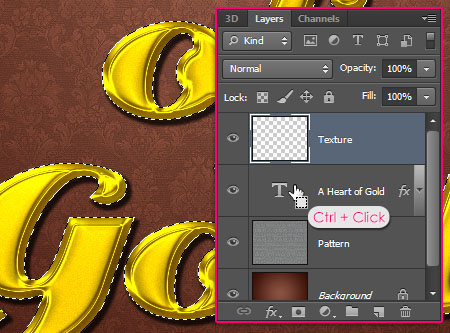
Ctrl/Cmd + click the text layer’s thumbnail to create a selection.
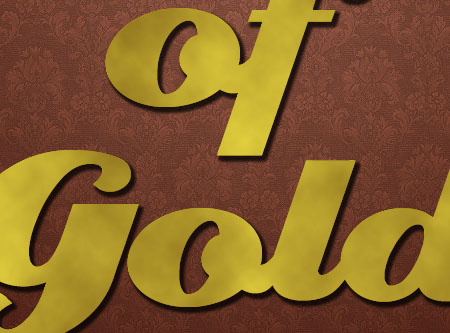
Go to Filter -> Render -> Clouds, then press Ctrl/Cmd + D to get rid of the selection.
Step 4
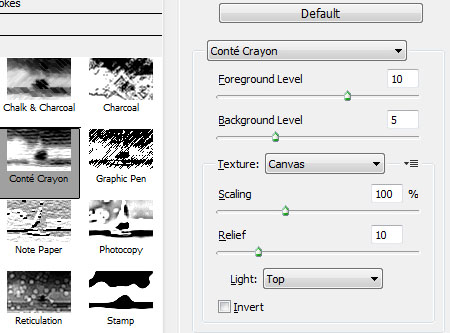
Go to Filter > Filter Gallery > Sketch > Conte` Crayon, then type in the values below:
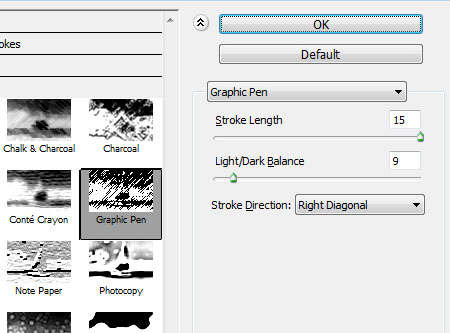
Go to Filter > Filter Gallery > Sketch > Graphic Pen this time, then type in the values below:
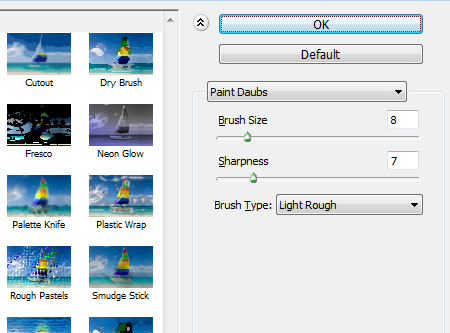
Go to Filter > Filter Gallery > Artistic > Paint Daubs, then enter the values below:
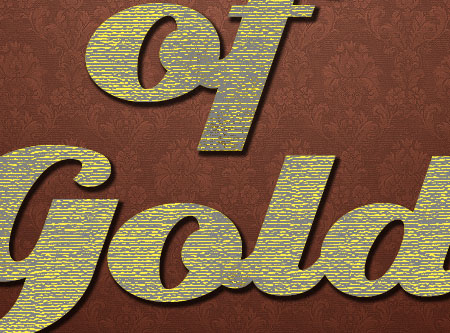
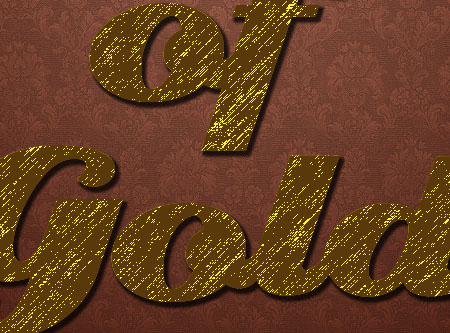
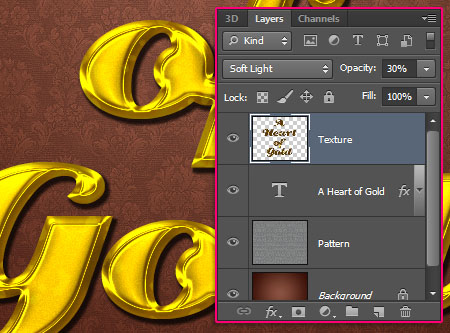
Change the Texture layer’s Blend Mode to Soft Light and its Opacity to 30%. This will create a nice reflection-like effect for the golden text.
Step 5
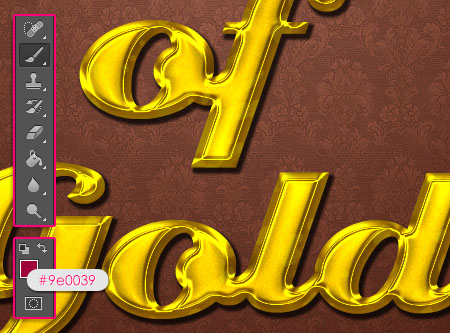
Set the Foreground color to #9e0039, pick the Brush Tool, then open the Brush panel (Window -> Brush).
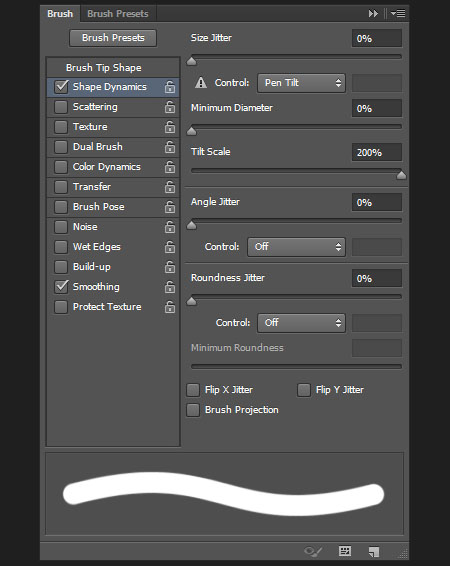
Modify the values of a 20 px round hard brush as shown below:
Brush Tip Shape

Shape Dynamics
Make sure to choose Pen Tilt from the Control drop down menu.
Step 6
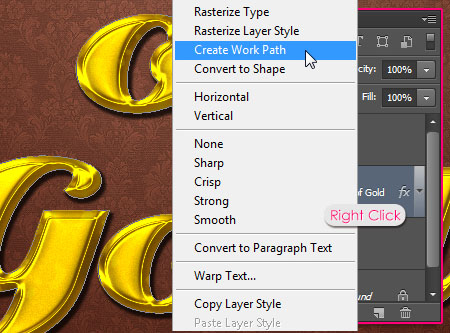
Right click the text layer then choose Create Work Path.
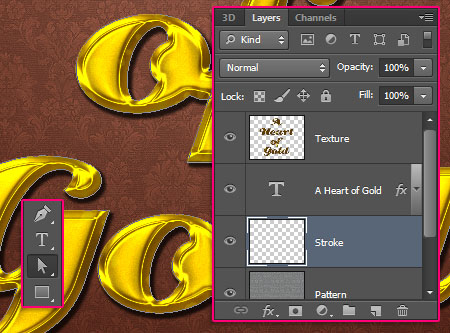
Create a new layer right below the text layer and call it Stroke, then pick the Direct Selection Tool.
Right click the work path and choose Stroke Path.
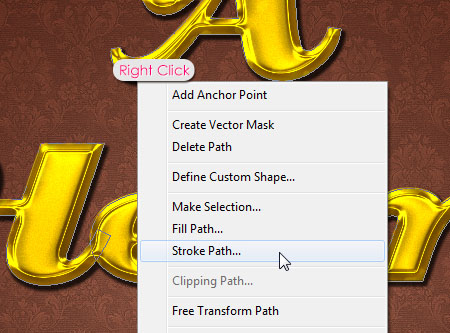
Choose Brush from the Tool drop down menu and check the Simulate Pressure box.
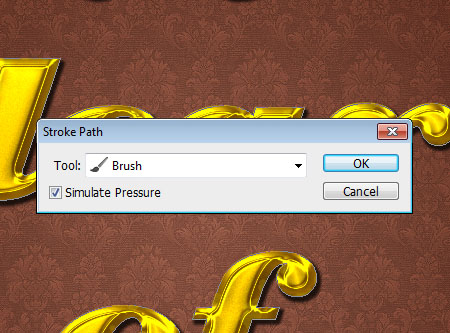
This will stroke the path with the modified brush.
Step 7
Double click the Stroke layer to apply the following Layer Style:
– Bevel and Emboss
- Gloss Contour : Cove – Deep
- Check the Anti-aliased box
- Highlight Mode : Hard Light
- Color :
#ffba57

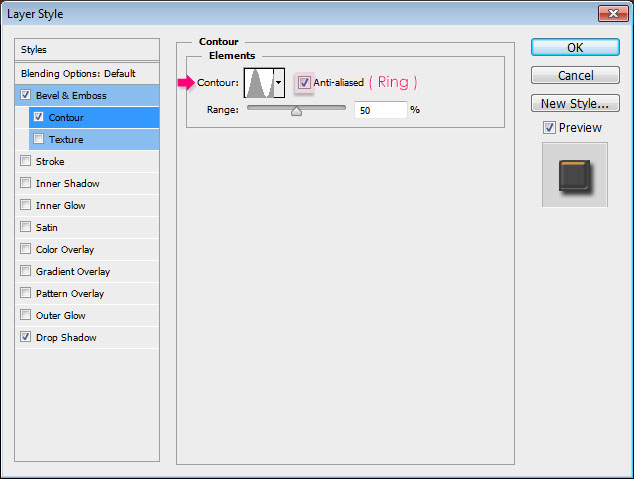
– Contour
- Contour : Ring
- Check the Anti-aliased box.
– Drop Shadow
Just use the default values.
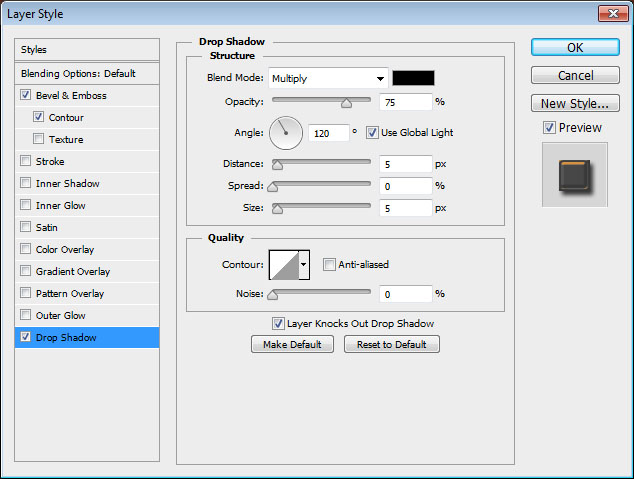
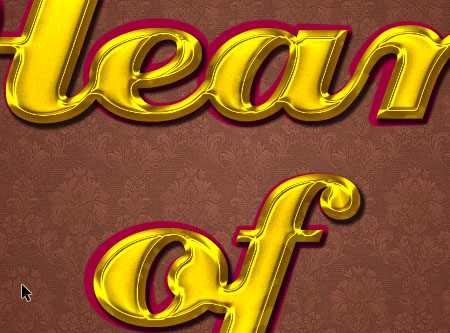
This will add more depth to the original effect and make it bolder.
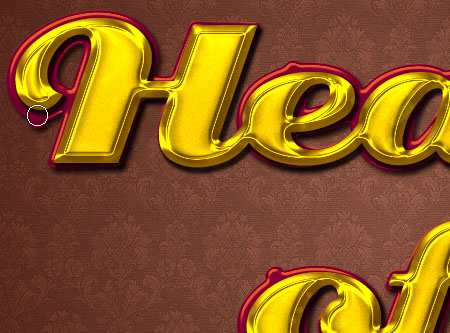
With the same brush, add some dots on the stroke, just a couple.
Step 8
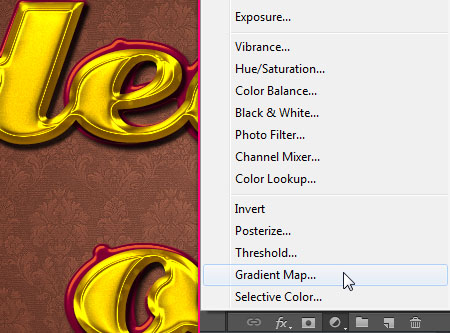
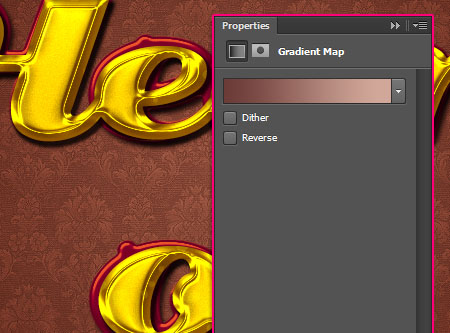
Click the Create new fill or adjustment layer icon down the Layers panel, and choose Gradient Map.
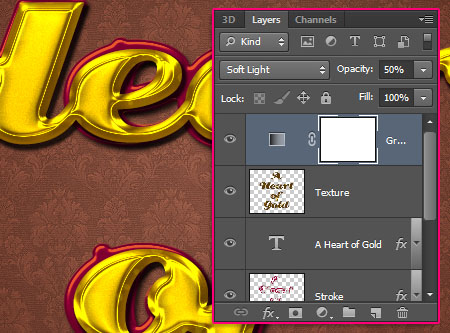
Change the adjustment layer’s Blend Mode to Soft Light and its Opacity to 50%.
Then, click the Gradient box to create the gradient used.
You need two colors#6b3b37 to the left, and #d1a799 to the right with a Location value of 92.
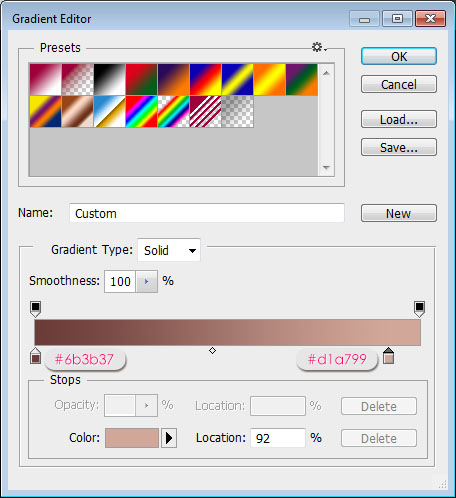
This will make the colors brighter and more vivid.
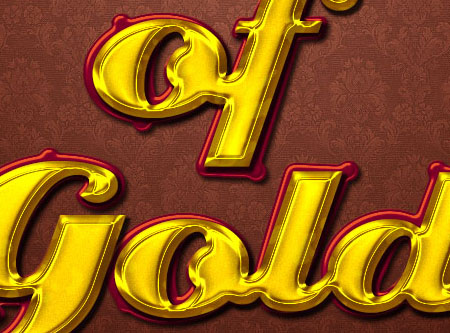
And that’s it. Simple yet elegant! Hope you liked it.
You can download the PSD source file of this tutorial for FREE! Click here to download the file now. –
Did you enjoy this post? Please consider donating to help us cover our server costs.


I think the texture values are off…I tried several times but when I got to the paint daubs part I was just getting a yellow overlay.
I’ve just re-checked those values, and they are correct.
Did you make sure to choose “Light Rough” from the “Brush Type” drop down menu? Also, is your text the same size as in the tutorial? And did the other two filters work as supposed to?
The text size might affect the result, so try playing around with the Brush Size and Sharpness values to see if you can get a different outcome.
Hope this helps.
In step 2, is the size of Bevel & Emboss 18 or 10? In the picture, you typed 10 but 18 in the text?
That’s 10, as in the image.
Sorry for the typo 🙂
Thanks for pointing that out.
Awesome 24caret gold
Thank you 🙂
Nice and Thanks
Thanks for the comment 🙂
sangat bagus…,saya dari Indonesia suka desain-desain anda yang sangat kreatif..
maaf.,apakah untuk membuat Stroke Path itu memang harus berulang kali….?? terima kasih…:)
Terima kasih for the nice comment, appreciate it 🙂
As for the stroke, no, you don’t have to repeat it. If I misunderstood your question please feel free to add a reply.
great tut well written !! great share author !
Very nice tutorial! Thanks.
Glad you liked it.
Thank you for the comment.
Right moment.We are going to celebrate the 50th anniversary of our marriage and that’s a golden in Belgium.
Good explaind and nice letters. thank you
That’s awesome! Glad you’ll use this effect.
And a very happy anniversary to you as well 🙂
Thanks a lot for the comment.
I like the effect very much, it is probably the best gold effect available on the internet at this moment!
Oh wow! This sure means a lot.
Thank you very much for the great compliment.
very thanks!
great!
You’re welcome 🙂
Thanks for the comment.
Very clear instructions and it was just the styling I was looking for. Thank you!
Glad to know that 🙂
Thank you so much for the kind words.
wonderful…
Thank you!
how to do the gaussian inverse i dont have it
You need to load the Contours first, check this image please.
Brilliant photoshop text effects, Keep it up!
Thanks a lot for the comment and the support.
YOU ARE ONLY ONE OF BEST TEXT EFFECTS TUTORIALS TEACHER IN OPINION IN ONLINE WORLD PL.. DO NOT MIND MY ENGLISH IS NOT GOOD I AM FORM INDIA BUT I AM FOLLOWING YOU TEXT TUT .. THANKS….TEXT…
Wow! This really really means so much.
Thanks a lot for your awesome comment 🙂
Wow… Sorprendente!! 😉 Gracias..
Glad you like it 🙂
Muchas gracias for the comment.
hei masbro.. Its really great gold effect!!
But why my work doesn’t look like ur 🙁 its just yellow and orange. I used 250pt font size too.
if u dont mind, please check my result here
http://imageshack.us/a/img441/7191/goldeffect.jpg
Sorry for my bad english LOL. I’m from Indonesia 🙂
Thanks before masbro
Seems you are using a different font, and it is bolder. So you might need to use bigger layer styles’ values for the effects, specially the Bevel and Emboss effect.
Make sure you are changing all of the used values as well.
Hope this helps. Please feel free to add a reply if the problem still exists.
Thanks a lot for the comment.
(I’m a girl though ^_^)
Really, really good! Thanks so much for this nice work.
Glad you like it.
Thanks a lot for the kind words.
First: Your tutorials are outstanding.
Second: I could not achieve the same results as you did. Therefore I downloaded the zipfile.Unfortunately I can’t unzip it. Got this message from Winzip (14.5): End-of-central-directory signature not found. Either this file is not a Zip file, or it constitutes one disk of a multi-part Zip file.
Which step didn’t work the same for you? I checked the link, and it worked fine, I haven’t received any other comments that it’s not working. But I re-uploaded the file anyway, so can you try downloading it again please?
Please feel free to add a reply with more details.
Thanks a lot for the comment.
Regards.
I Like it tutorial effect
Glad you do.
Thanks for the comment.
very nice. from this site i have learnt a lot. But pls give some option to copy his folder. b’coz everytime we cant use internet
That’s really great to know!
You can select and copy/save the tutorial. Unfortunately, we don’t have other options for that right now. But since you mentioned the problem, we’ll make sure to take the suggestion into consideration indeed.
Thanks a lot for the comment.
Thank you. It mean lot to everyone
Hi rose. How are you. Pls can you tell me some other sites that i can learn more text styles. pls
Hey! Thank you very much for the kind words 🙂
There aren’t other sites dedicated for text effect tutorials, that’s why textuts rocks! – just kidding ^_^. But there are many Photoshop tutorial sites that have text effect tutorials sections.
Some good ones are:
– psd tuts+
– PlanetPhotoshop
– PhotoshopStar
and you can also check some directories like PhotoshopRoadmap and Tutorialized.
Hope this helps.
Thanks once again.
Thank You. Rose hope it helps. Otherwise my lovely rose is there to teach
You’re welcome.
Thank you too.
Thank you very much.. this help me a lot.
Very glad it did.
Many thanks for the comment.
Thank you very much for this tutorial. I really enjoyed making this one! 😀 Totally appreciated!
Really glad to know you did 😀
Great outcome as well!
Thanks a lot for the kind words and for sharing your work 🙂