
Fusion Text Effect
Create a bright fusion text effect using brushes and layer Layer Style.
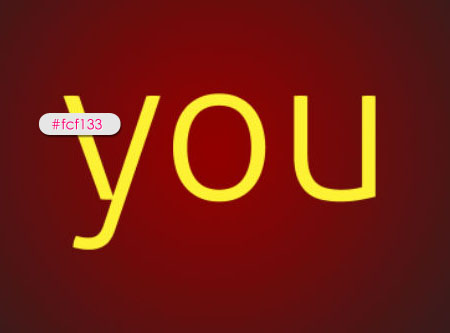
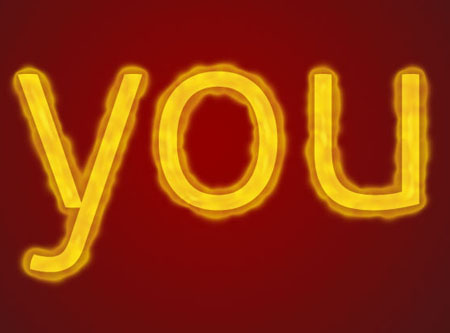
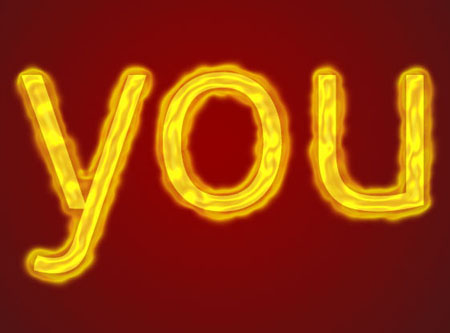
The Final Result

Tutorial Details
- Software Used : Photoshop
- Version : CS5 Extended
- Time : 0:30 – 0:45
Resources
- Aller Light font.
- Background Gradient and Color Palette.
- Sparkles Brush.
- Clouds by Durianssmellnice.
Step 1
Create a new 1024 x 768 px document. Use the Gradient provided in the resources section above to create a Radial Gradient for the Background. Then, create your text using the color #fcf133. the font is Aller Light, and the Size is 325 px.
Set the Foreground color to #e89819 and the Background color to #fddd03, and create a new layer on top of the text layer.
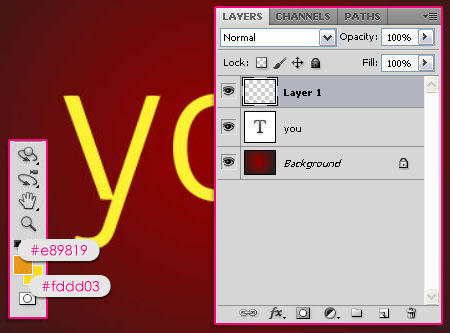
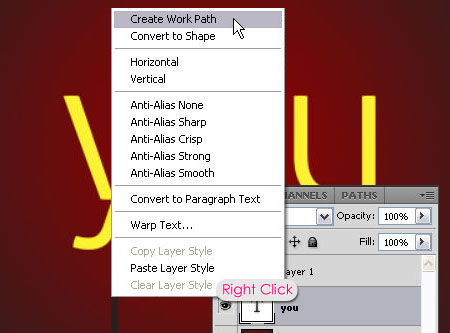
Right click the text layer and choose Create Work Path, then select the Layer 1 once again.
Step 2
Choose a soft round brush tip, then open the Brush panel (Window > Brush) to modify the following Settings:
Brush Tip Shape
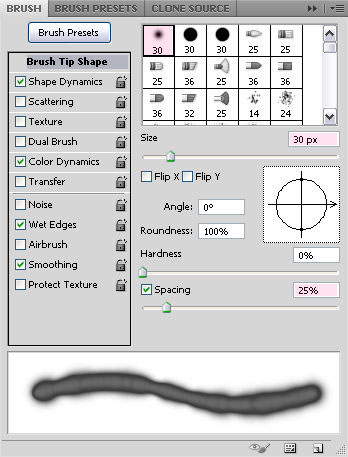
Shape Dynamics
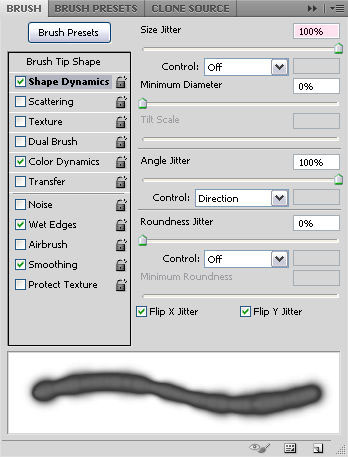
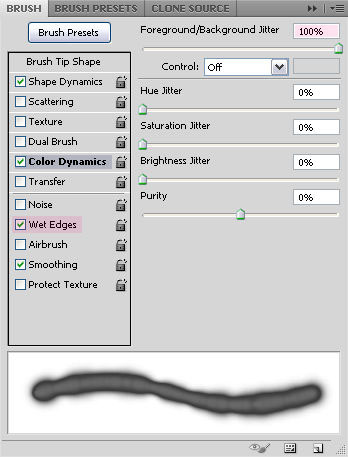
Color Dynamics
Finally, check the Wet Edges box. This will give the brush a more liquid-y effect.
Once your brush is ready, pick the Direct Selection Tool, right click the work path, and choose Stroke Path.
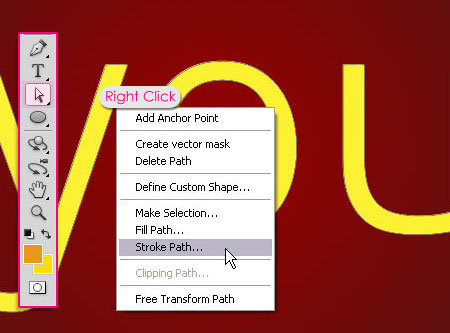
Choose Brush from the Tool drop-down menu, and make sure the Simulate Pressure box is un-checked.
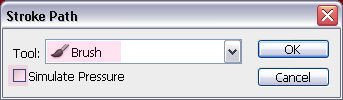
You should end up with something like this.
Step 3
Double click Layer 1 to apply the following Layer Style:
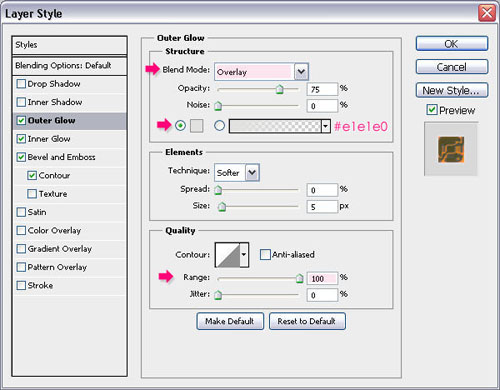
– Outer Glow
- Blend Mode : Overlay
- Color :
#e1e1e0 - Range : 100%
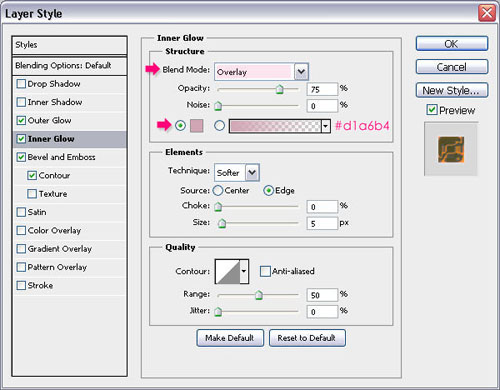
– Inner Glow
- Blend Mode : Overlay
- Color :
#d1a6b4
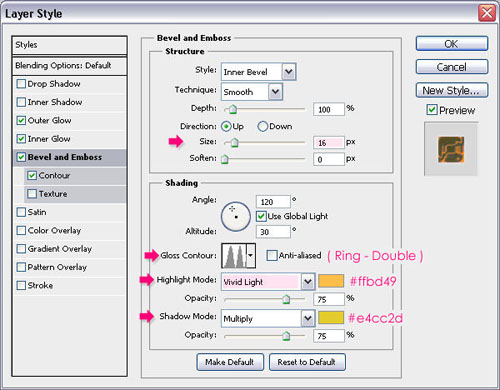
– Bevel and Emboss
- Size : 16
- Gloss Contour : Ring – Double
- Highlight Mode : Vivid Light
- Color :
#ffbd49 - Shadow Mode – Color :
#e4cc2d
– Contour
- Contour : Guassian – Inverse

The text will have a nice glow now.
Step 4
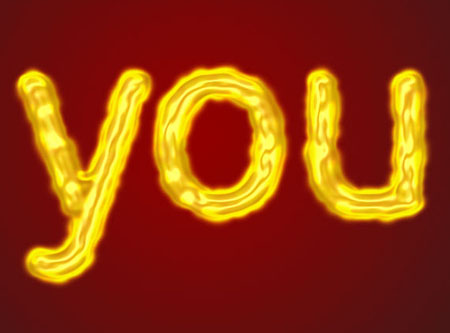
Duplicate Layer 1, and change the copy’s Blend Mode to Color. The text should look super bright!

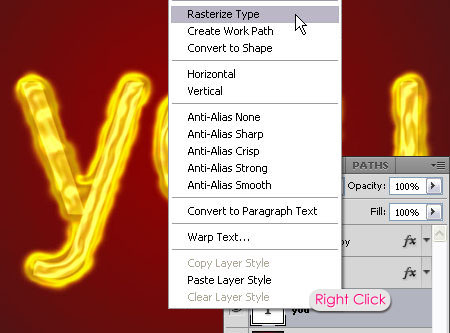
Right click the text layer and choose Rasterize Type.
Go to Filter > Blur > Gaussian Blur, and change the Radius value to 2.5.
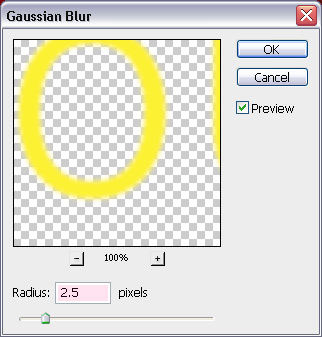
The blur will soften the text’s harsh edges and make it blend with the brush stroke.
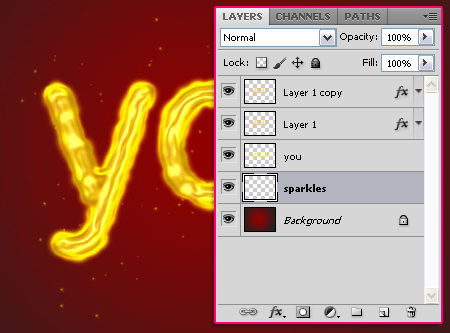
Step 5
Create a new layer on top of the Background layer and call it sparkles. Set the Foreground color to #fddd03, and use the Sparkles Brush to add some sparkles around the text, but try not to over do it.
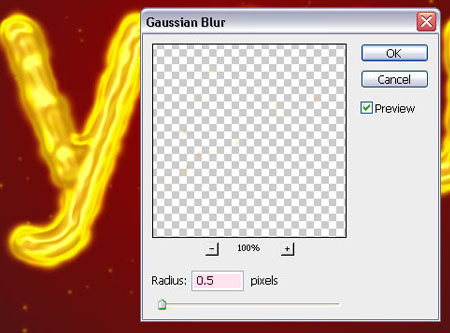
Go to Filter > Blur > Gaussian Blur, and set the Radius to 0.5 to soften the sparkles.
Finally, open the Clouds image, and place it between the Background layer and the sparkles layer. You can resize it to fit the document, then change its Blend Mode to Soft Light, and its Fill value to 75%.
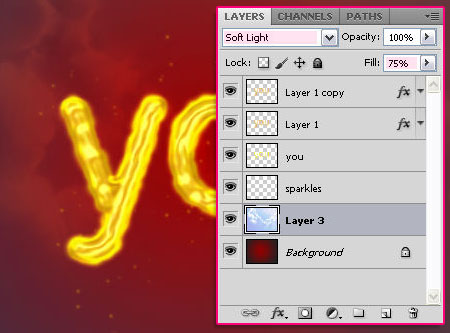
The blue colors will blend nicely with the red ones, creating a nice Background for the final effect.
Did you enjoy this post? Please consider donating to help us cover our server costs.


Nice work!…^^
I couldn’t get the result in step3.
In layer1, I couldn’t apply the layer style like you.
What is my problem?
Have a nice day.
Hello Moai,
Are you sure you made all the changes in the values? And did you use the same Gloss Contours as well?
Hi! I just love your tutorial! Congratulations!
I`we just opened a tutorials indexing website and I would like to ask you to submit your tutorials, it will bring you some extra traffic
Please give a chance for my website: http://www.tutorialswindow.com
Thanks!
Hello csabi,
Thank you for the comment. I will be submitting some tutorials soon.
Best regards.